Excel Export in Asp.Net MVC using XlWorkbook
What is XlWorkbook?
XlWorkbook is a powerful third-party library that simplifies the process of exporting data into Excel files in .NET applications. It offers a wide range of formatting options, enabling developers to create visually appealing spreadsheets with minimal effort. With ClosedXML, you can easily manipulate Excel files, including adding styles, formulas, and charts, making it an excellent choice for generating reports and data exports.
ClosedXML is built on top of the OpenXML SDK, which means it works with the modern Excel file formats (.xlsx) and provides a user-friendly API to interact with Excel files without needing to understand the complexities of the underlying OpenXML structure. This library is particularly useful when you need to export data from a database in a structured and organized manner.
Prerequisites
Before you start exporting data to Excel using XlWorkbook in your Asp.Net MVC application, ensure you have the following prerequisites:
- Visual Studio installed on your machine.
- An Asp.Net MVC project set up.
- Basic knowledge of C# and MVC architecture.
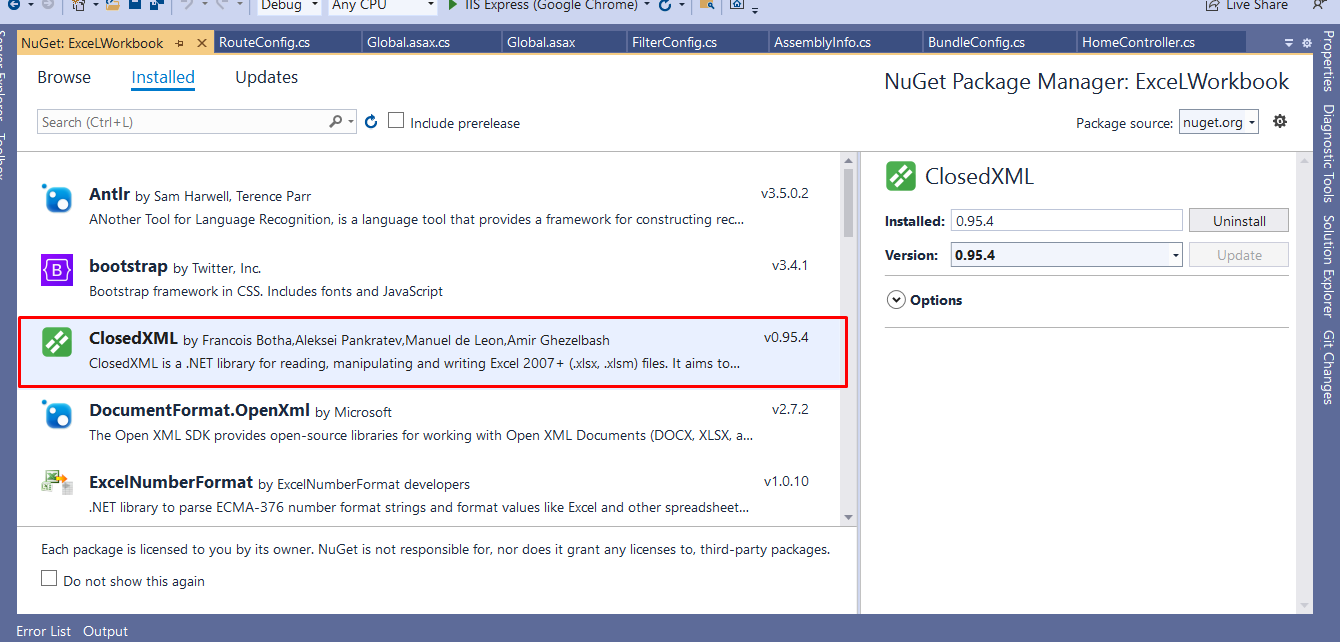
- ClosedXML NuGet package installed in your project.
Installing ClosedXML NuGet Package
To get started, you need to install the ClosedXML library via NuGet. This can be done easily through the NuGet Package Manager Console or the NuGet Package Manager UI in Visual Studio.
Install-Package ClosedXMLAfter the installation is complete, you can start using ClosedXML in your project by adding the necessary namespace in your controller:
using ClosedXML.Excel;Exporting Excel Using XlWorkbook in Asp.Net MVC
Once you have the ClosedXML library set up, you can proceed to export data. For this example, we will create a simple action method in a controller that generates an Excel file from a DataTable. Below is the sample code for the Download action method:
public ActionResult Download() {
    DataTable table = DummyDataTableSource();
    using (XLWorkbook workbook = new XLWorkbook()) {
        table.TableName = "Table 1"; // Giving table name is mandatory and must be unique
        workbook.Worksheets.Add(table);
        Response.Clear();
        Response.Buffer = true;
        Response.Charset = "";
        Response.ContentType = "application/vnd.openxmlformats-officedocument.spreadsheetml.sheet";
        Response.AddHeader("content-disposition", "attachment;filename=Dummy Excel Export.xlsx");
        using (MemoryStream MyMemoryStream = new MemoryStream()) {
            workbook.SaveAs(MyMemoryStream);
            MyMemoryStream.WriteTo(Response.OutputStream);
        }
    }
    Response.Flush();
    Response.End();
    return View();
}
In this code, we create a DataTable and populate it with some dummy data using the DummyDataTableSource method. We then create an instance of XLWorkbook, add the DataTable as a worksheet, and set the appropriate response headers to trigger a download in the browser.
Creating a Sample DataTable
The DummyDataTableSource method generates a simple DataTable with some sample data. Here is the implementation:
private static DataTable DummyDataTableSource() {
    DataTable table = new DataTable();
    table.Columns.Add("Name");
    table.Columns.Add("Number");
    table.Columns.Add("Address");
    table.Columns.Add("City");
    for (int i = 0; i < 10; i++) {
        DataRow dr = table.NewRow();
        dr["Name"] = "Name " + i;
        dr["Number"] = "Number " + i;
        dr["Address"] = "Address " + i;
        dr["City"] = "City " + i;
        table.Rows.Add(dr);
    }
    return table;
}
This method creates a DataTable with four columns: Name, Number, Address, and City, and populates it with ten rows of sample data. You can modify this method to pull data from a database or any other source as needed.
Triggering the Download from the View
To trigger the download of the Excel file, you can create a button in your view that links to the Download action. Here’s how you can do it:
<a style="margin-top:10px" class="btn btn-primary" href="/Home/Download">Export to Excel</a>When the user clicks this button, the browser will initiate a download of the generated Excel file. You can see the result in the image below:
Advanced Formatting Options
ClosedXML also allows you to apply various formatting options to your Excel sheets. For instance, you can set background colors, font styles, borders, and more. Here's an example of how to format the headers of your Excel sheet:
workbook.Worksheets.Add(table);
var headerRange = table.AsRange().FirstRow();
headerRange.Style.Font.Bold = true;
headerRange.Style.Fill.BackgroundColor = XLColor.LightGray;
headerRange.Style.Alignment.Horizontal = XLAlignmentHorizontalValues.Center;
In this code, we are accessing the first row of the DataTable (which contains the headers) and applying formatting to make the text bold, change the background color to light gray, and center the text. You can explore more formatting options in the ClosedXML documentation.
Edge Cases & Gotchas
When working with Excel exports, there are a few edge cases and common pitfalls to be aware of:
- Large Data Sets: Exporting very large datasets can lead to performance issues. It’s advisable to implement pagination or limit the amount of data being exported at once.
- Excel File Size Limits: Excel files have size limits (e.g., 2GB for .xlsx). Make sure your exported data does not exceed this to avoid errors.
- Data Types: Ensure that the data types in your DataTable are compatible with Excel. For example, dates should be in a recognized date format.
- Unique Table Names: Each worksheet in an Excel file must have a unique name. If you try to add a worksheet with a name that already exists, it will throw an exception.
Performance & Best Practices
To ensure optimal performance when exporting data to Excel, consider the following best practices:
- Use Memory Streams: As demonstrated in the example, using a MemoryStream for the output can improve performance by avoiding file system I/O.
- Minimize Data Size: Only include necessary data in the export. Filter out any irrelevant columns or rows to reduce file size and processing time.
- Asynchronous Processing: For large exports, consider using asynchronous methods to avoid blocking the main thread and improve user experience.
- Error Handling: Implement robust error handling to catch and log any exceptions that occur during the export process.
Conclusion
Exporting data to Excel using XlWorkbook in Asp.Net MVC is a straightforward process that can greatly enhance your application's data handling capabilities. By following the steps outlined in this tutorial, you should be able to implement Excel exports with various formatting options effectively.
- ClosedXML simplifies the process of exporting data to Excel.
- Ensure you handle edge cases such as large data sets and unique worksheet names.
- Apply best practices to optimize performance and user experience.
- Explore advanced formatting options to improve the presentation of your exported data.

