Asp.Net Core MVC Publish using FTP
Overview of ASP.NET Core MVC and FTP
ASP.NET Core MVC is a powerful framework for building modern web applications. It allows developers to create dynamic web pages and APIs using the Model-View-Controller (MVC) architectural pattern. Deploying applications to a web server is a critical step in the development lifecycle, and using FTP for this purpose is a common practice, especially for shared hosting environments.
FTP provides a straightforward method for transferring files from your local development environment to your web server. This method is particularly useful for developers who do not have direct access to the server's file system or those who prefer a simple interface for publishing their applications.
Prerequisites
Before you begin the publishing process, ensure you have the following:
- A web hosting account that supports FTP access.
- FTP credentials, including server address, username, and password.
- Visual Studio installed on your local machine with the ASP.NET Core workload.
- A completed ASP.NET Core MVC project that you want to publish.
Step-by-Step Guide to Publish Using FTP
Follow these steps to publish your ASP.NET Core MVC application using FTP:
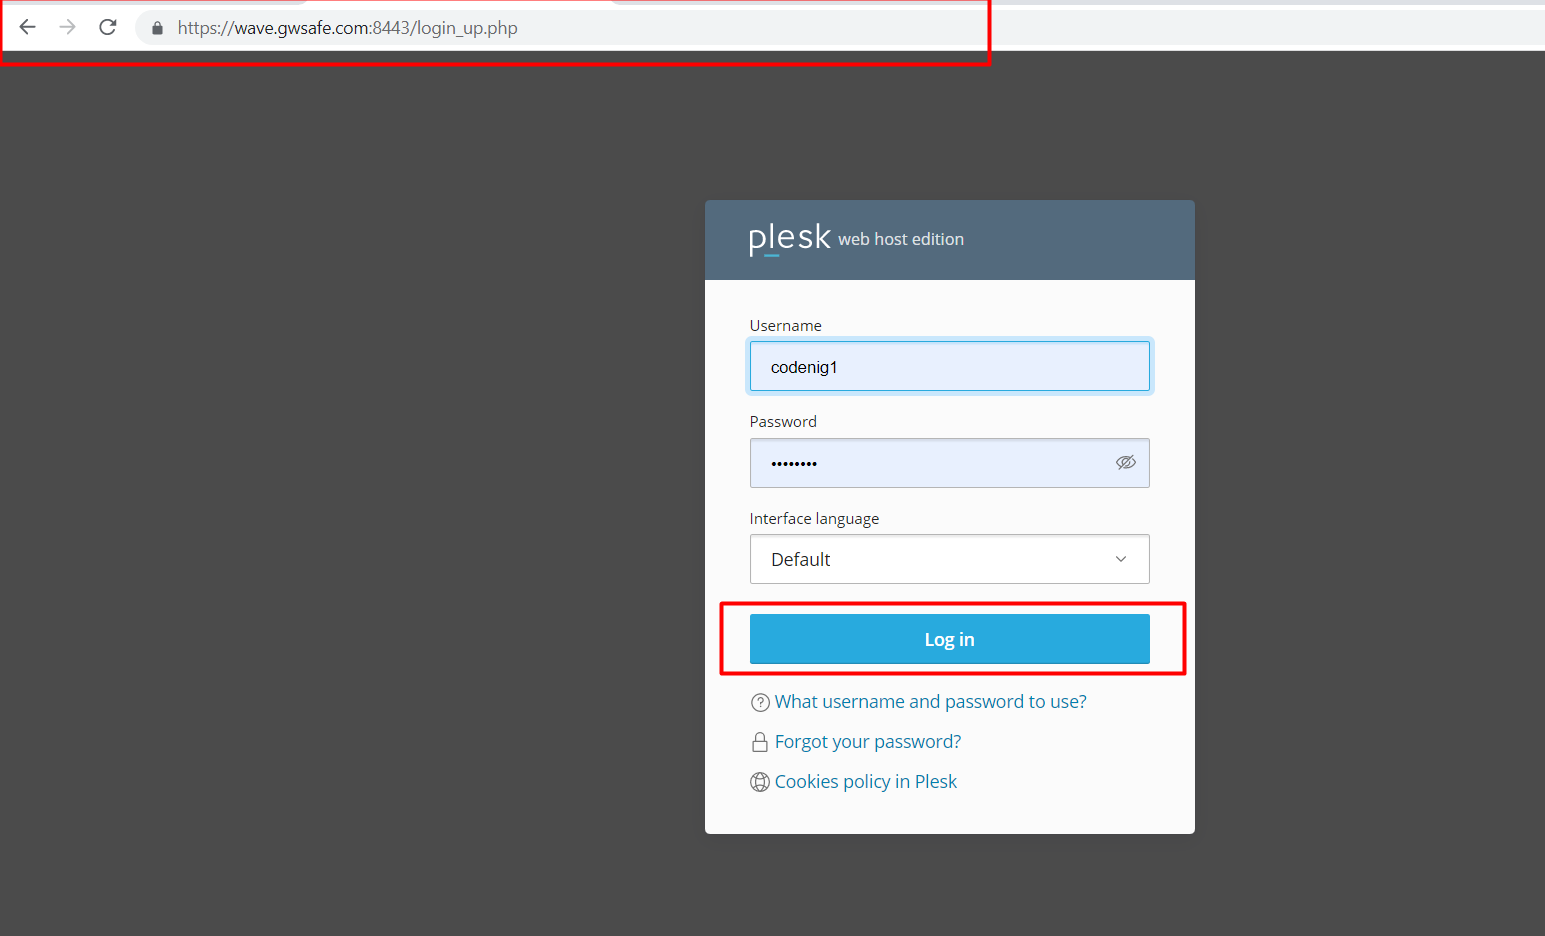
Step 1: Log into Your Hosting Control Panel
Start by logging into your hosting provider's control panel using your username and password. This interface typically gives you access to various configuration options such as domains, resource usage, emails, and files.
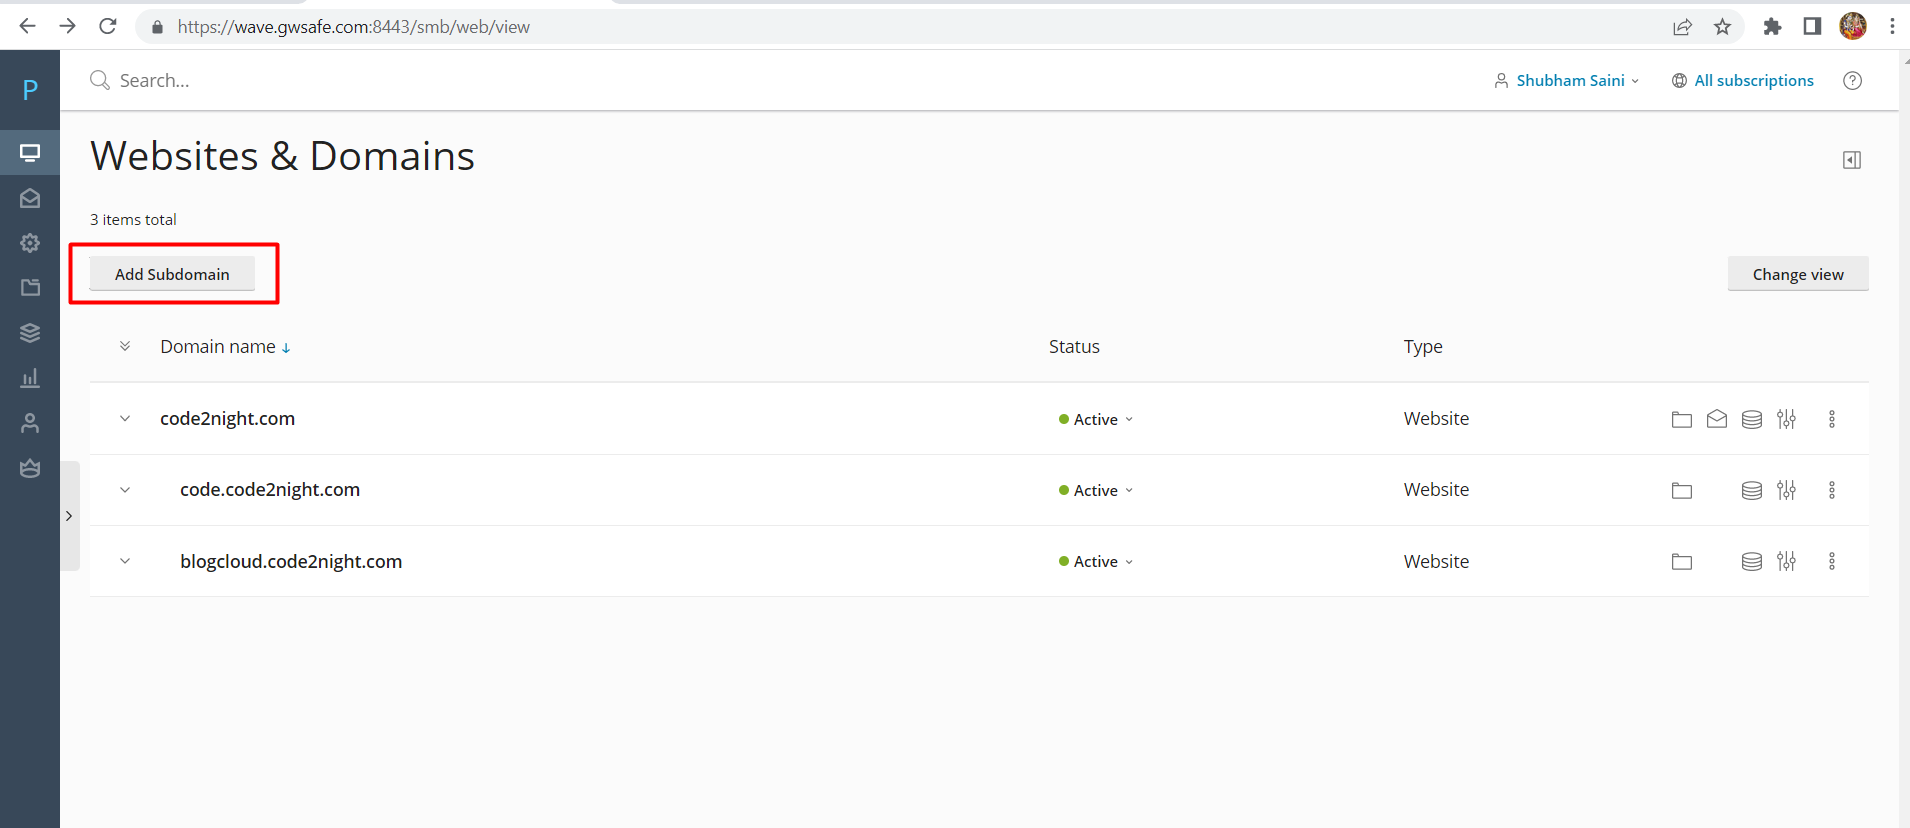
Step 2: Create a Subdomain (if necessary)
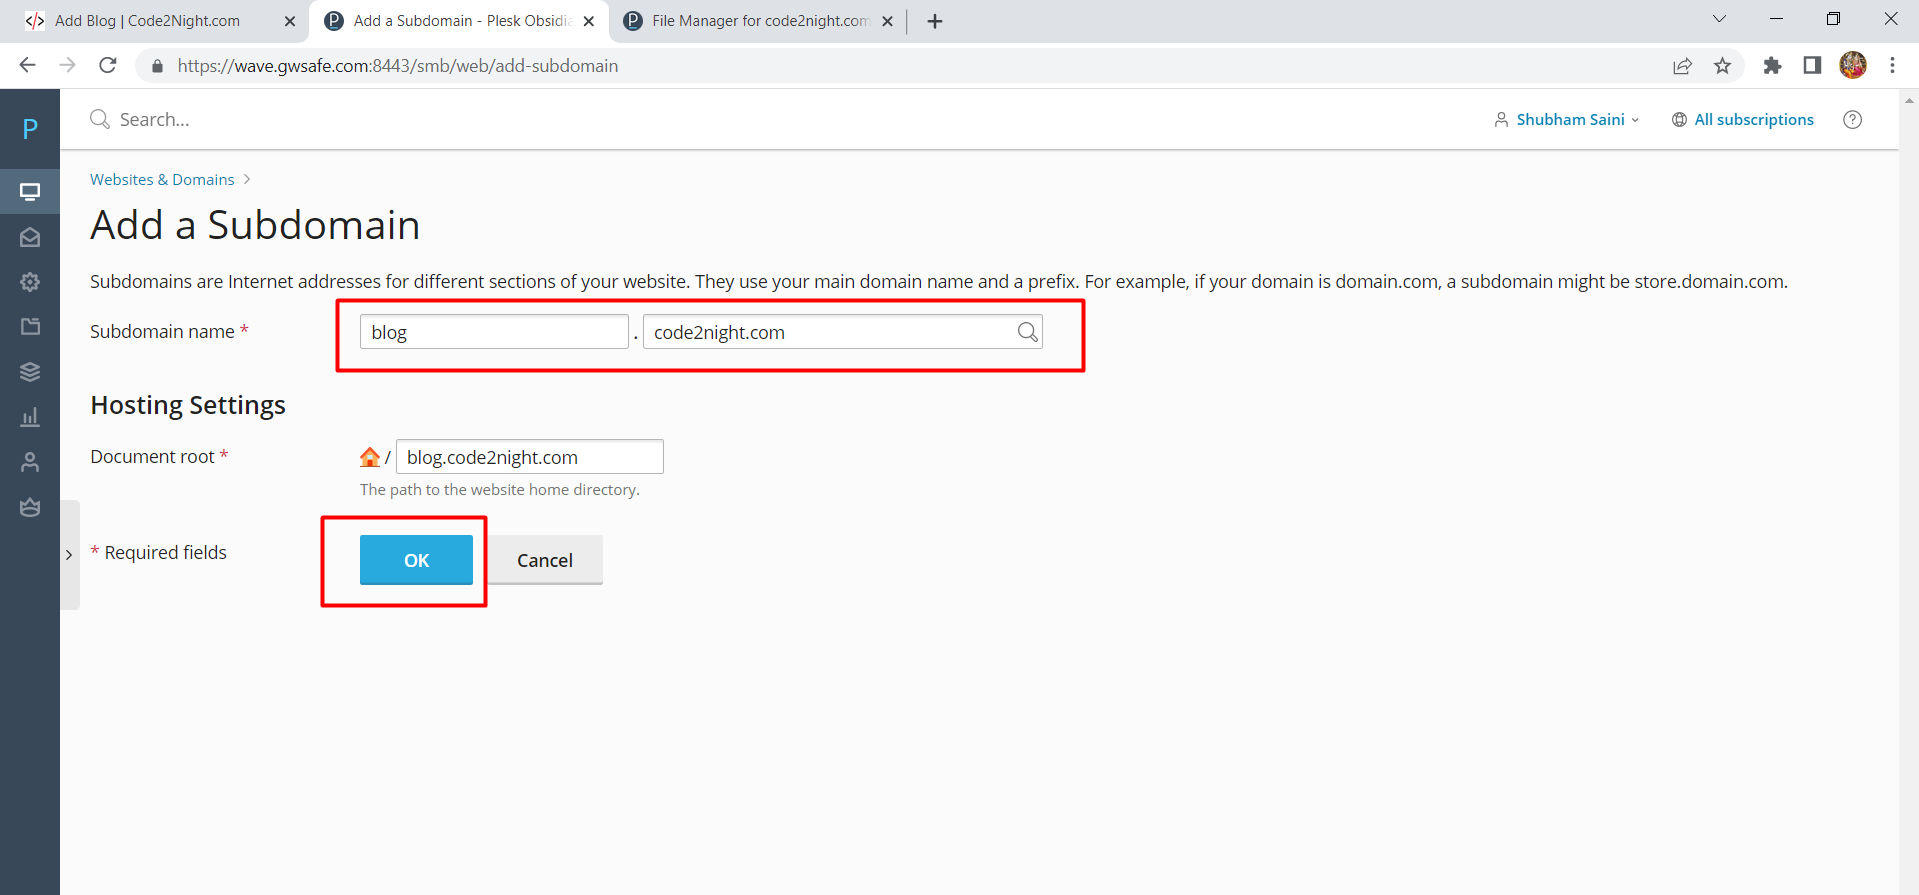
If you want to publish your application to a subdomain, navigate to the subdomain configuration section and click on the 'Add Subdomain' button. Enter your desired subdomain name and confirm the creation.
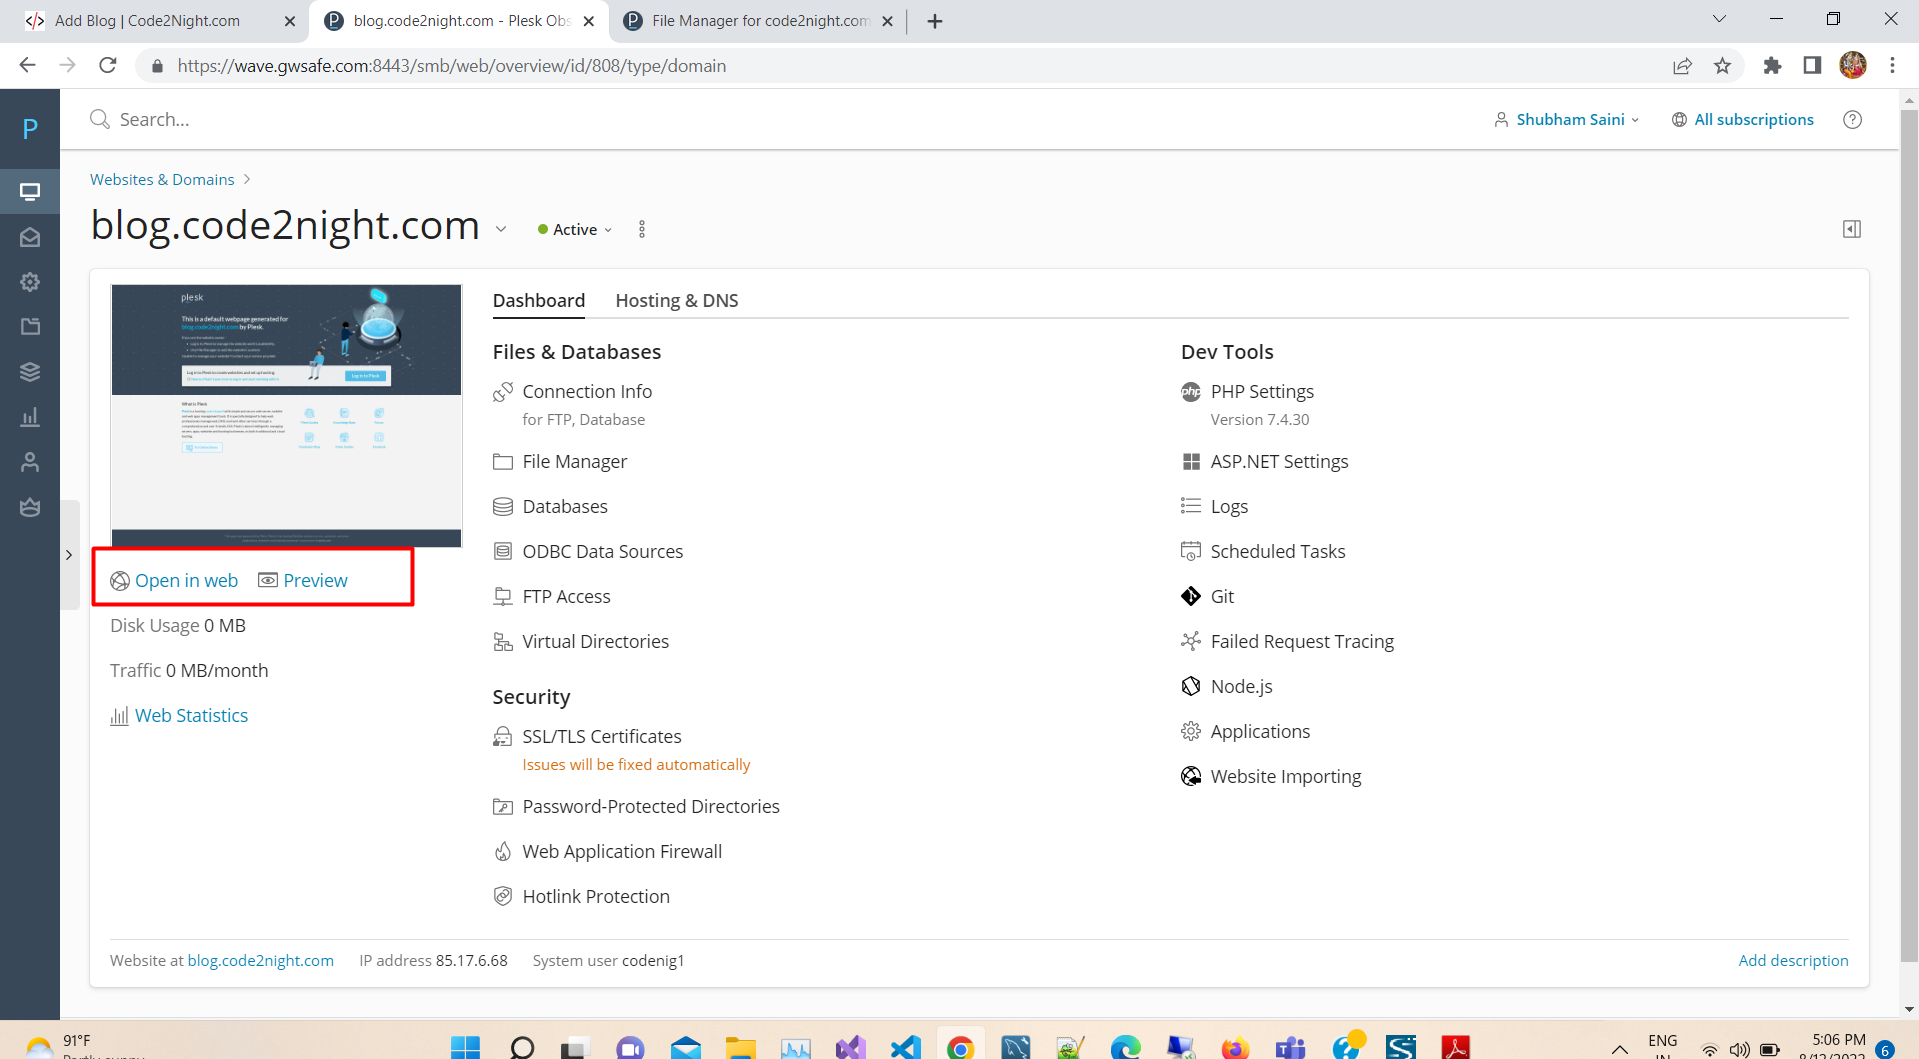
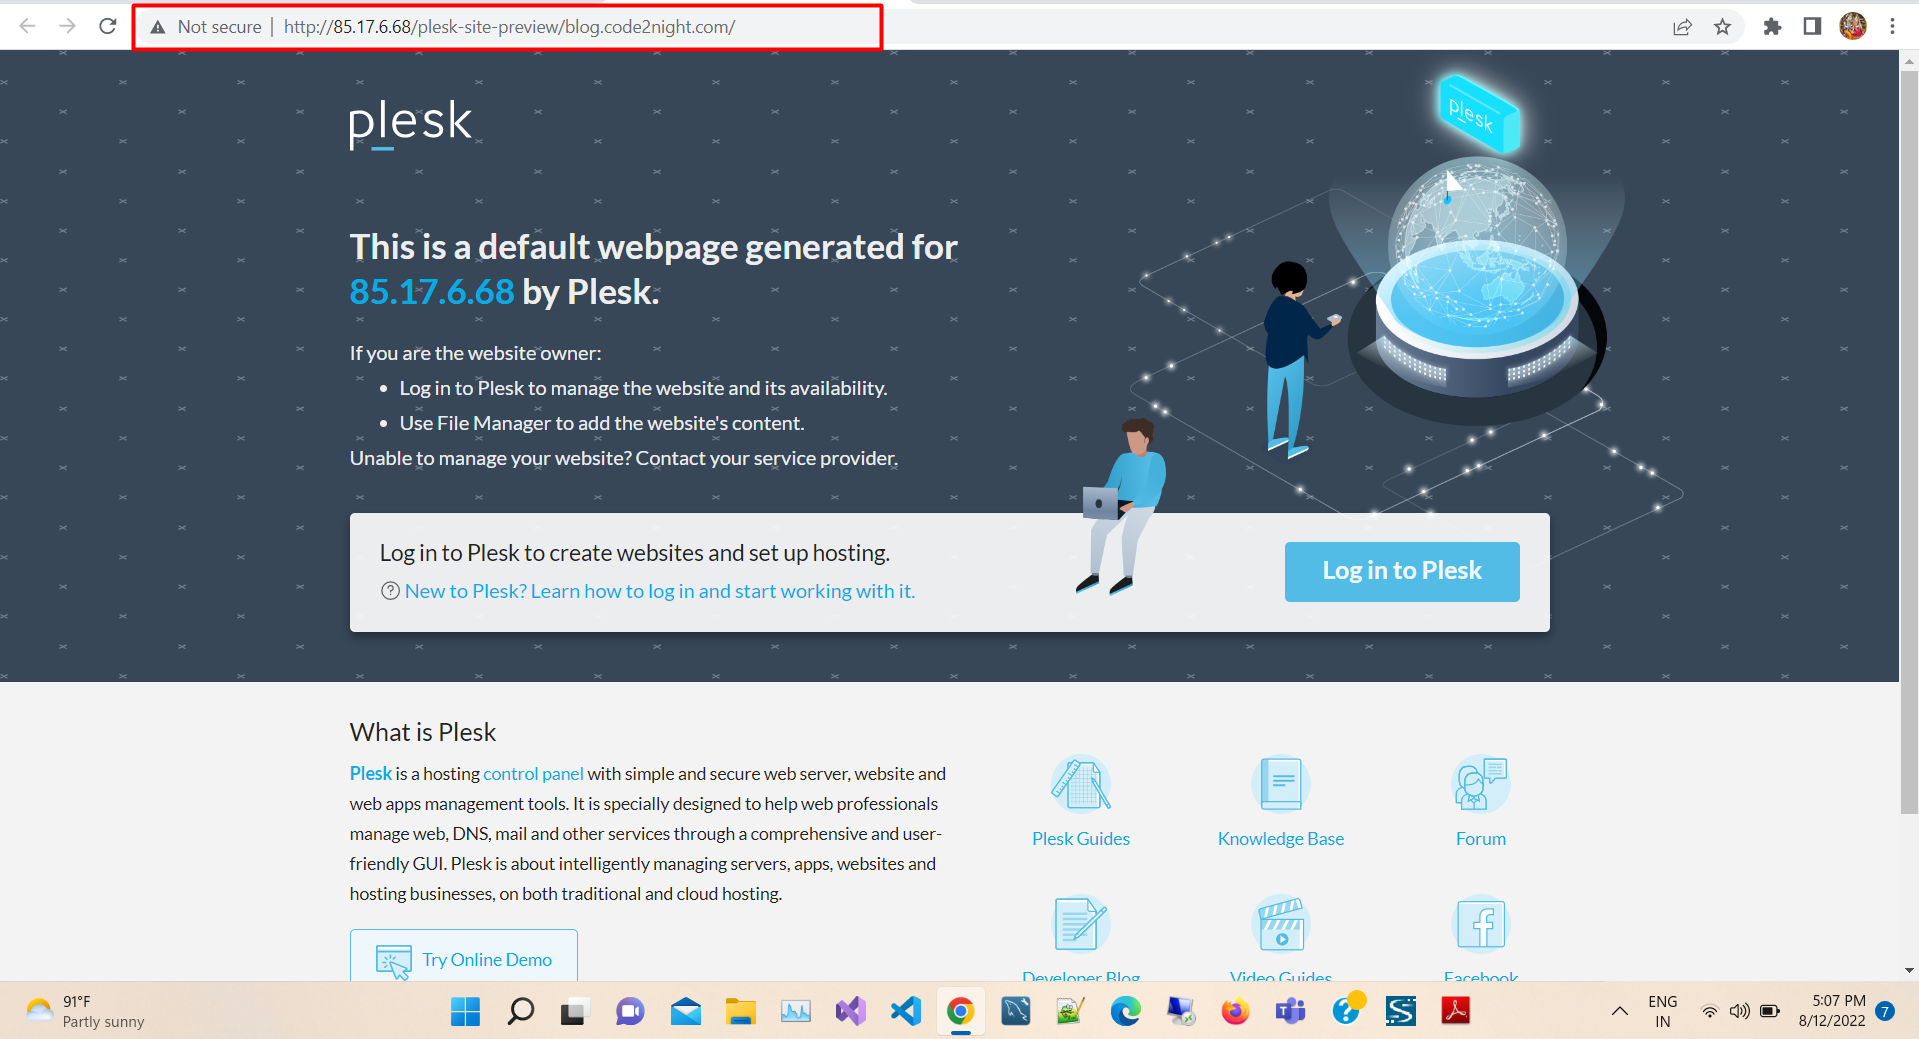
Step 3: Verify Your Subdomain
Once the subdomain is created, you can check its status by clicking the 'Preview' or 'Open in Web' button. This step ensures that your subdomain is functioning correctly before you proceed with the deployment.
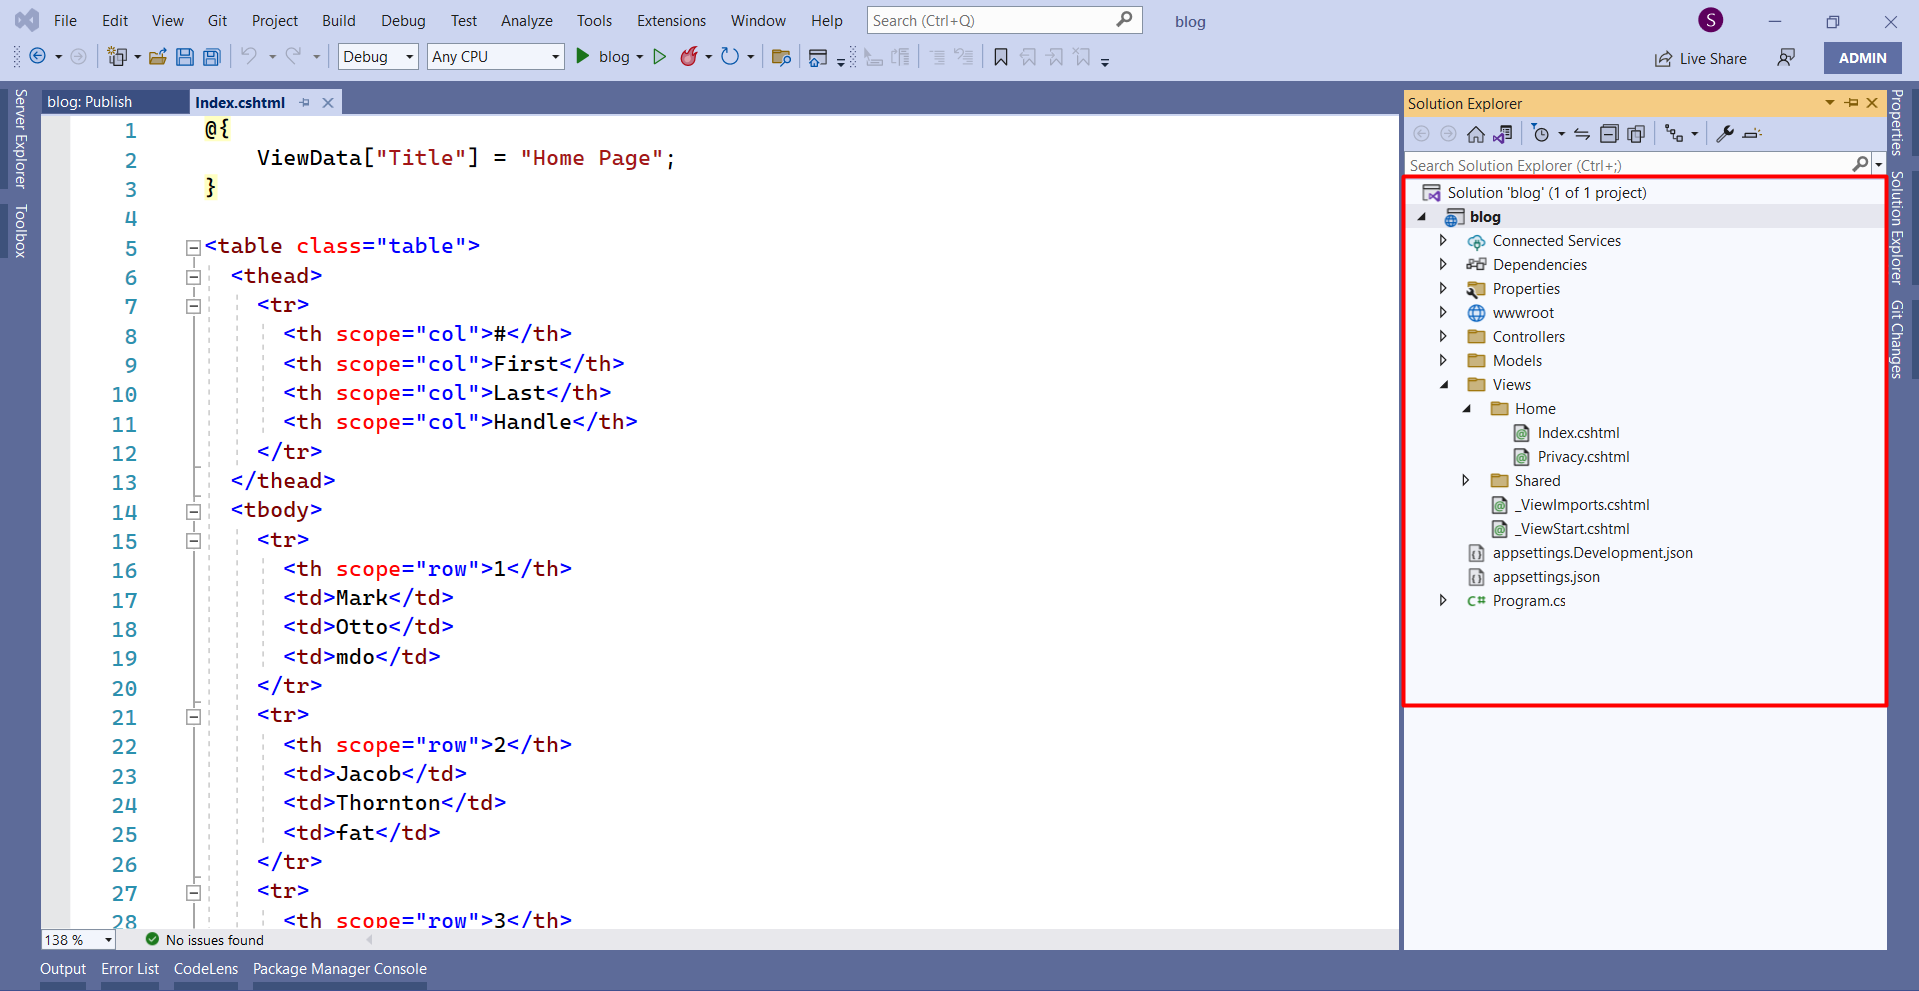
Step 4: Prepare Your ASP.NET Core Application for Publishing
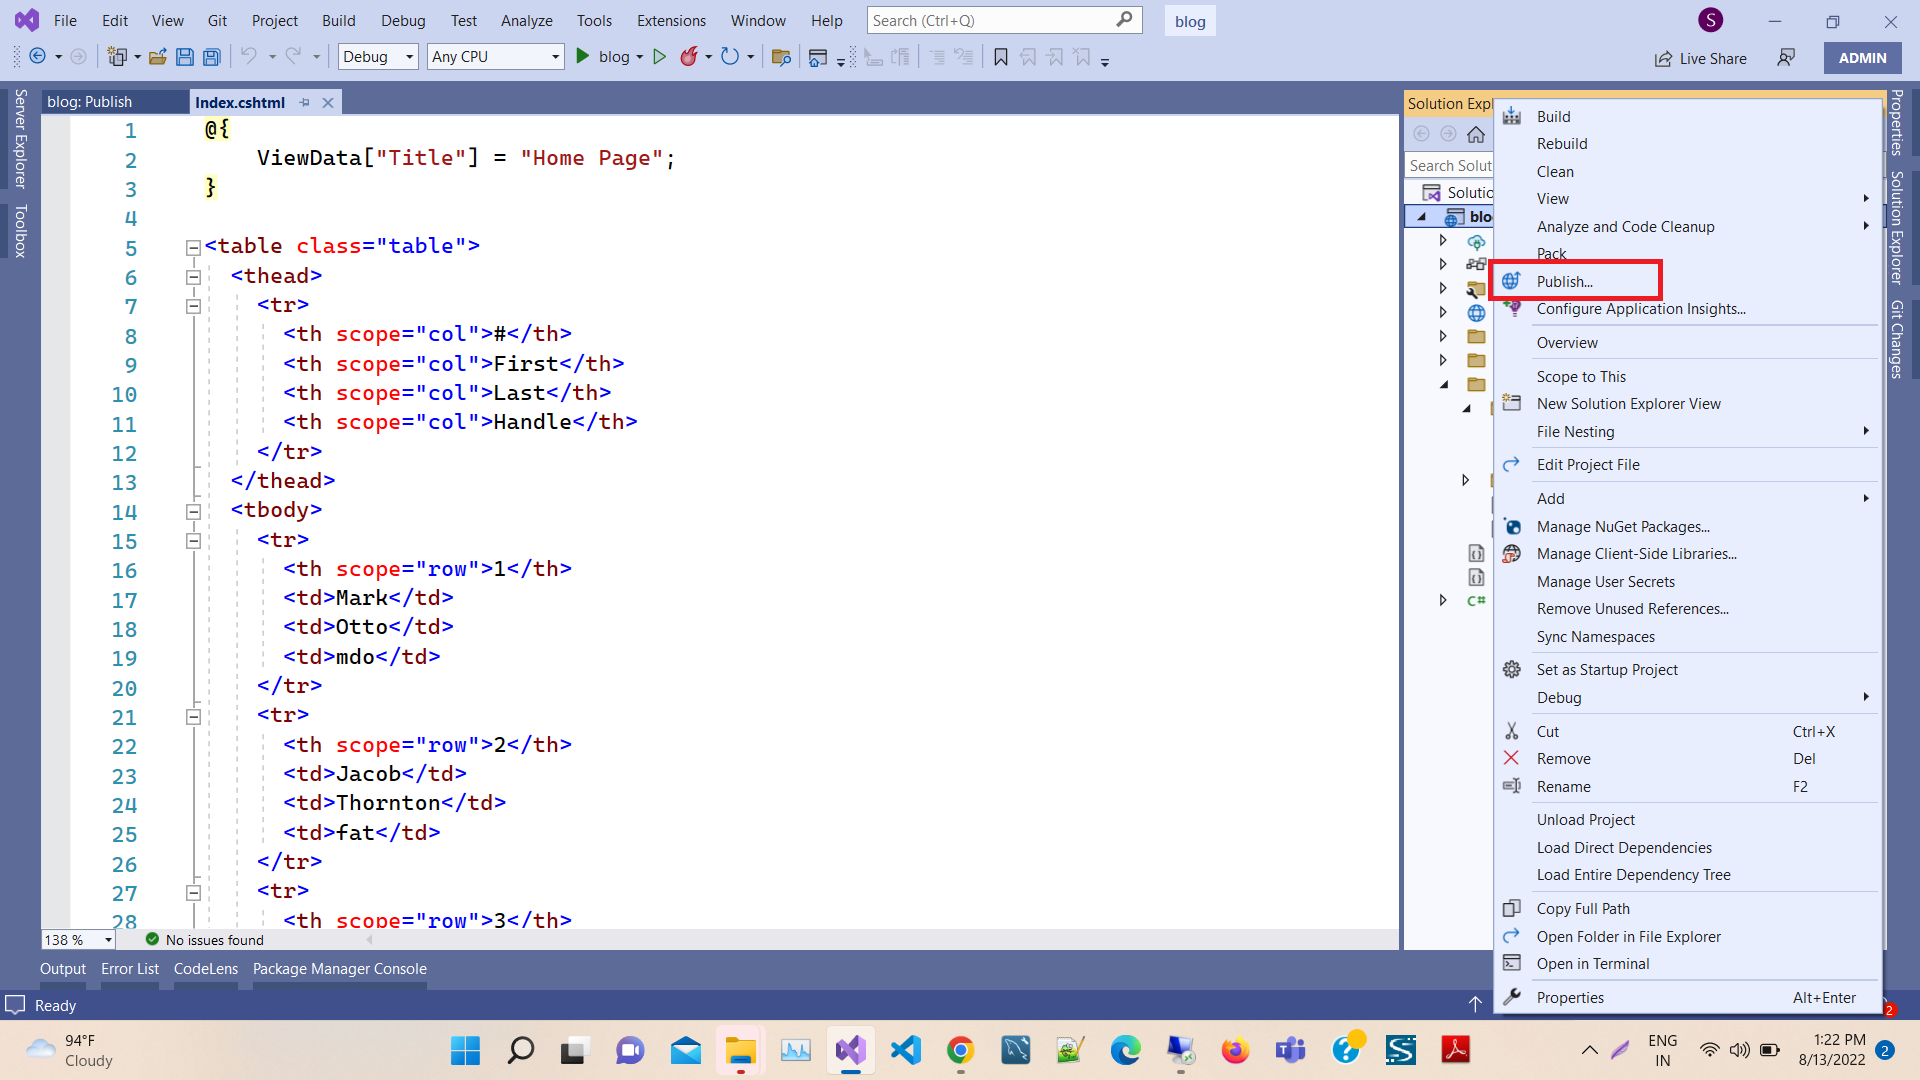
In Visual Studio, build and run your application to ensure it is functioning as expected. Once verified, right-click on your project in the Solution Explorer and select the 'Publish' option.
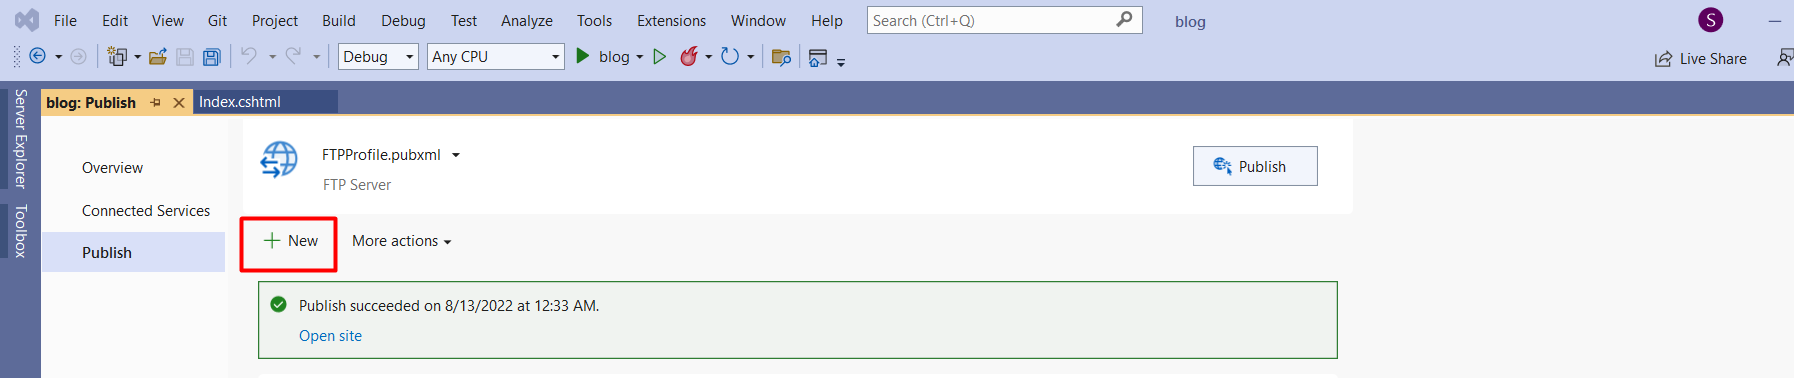
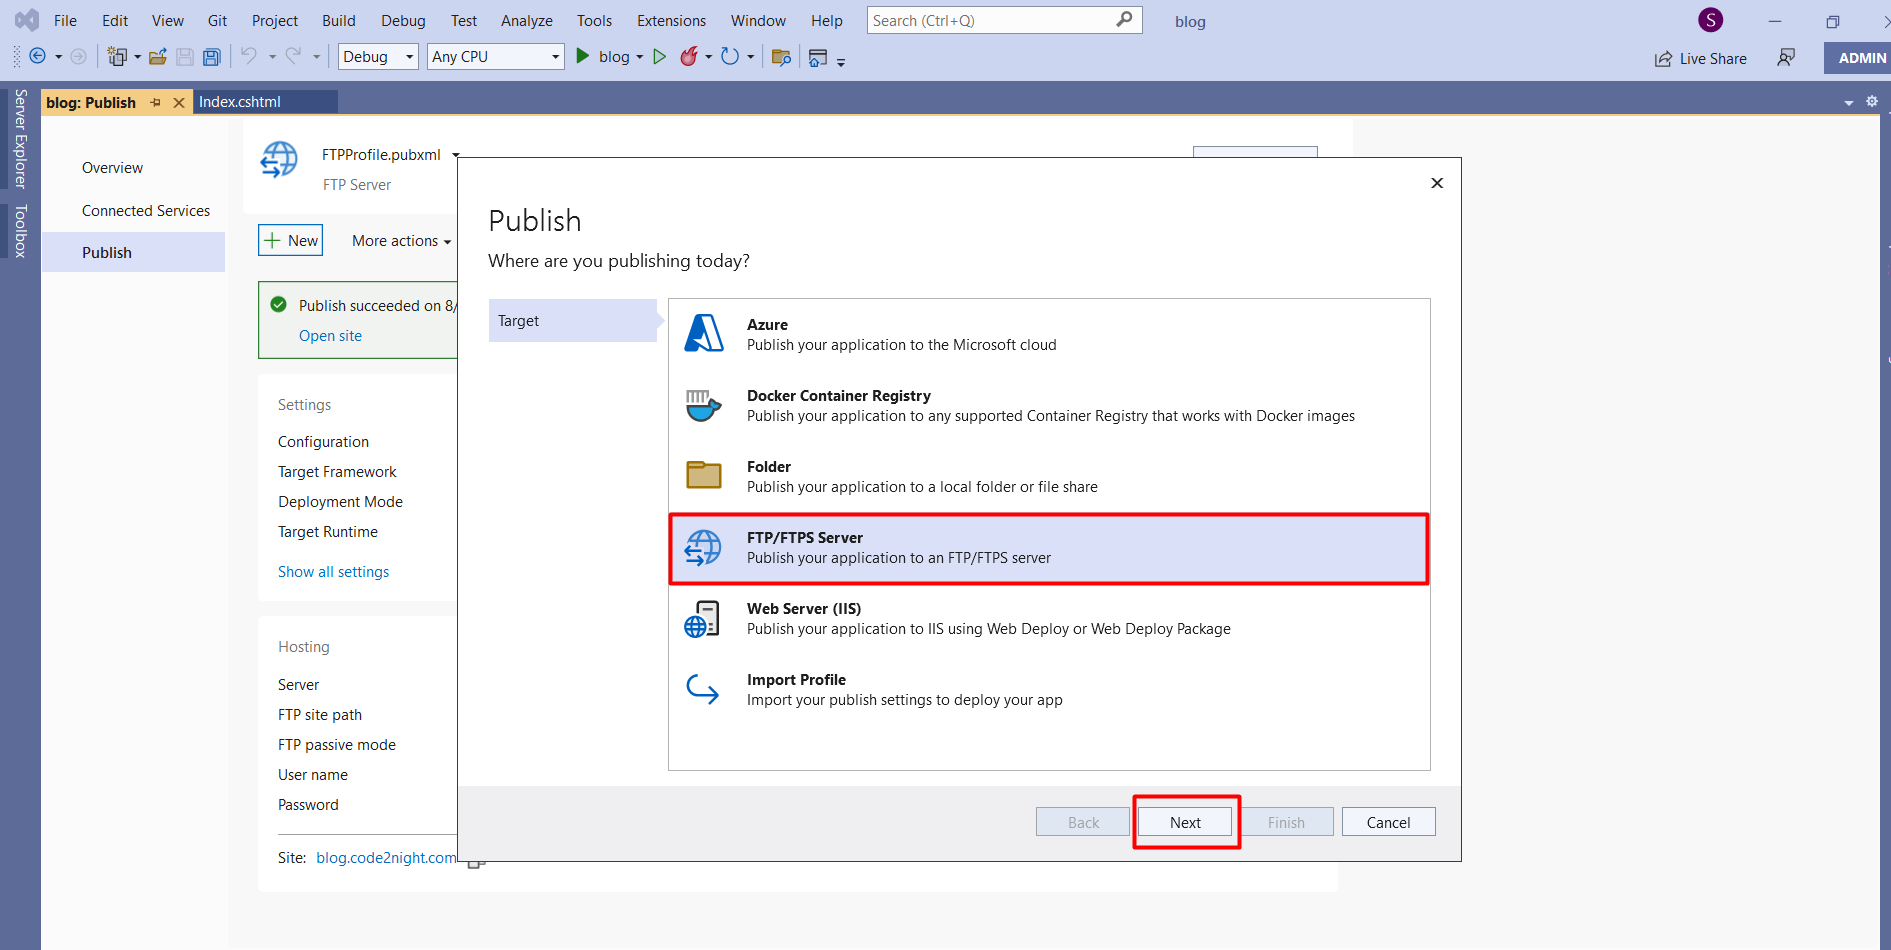
Step 5: Set Up FTP Publishing
In the Publish dialog, click on 'New' to create a new publishing profile. Choose 'FTP/FTPS Server' as the publish method. Fill in the required fields:
- Server: The FTP server address provided by your hosting service.
- Site Path: The path where you want to deploy your application (e.g., /blog.code2night.com).
- FTP Username: Your FTP account username.
- FTP Password: Your FTP account password.
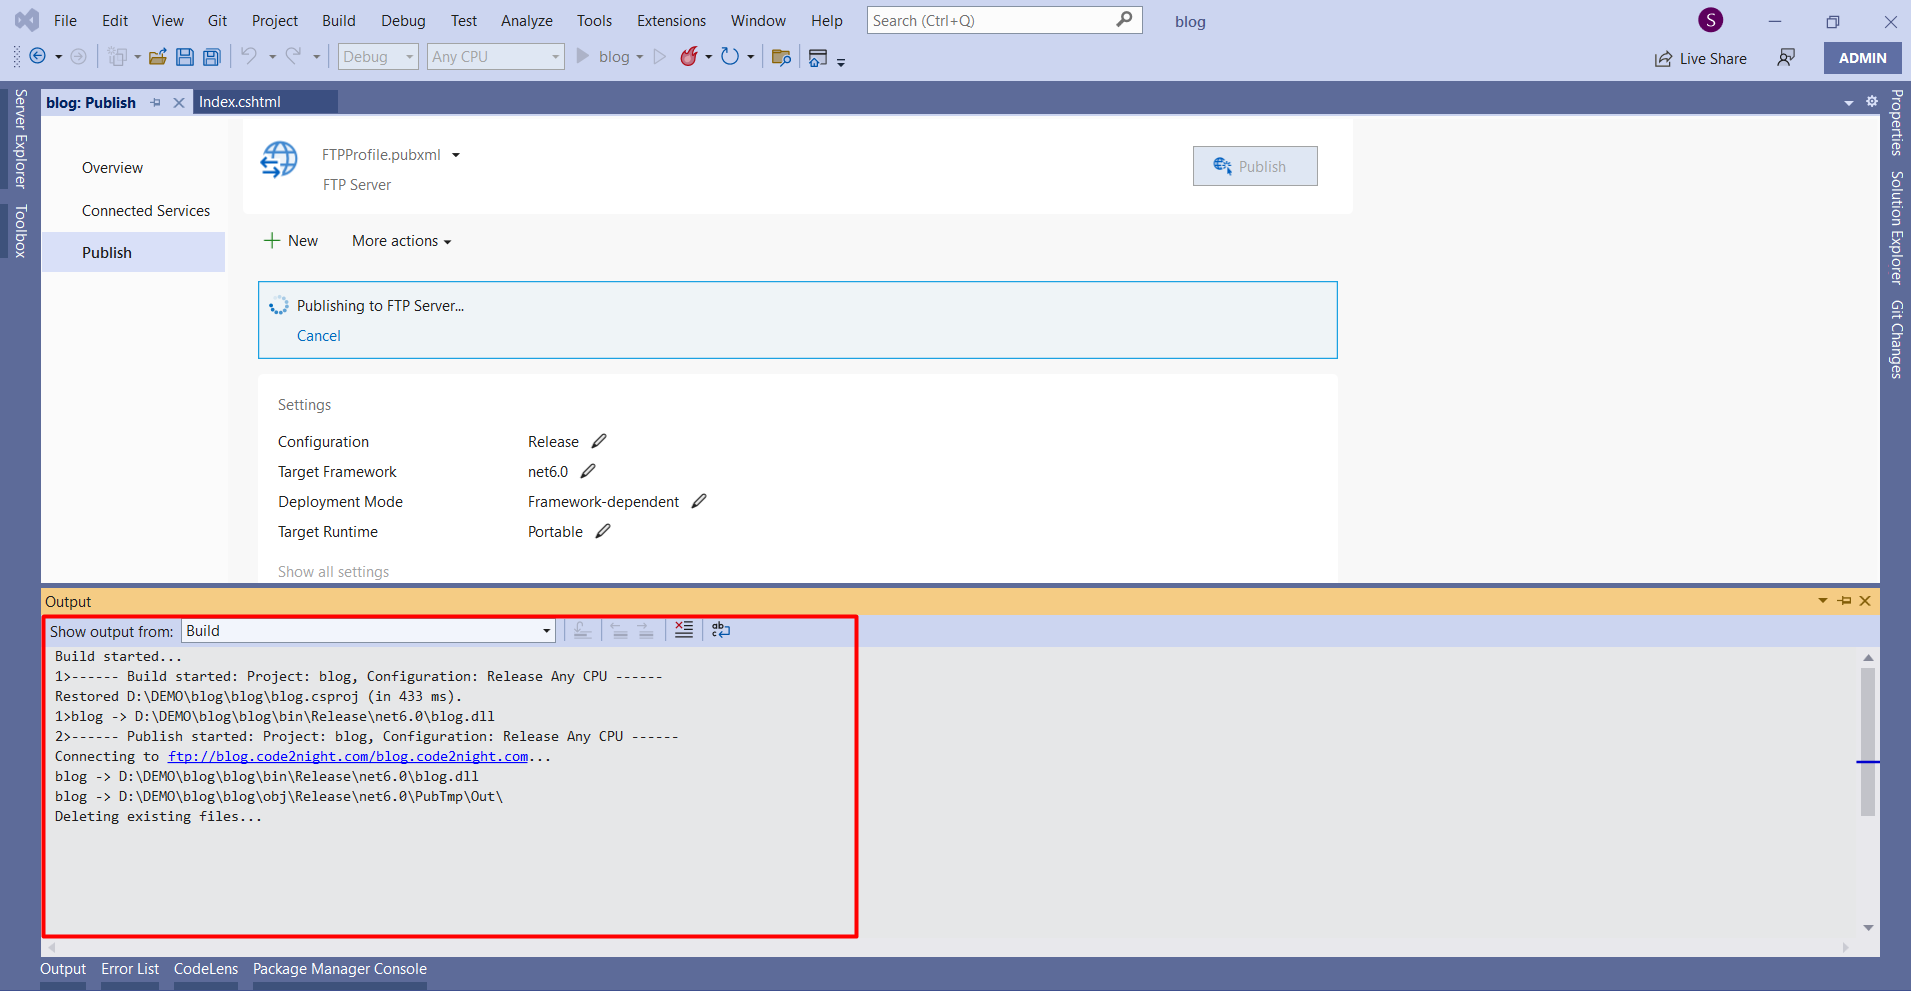
Step 6: Validate the Connection
After entering your credentials, click on the 'Validate Connection' button. A green checkmark indicates a successful connection, allowing you to proceed to the next step.
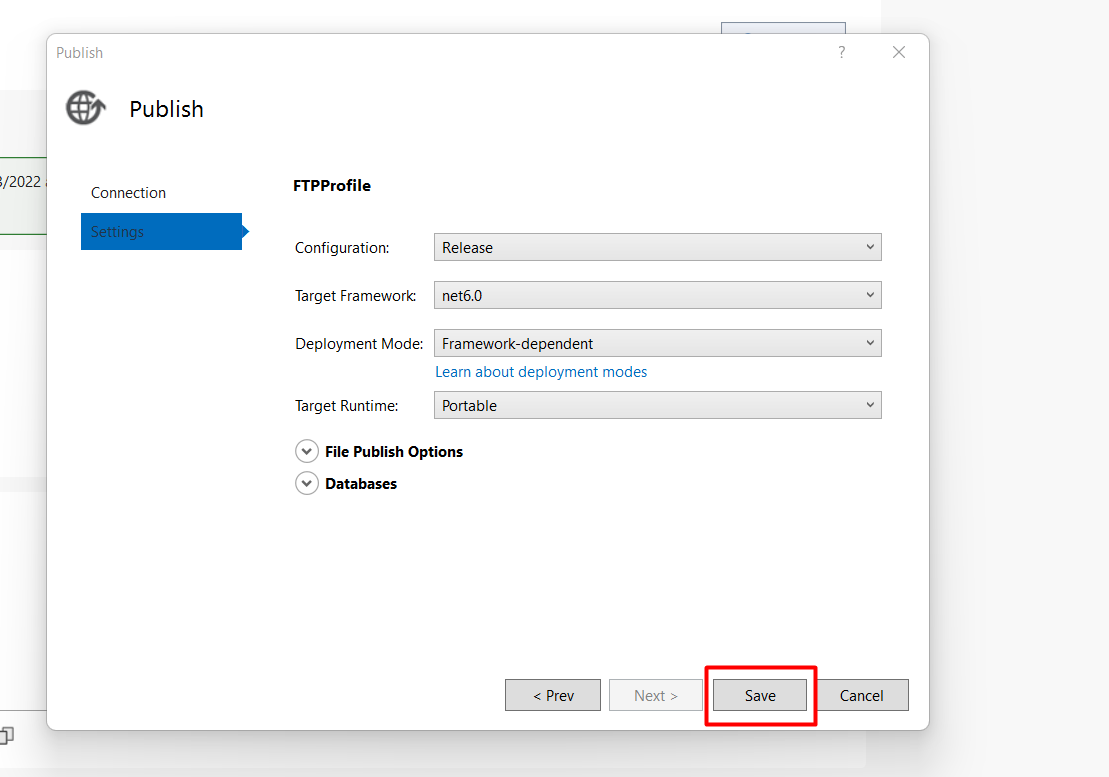
Step 7: Configure File Publish Options
In the next window, you will have the option to remove additional files at the destination. This is useful if you want to ensure that only the latest version of your application is deployed. After configuring your options, click on the 'Publish' button.
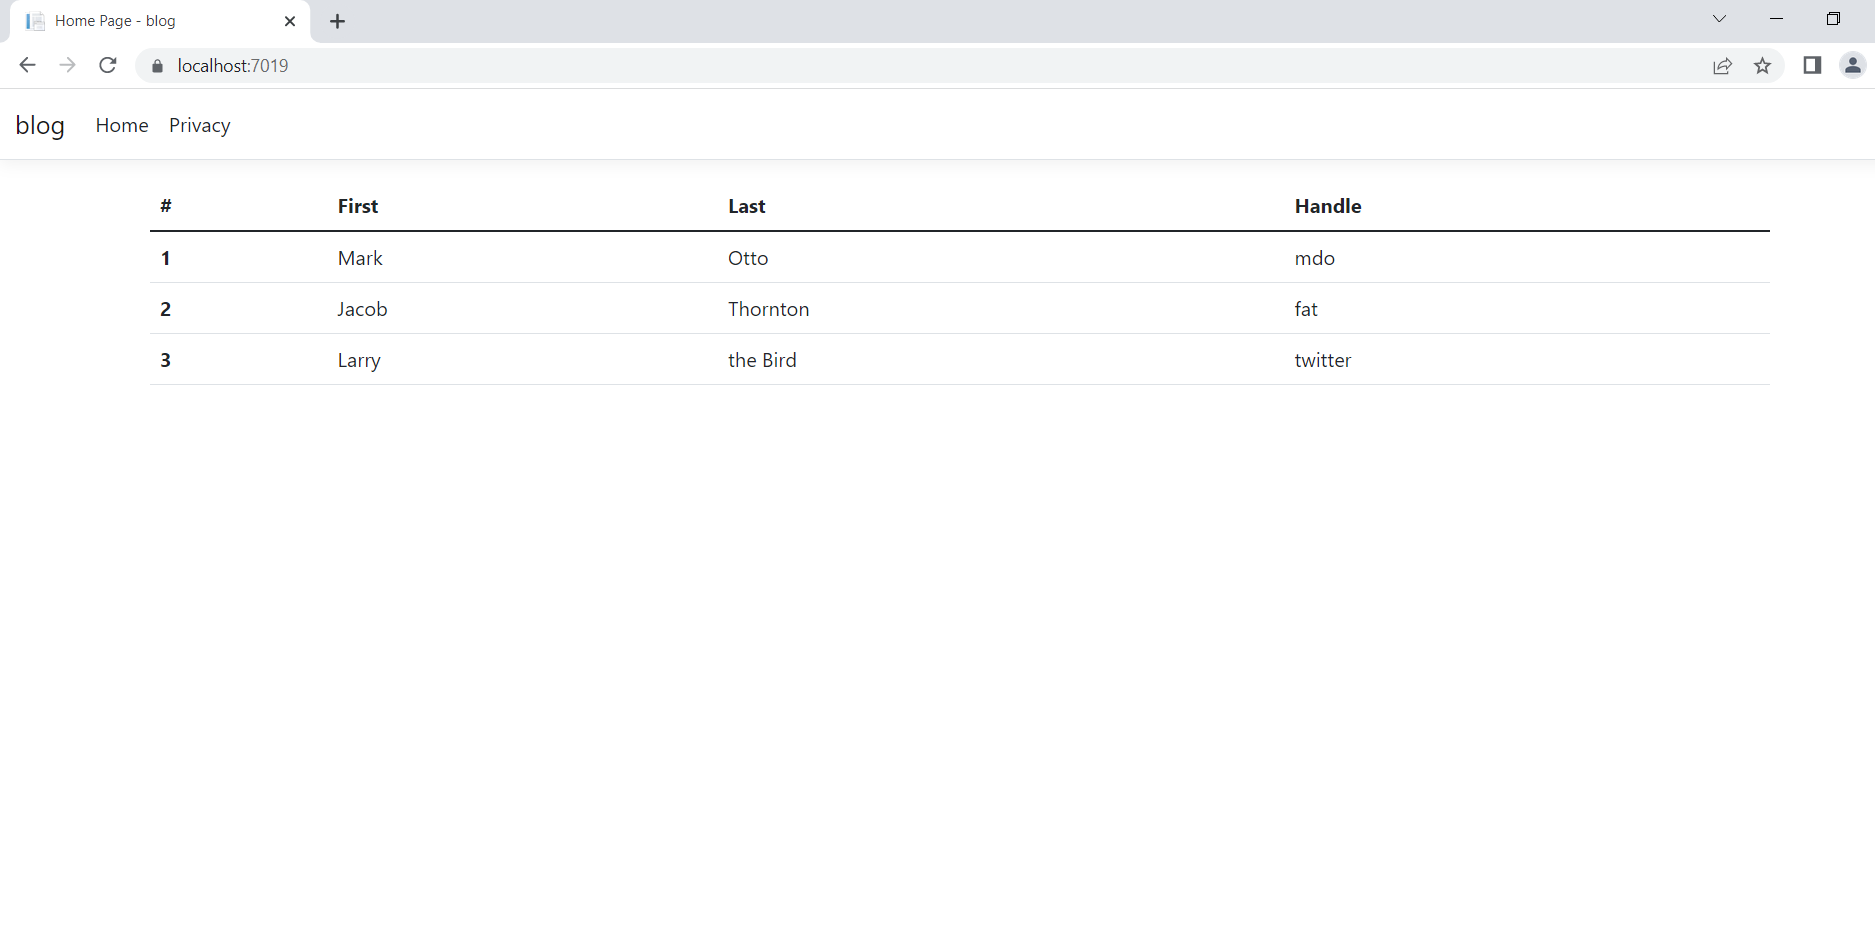
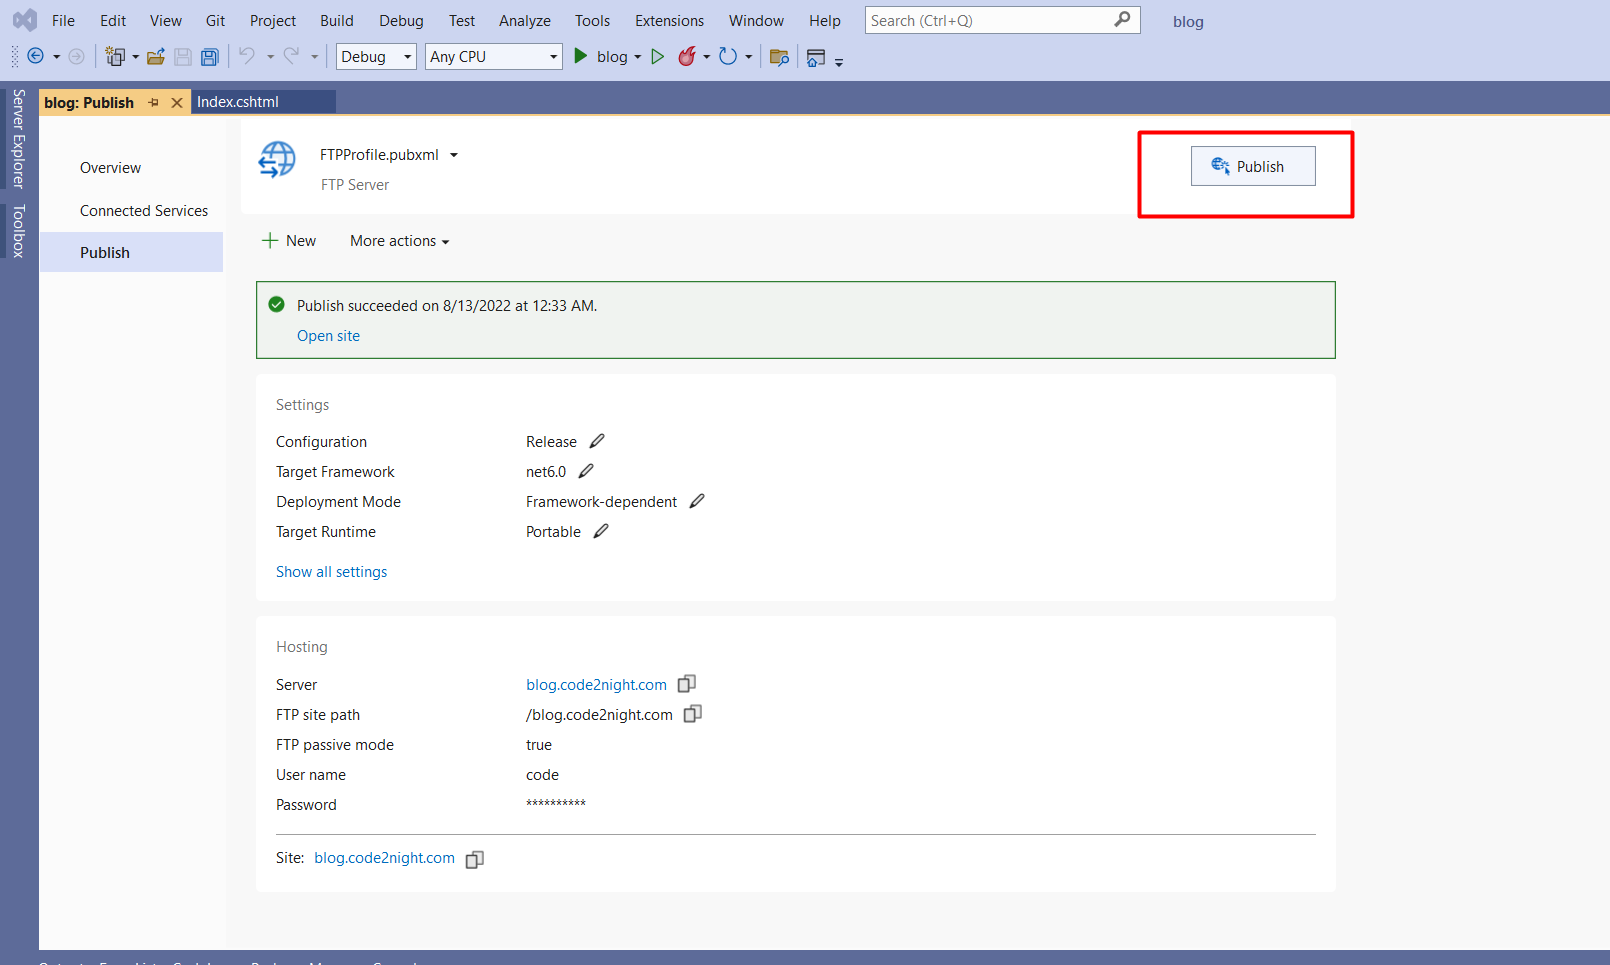
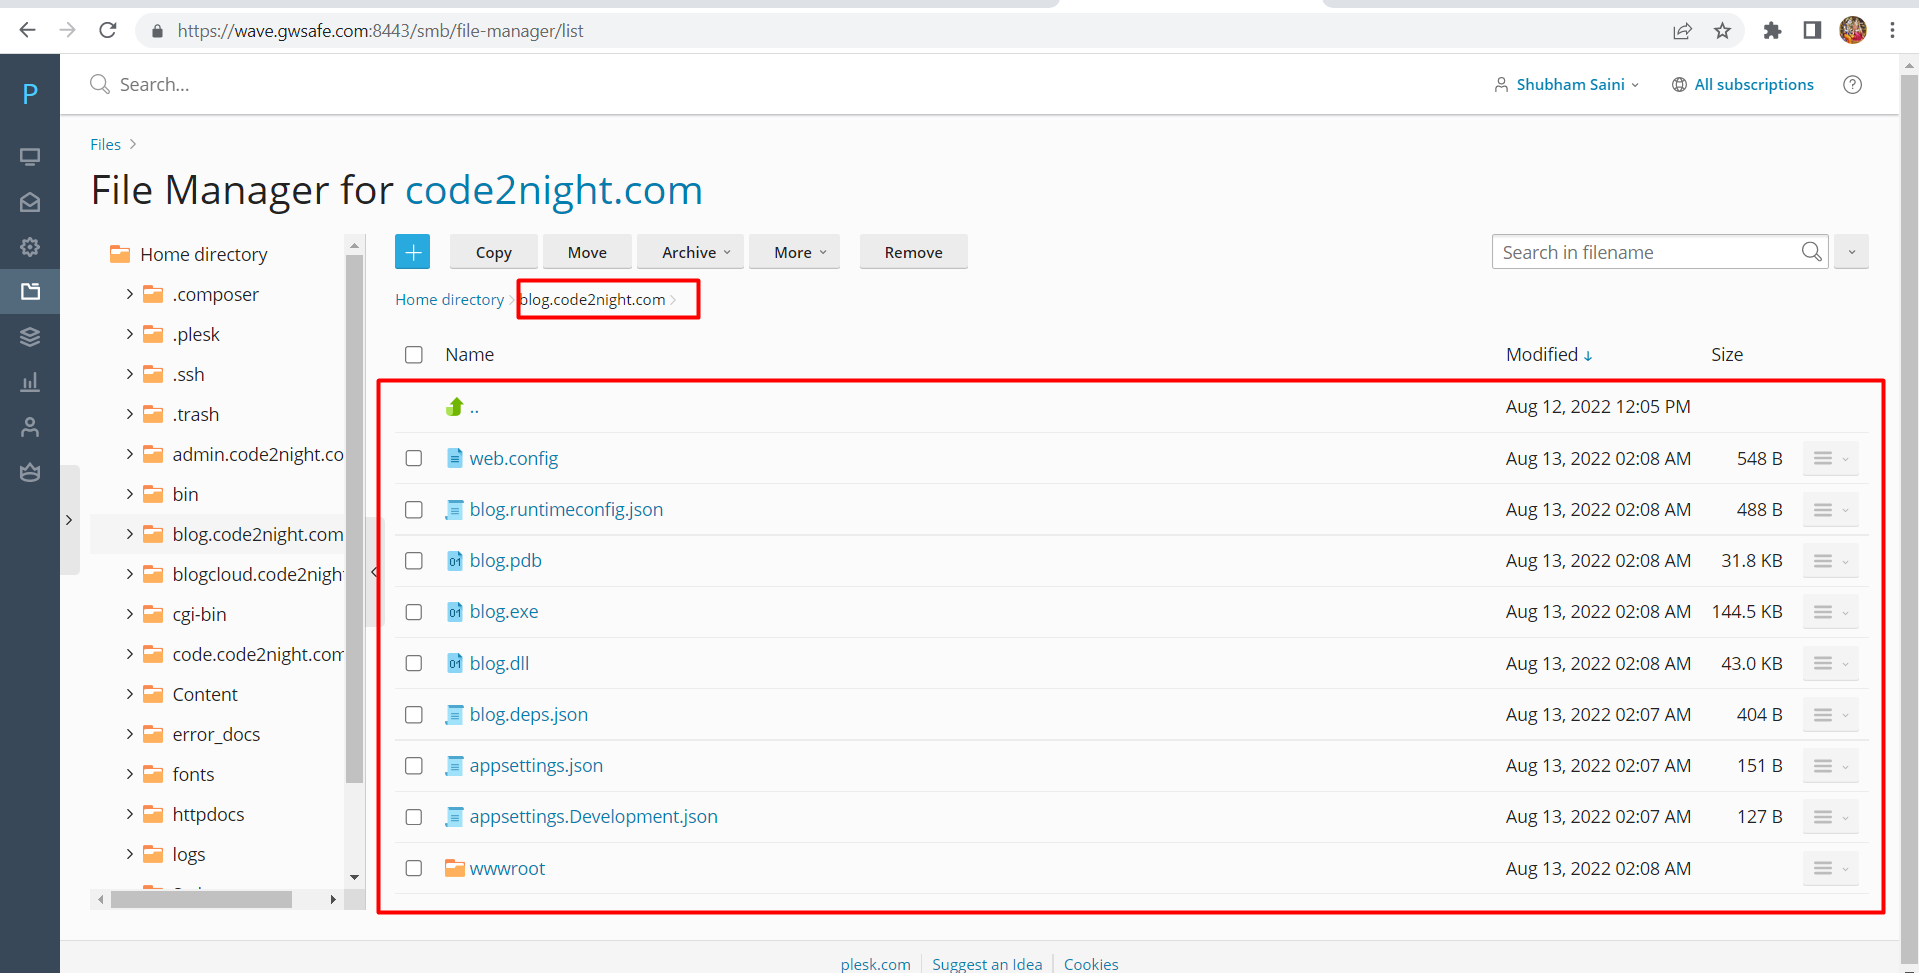
Step 8: Verify Your Deployment
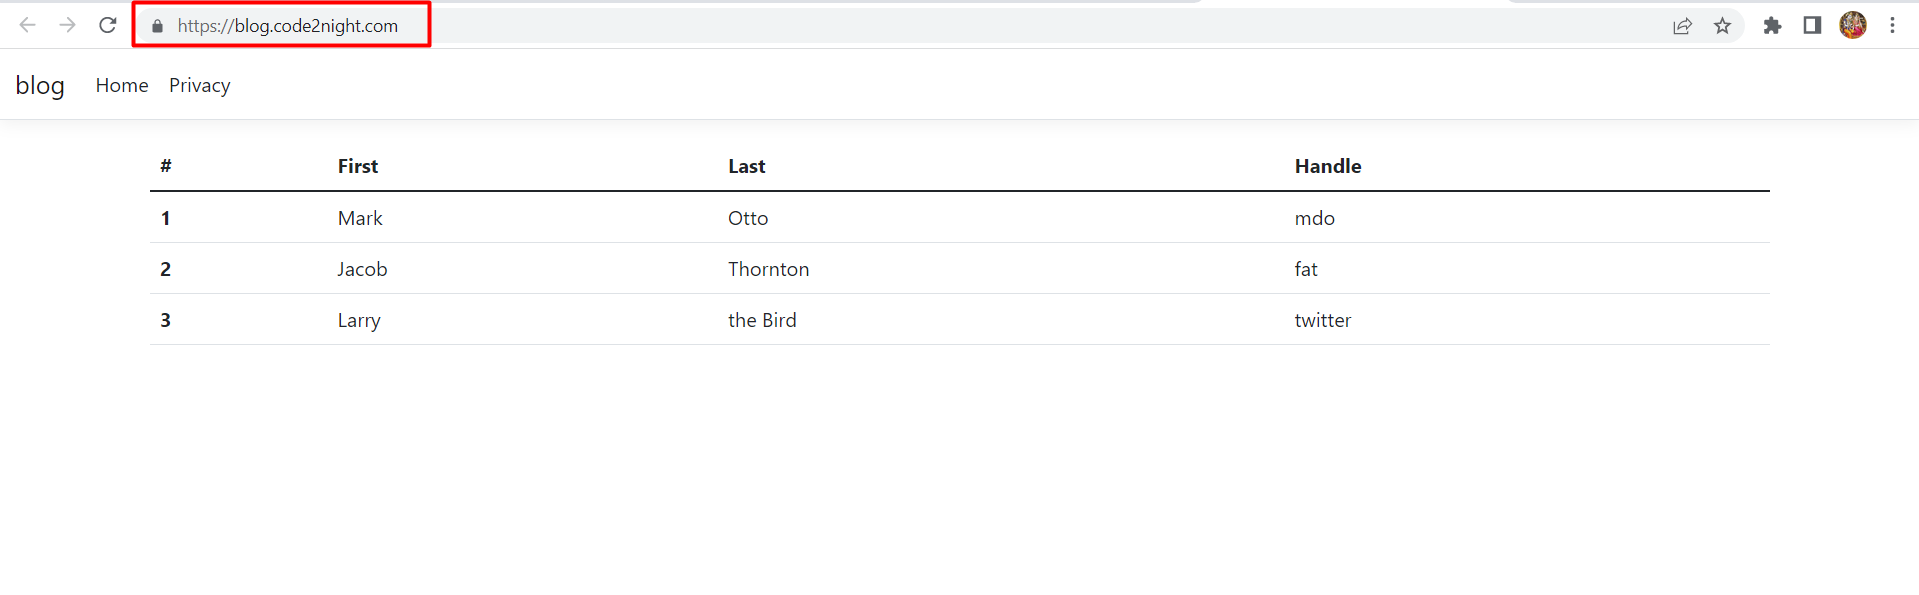
Once the publishing process is complete, navigate to your FTP location to verify that all files have been uploaded successfully. You can then access your application at the provided URL, such as https://blog.code2night.com/.
Edge Cases & Gotchas
When publishing via FTP, be aware of the following potential issues:
- File Permissions: Ensure that the correct file permissions are set on your server. Improper permissions can lead to application errors or inaccessible files.
- Connection Timeouts: If your FTP connection times out during large uploads, consider splitting your deployment into smaller chunks or checking your hosting provider's connection limits.
- Version Conflicts: If you are not removing old files during deployment, ensure that there are no version conflicts that could cause application errors.
Performance & Best Practices
To optimize your FTP publishing process, consider the following best practices:
- Use FTPS: Whenever possible, use FTPS (FTP Secure) to encrypt your data during transfer, enhancing security.
- Minimize File Size: Compress files before uploading to reduce upload time and bandwidth usage.
- Automate Deployments: Consider using CI/CD tools to automate your deployment process, reducing the chance of human error.
- Regular Backups: Always maintain backups of your application files and database to prevent data loss during deployment.
Conclusion
Publishing your ASP.NET Core MVC application using FTP is a straightforward process that allows you to deploy your web applications effectively. By following the steps outlined above and keeping best practices in mind, you can ensure a smooth deployment experience.
Key Takeaways
- Understand the basics of FTP and its role in web application deployment.
- Follow a structured approach to publish your application from Visual Studio.
- Be aware of edge cases and potential issues during the deployment process.
- Implement best practices to enhance security and performance during FTP uploads.