Setting up database on plesk server
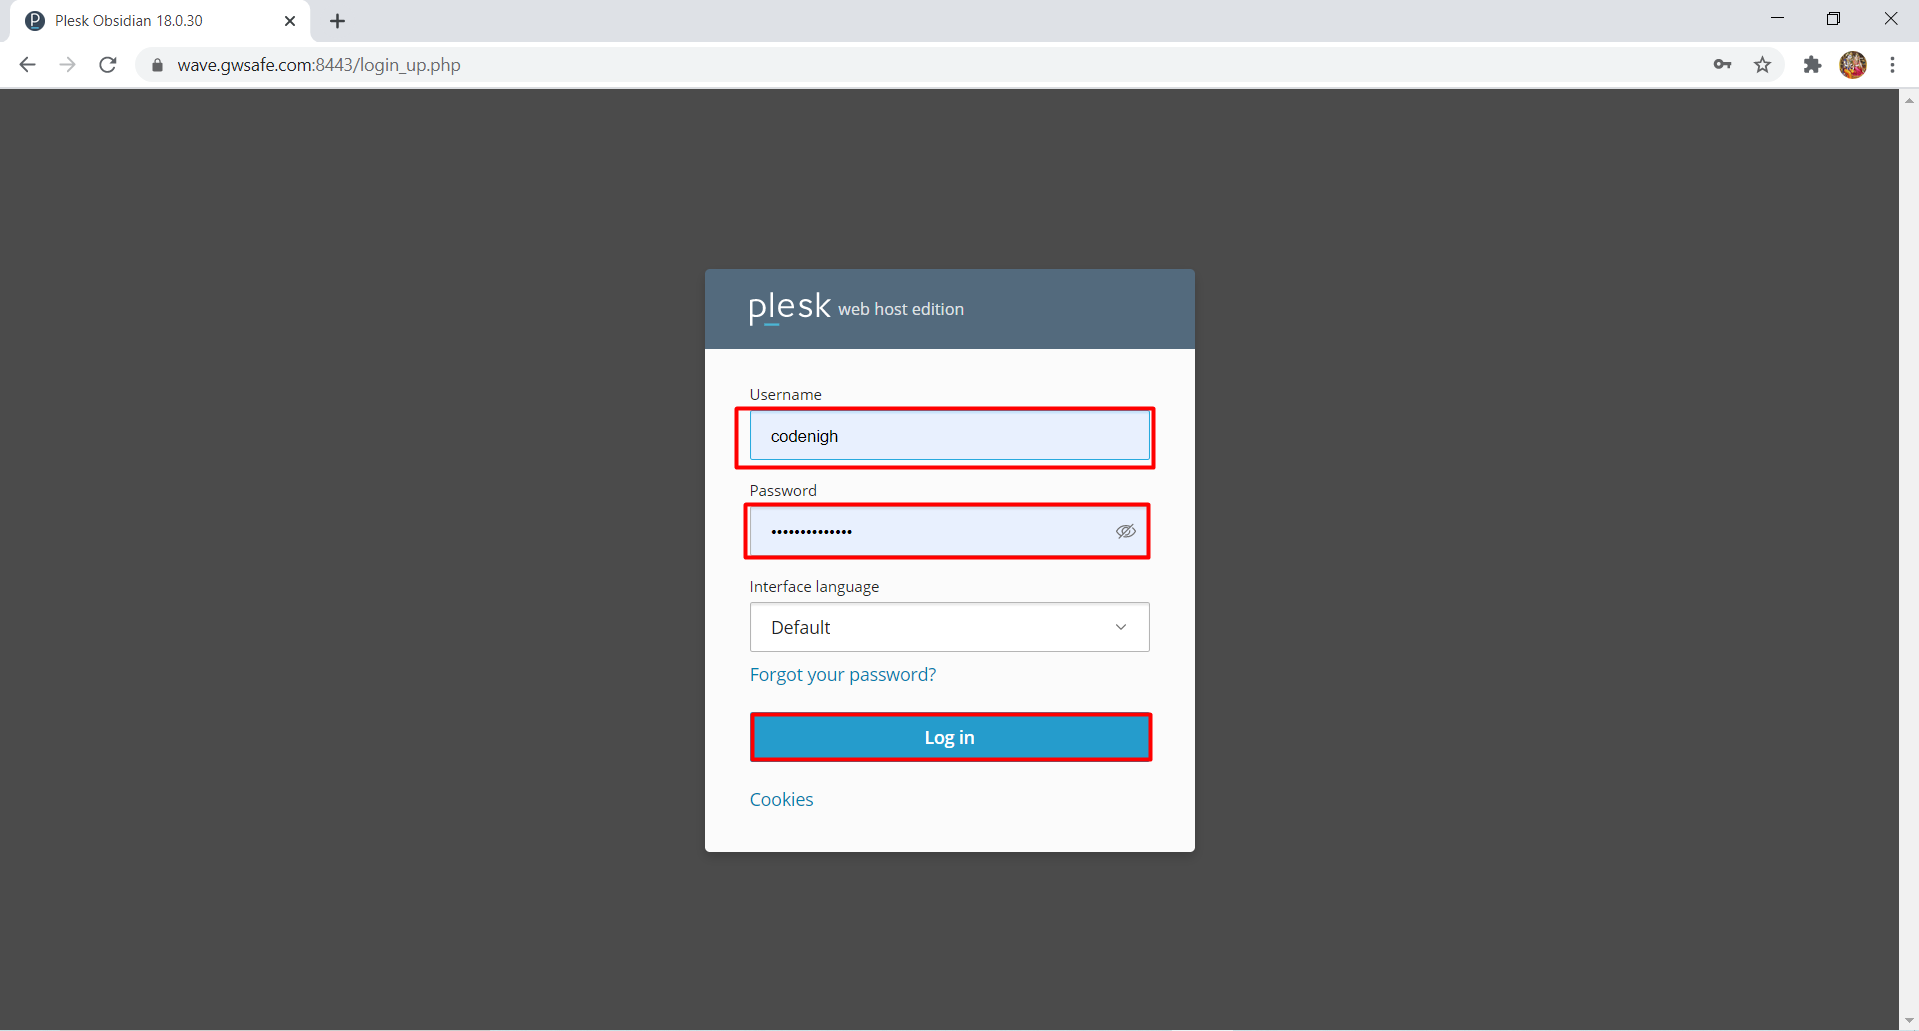
Step 1: Login to your plesk account
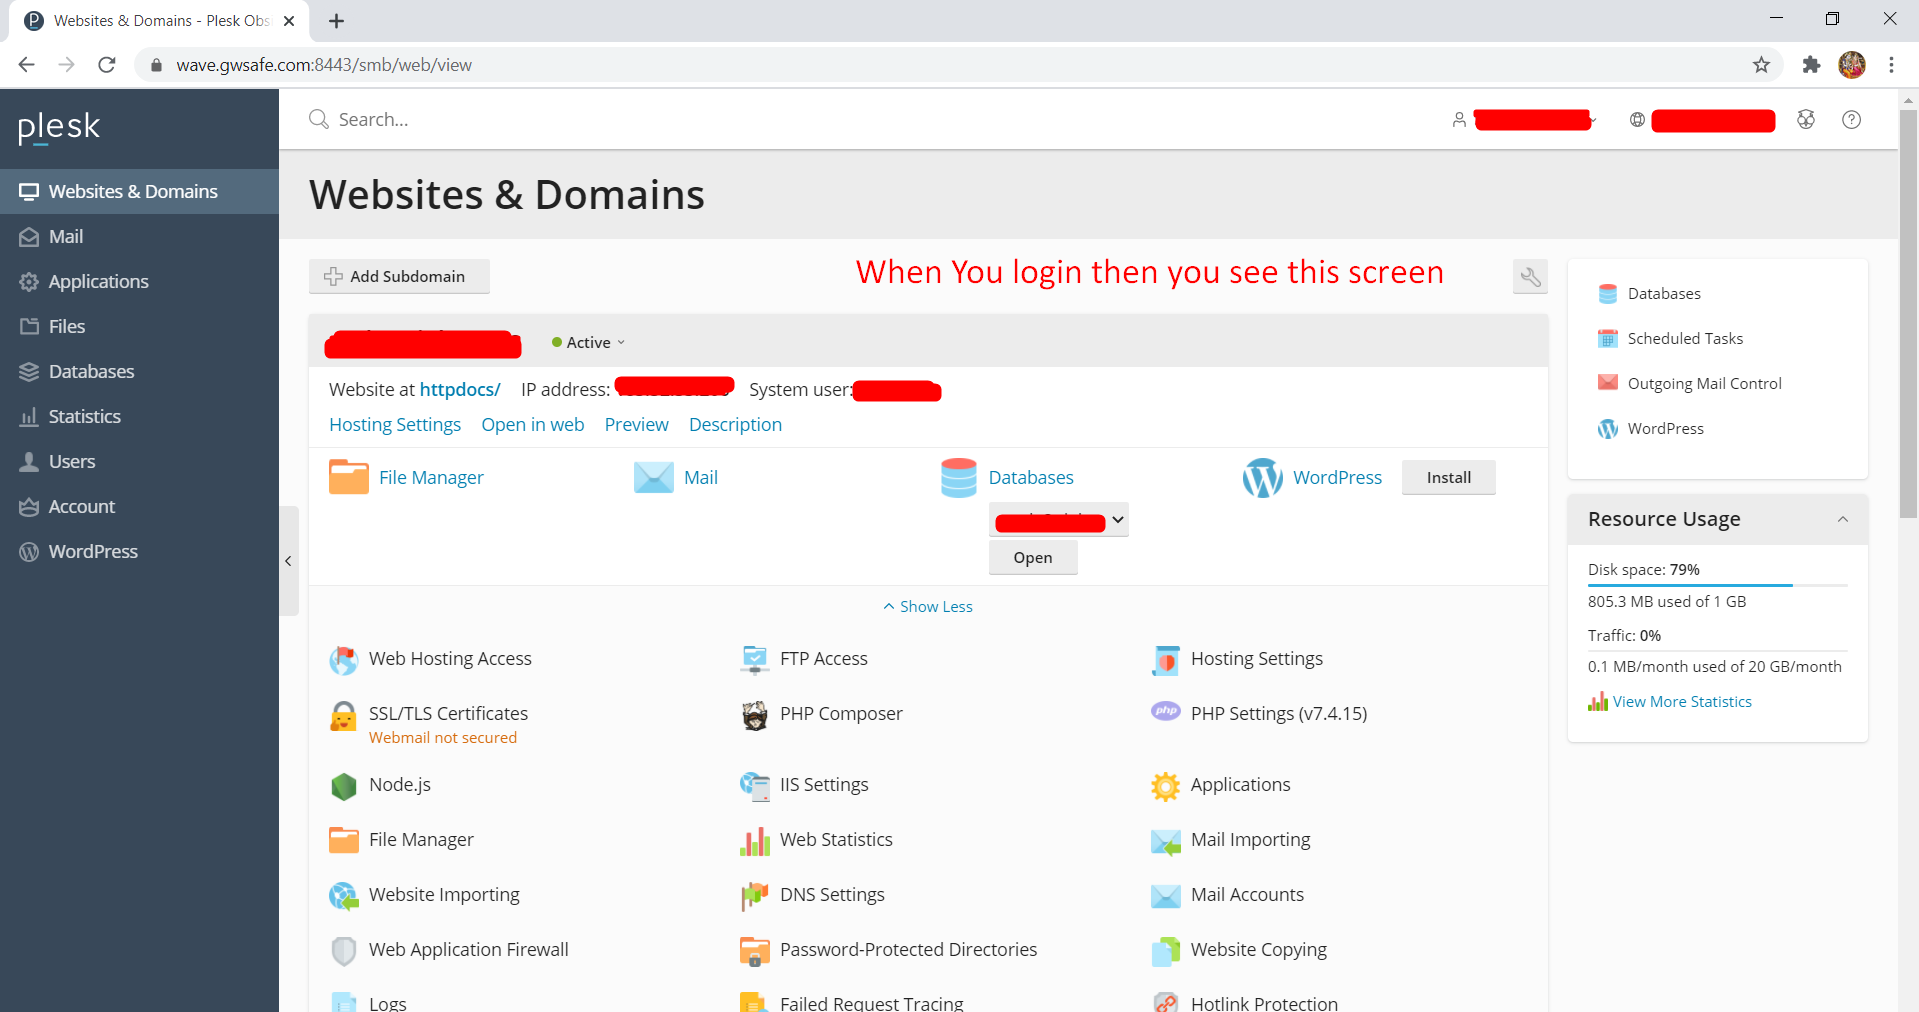
Step 2: when you login to your account then you see this screen.
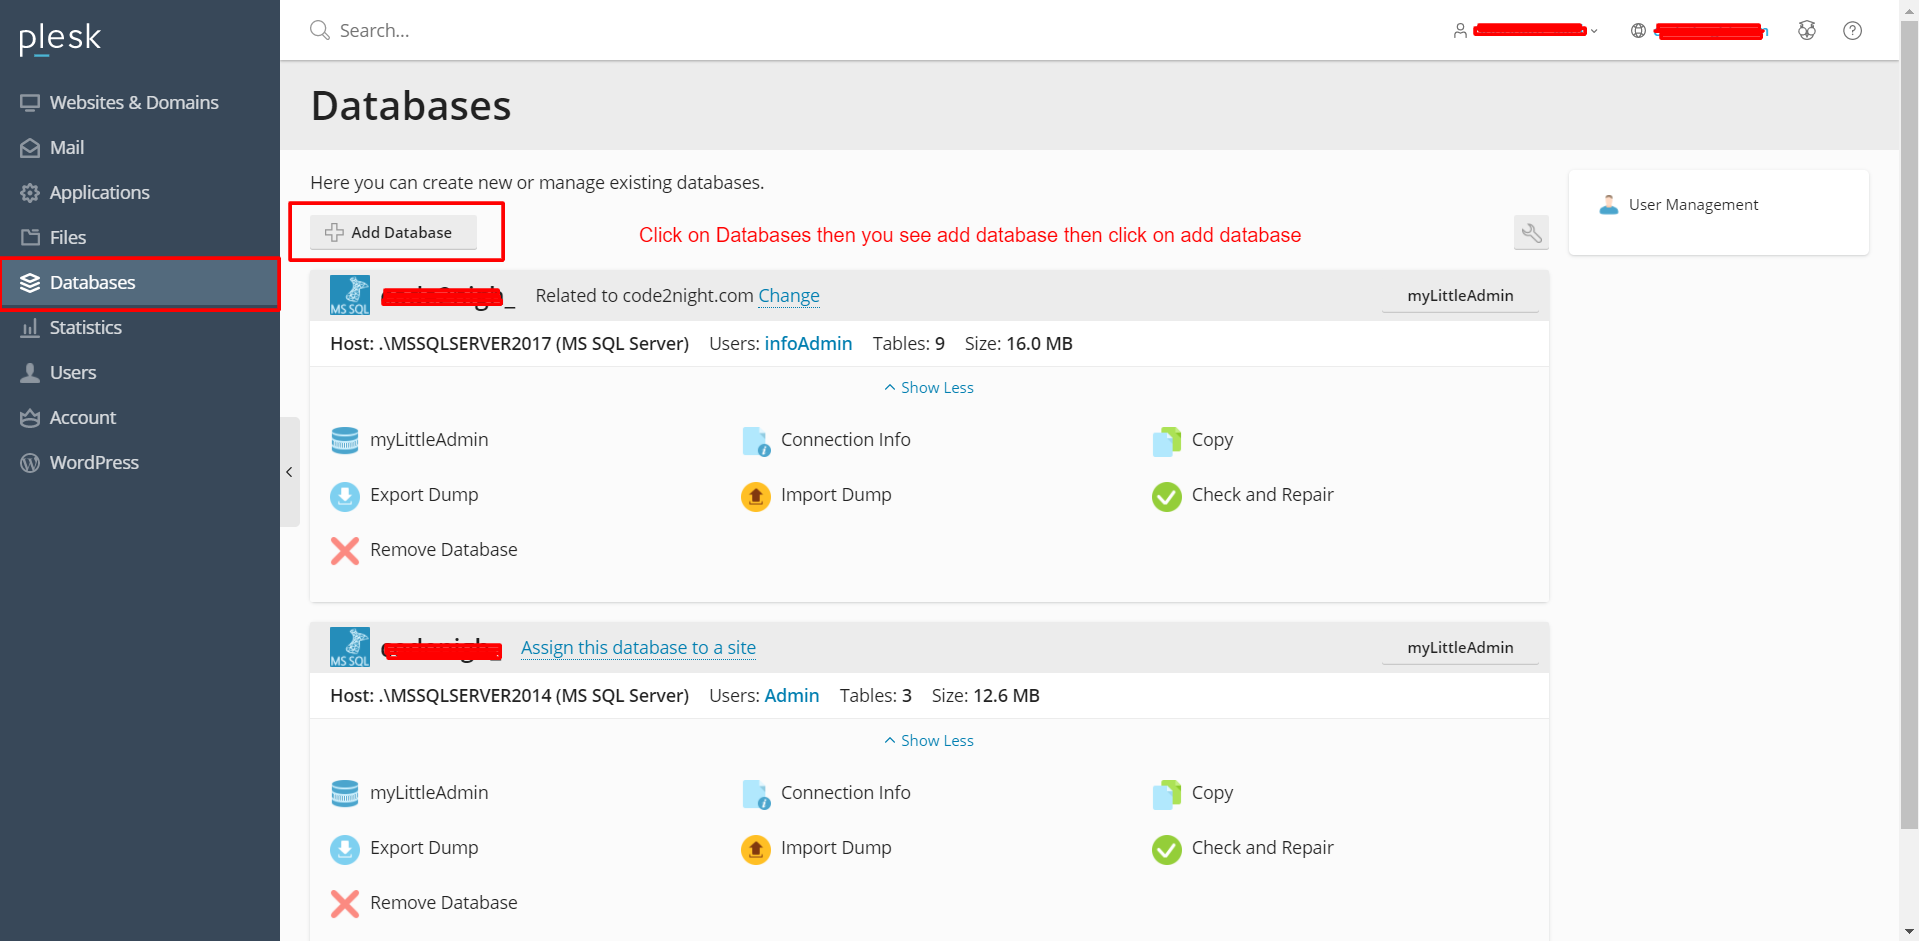
Step 3: Click on Database then you see the add database then click on add database
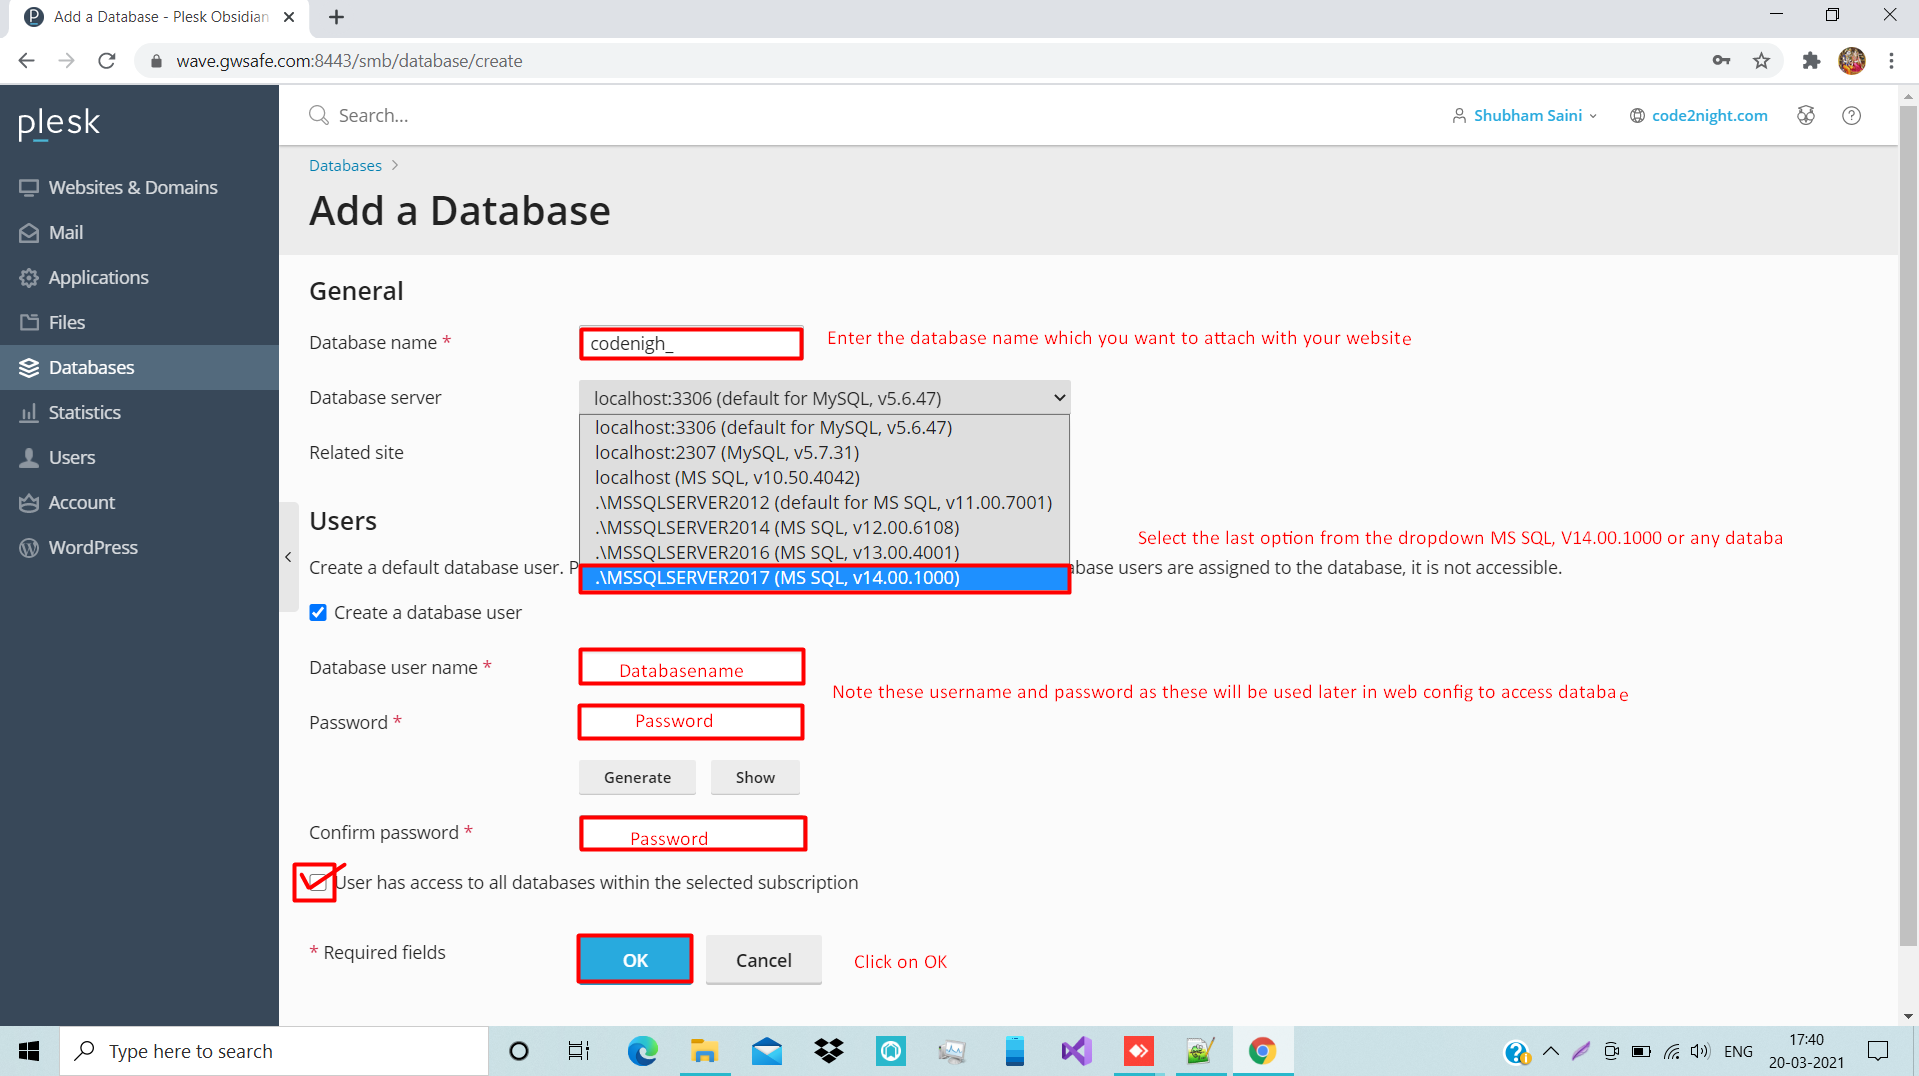
Step 4: you can add the database follow the picture
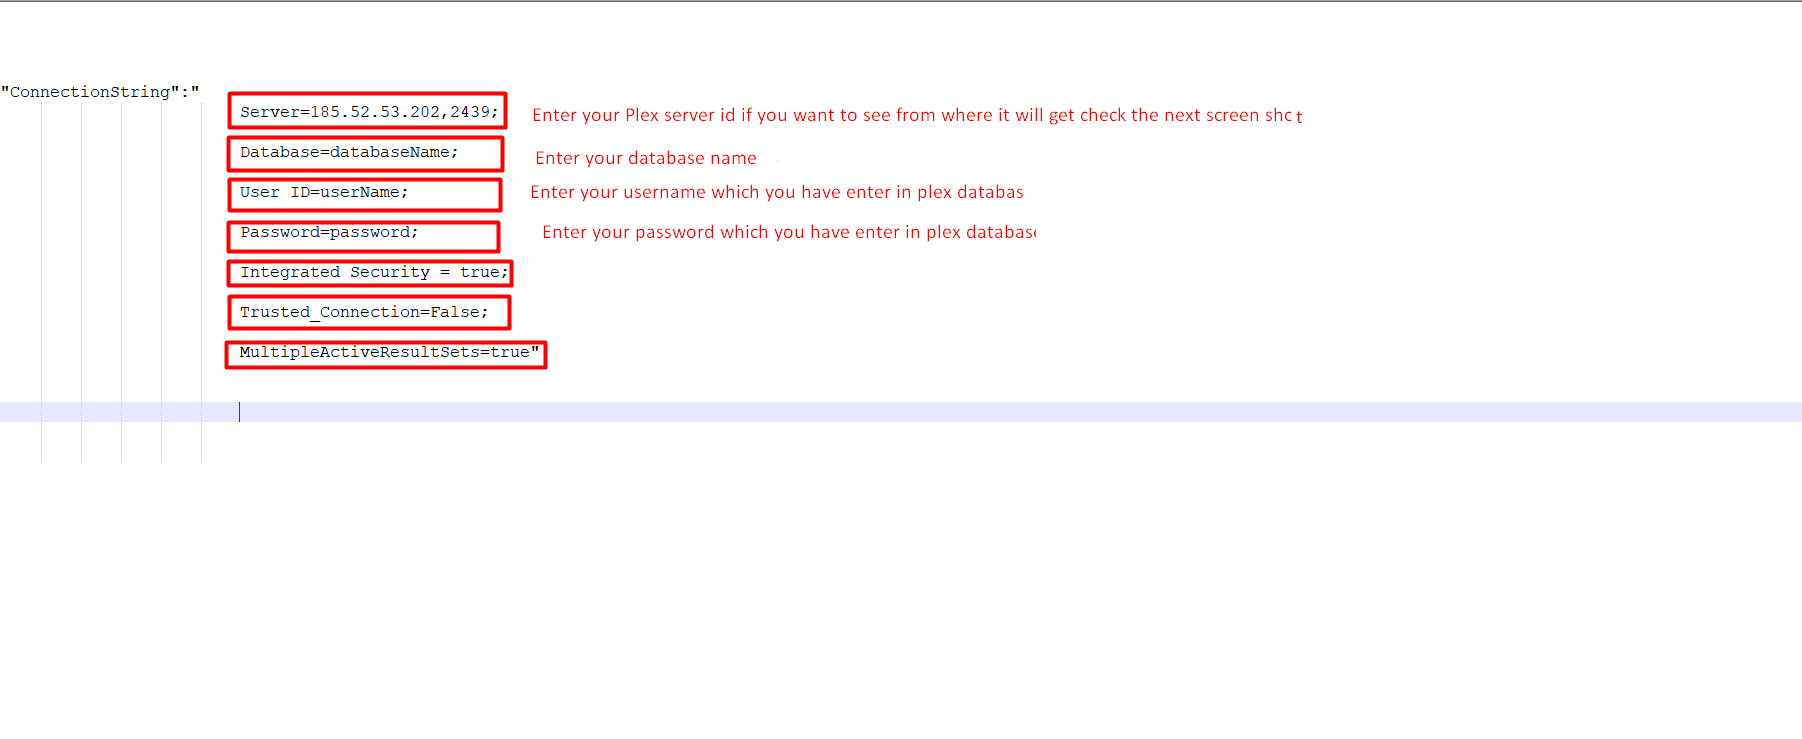
Step 6 : This is connection string add this connection string in your web config file
"ConnectionString": "Server=189.52.51.202,2439;Database=databaseName;User ID=userName;Password=password;Integrated Security = true; Trusted_Connection=False;MultipleActiveResultSets=true
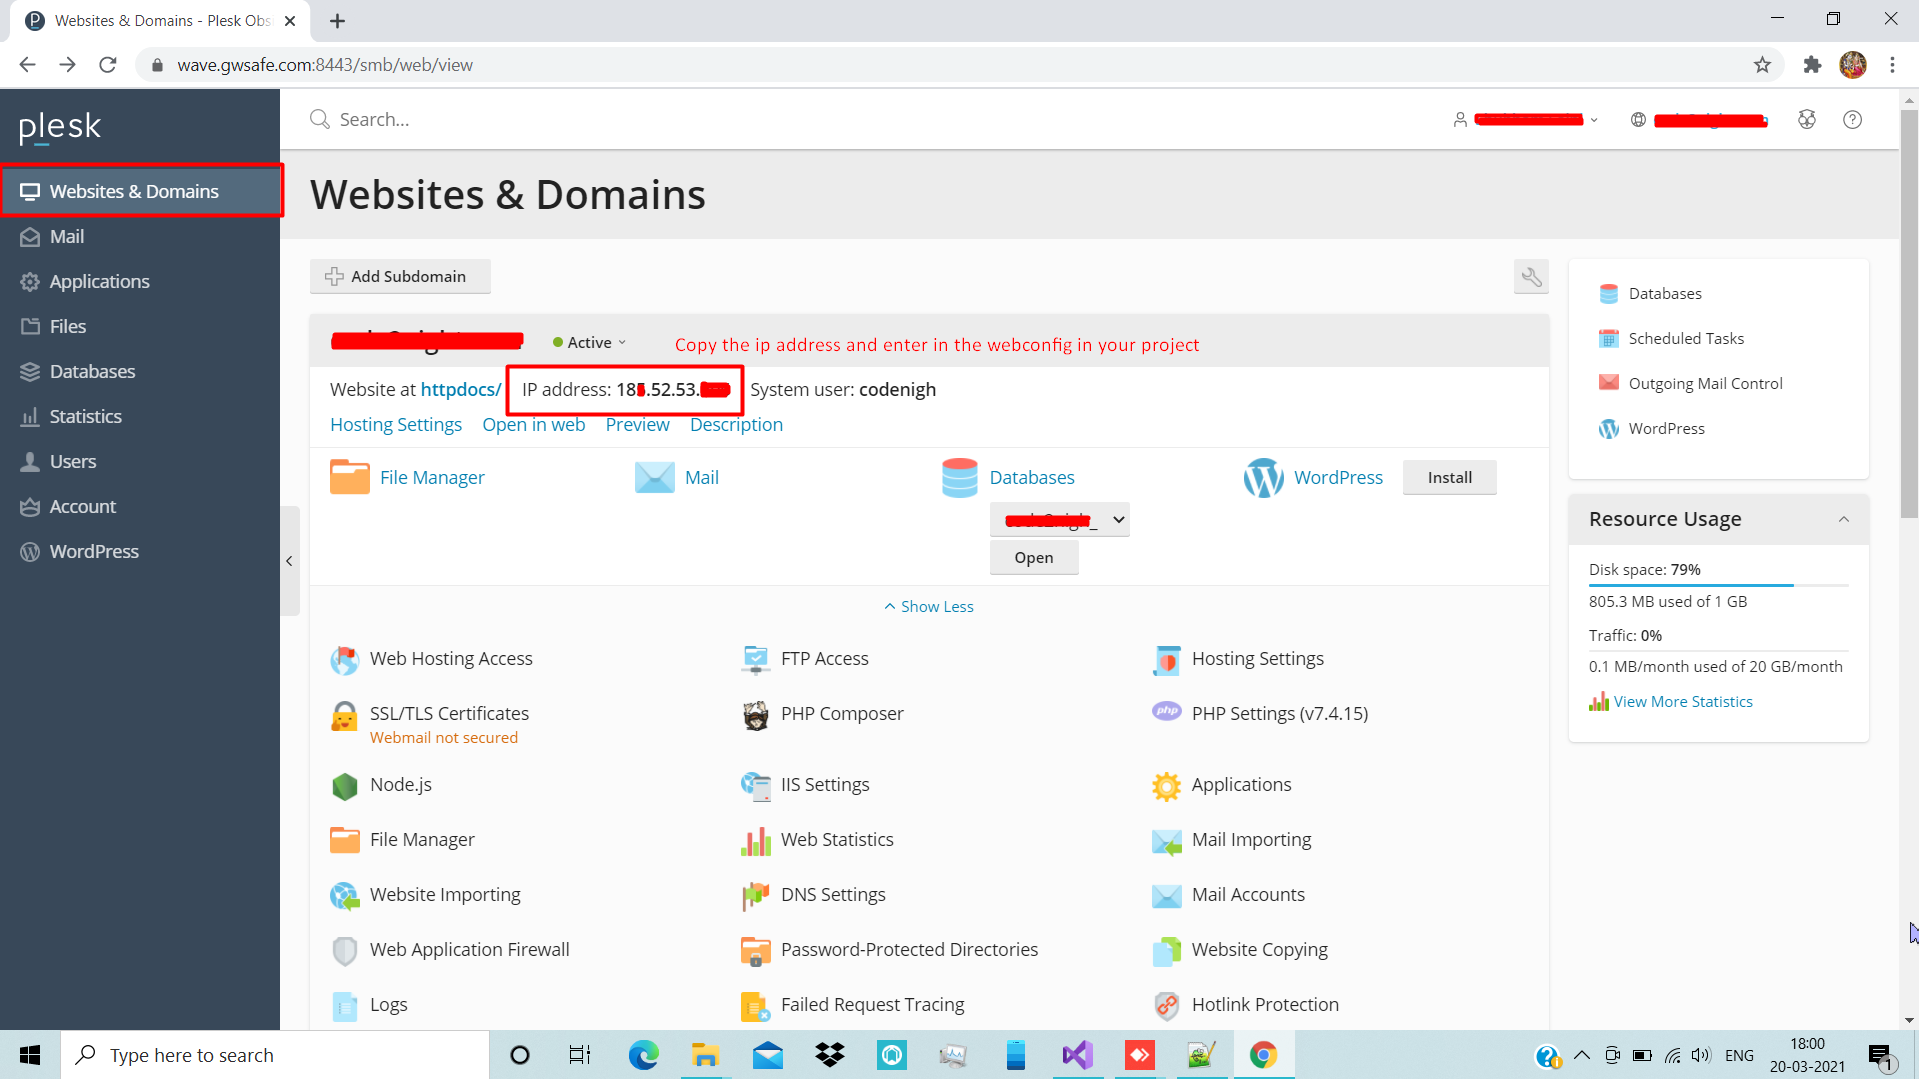
Step 7: how to get your ip address click on website and domain then you see your ip address