Audio and Video Call Integration using QuickBlox
Overview of QuickBlox
QuickBlox is a third-party library that provides a comprehensive solution for real-time communication, specifically designed to facilitate audio and video calls in web applications. It leverages the power of WebRTC (Web Real-Time Communication), enabling peer-to-peer connections without the need for intermediary servers, which can reduce latency and improve performance.
While QuickBlox is a paid service, it offers a trial version that allows developers to test its features before committing to a subscription. This makes it an excellent choice for developers looking to integrate real-time communication capabilities into their applications without upfront costs.
Prerequisites
Before diving into the implementation, there are a few prerequisites you should be aware of. Firstly, you need a QuickBlox account, which can be created using your Google account. Secondly, you should have a basic understanding of JavaScript and how to work with web applications. Lastly, ensure that you have a web server set up to host the sample code, as this is necessary for testing the audio and video call functionality.
Creating a QuickBlox Account
To get started with QuickBlox, follow these steps to create an account:
- Visit the QuickBlox Signup page.
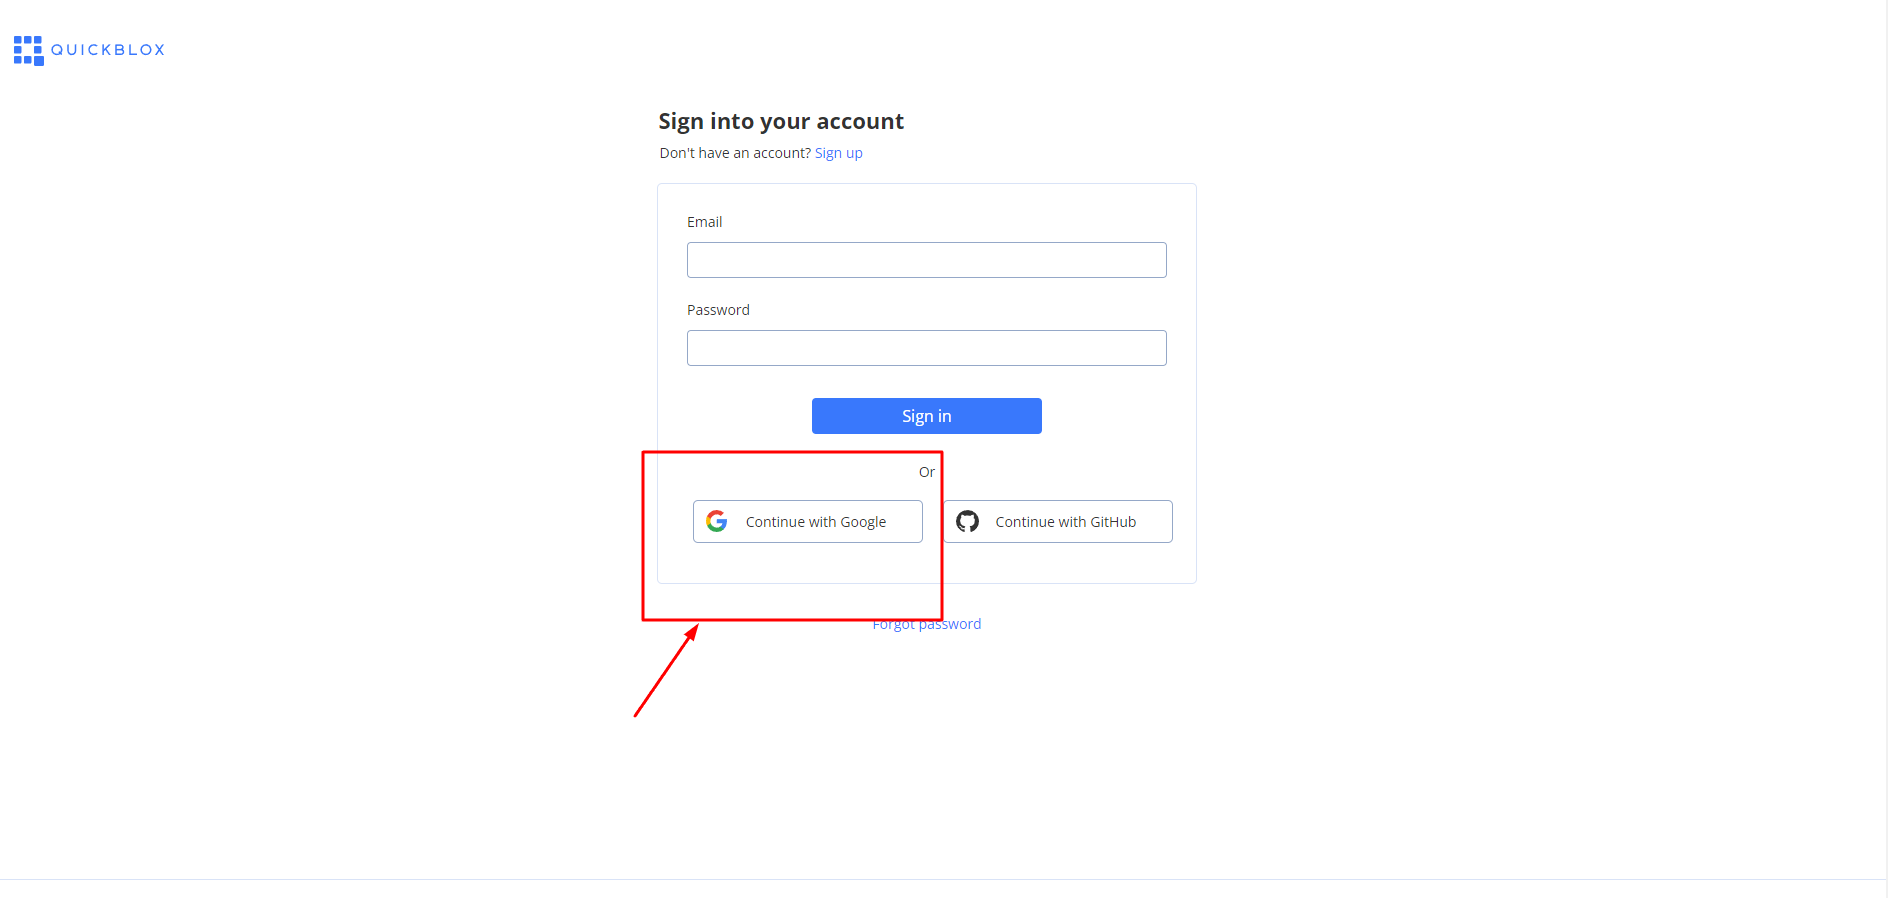
- Select your Google account to sign in.
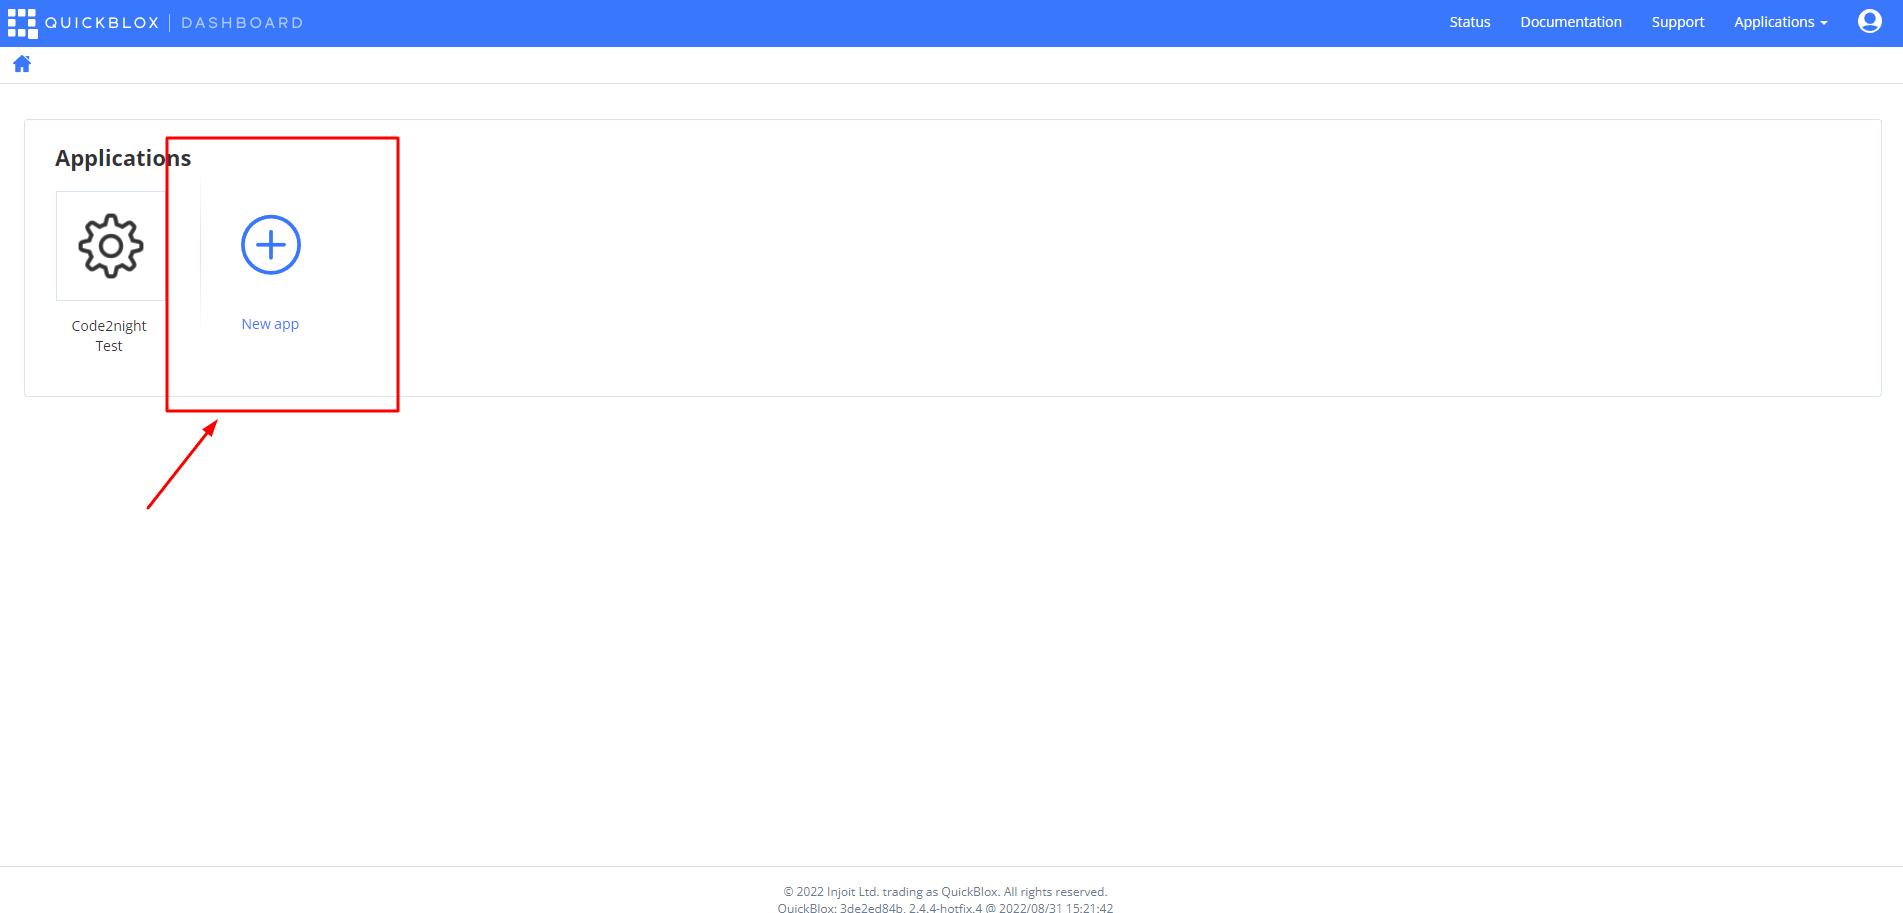
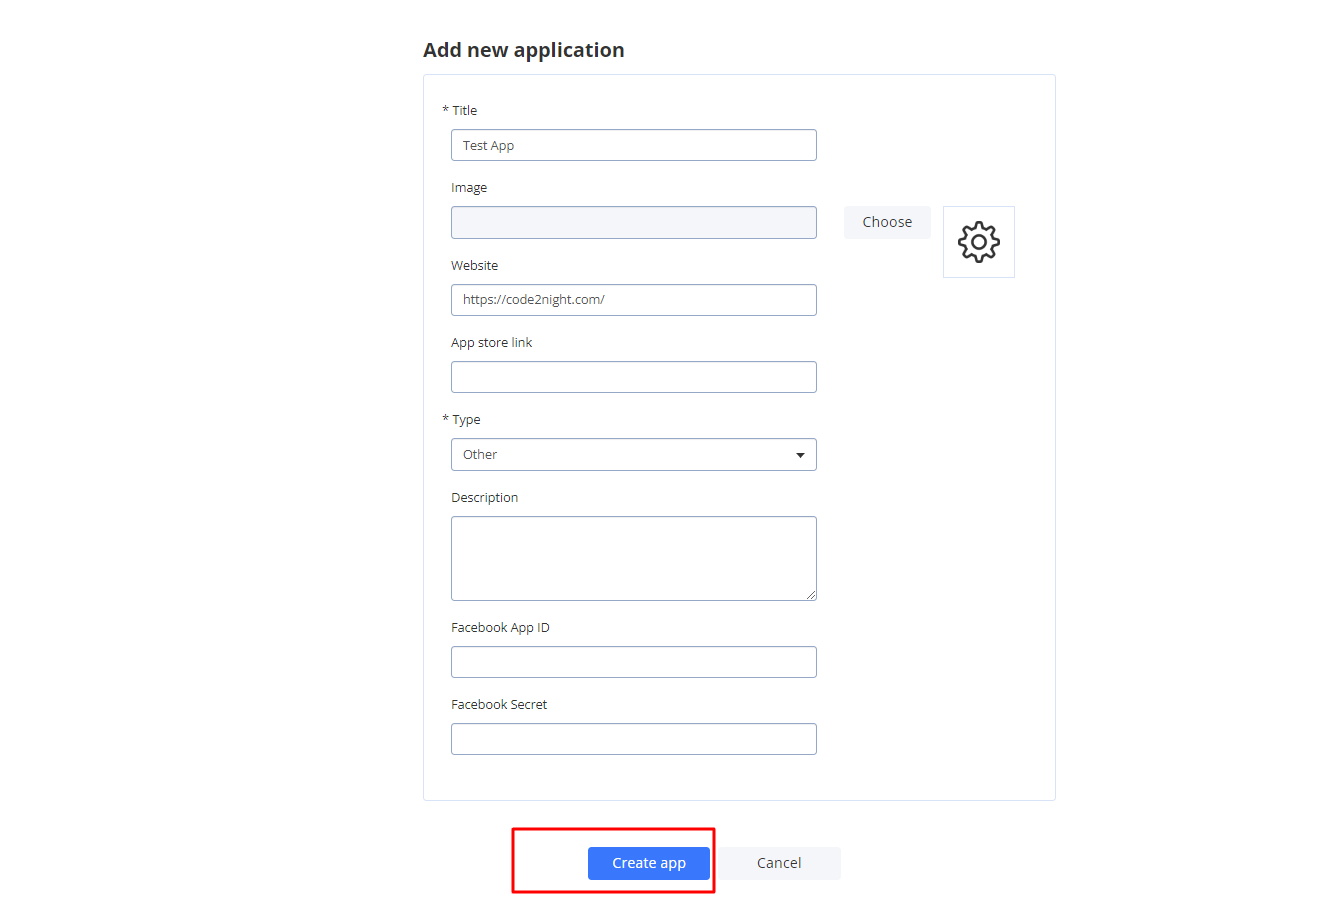
- Fill in the required details to create your application.
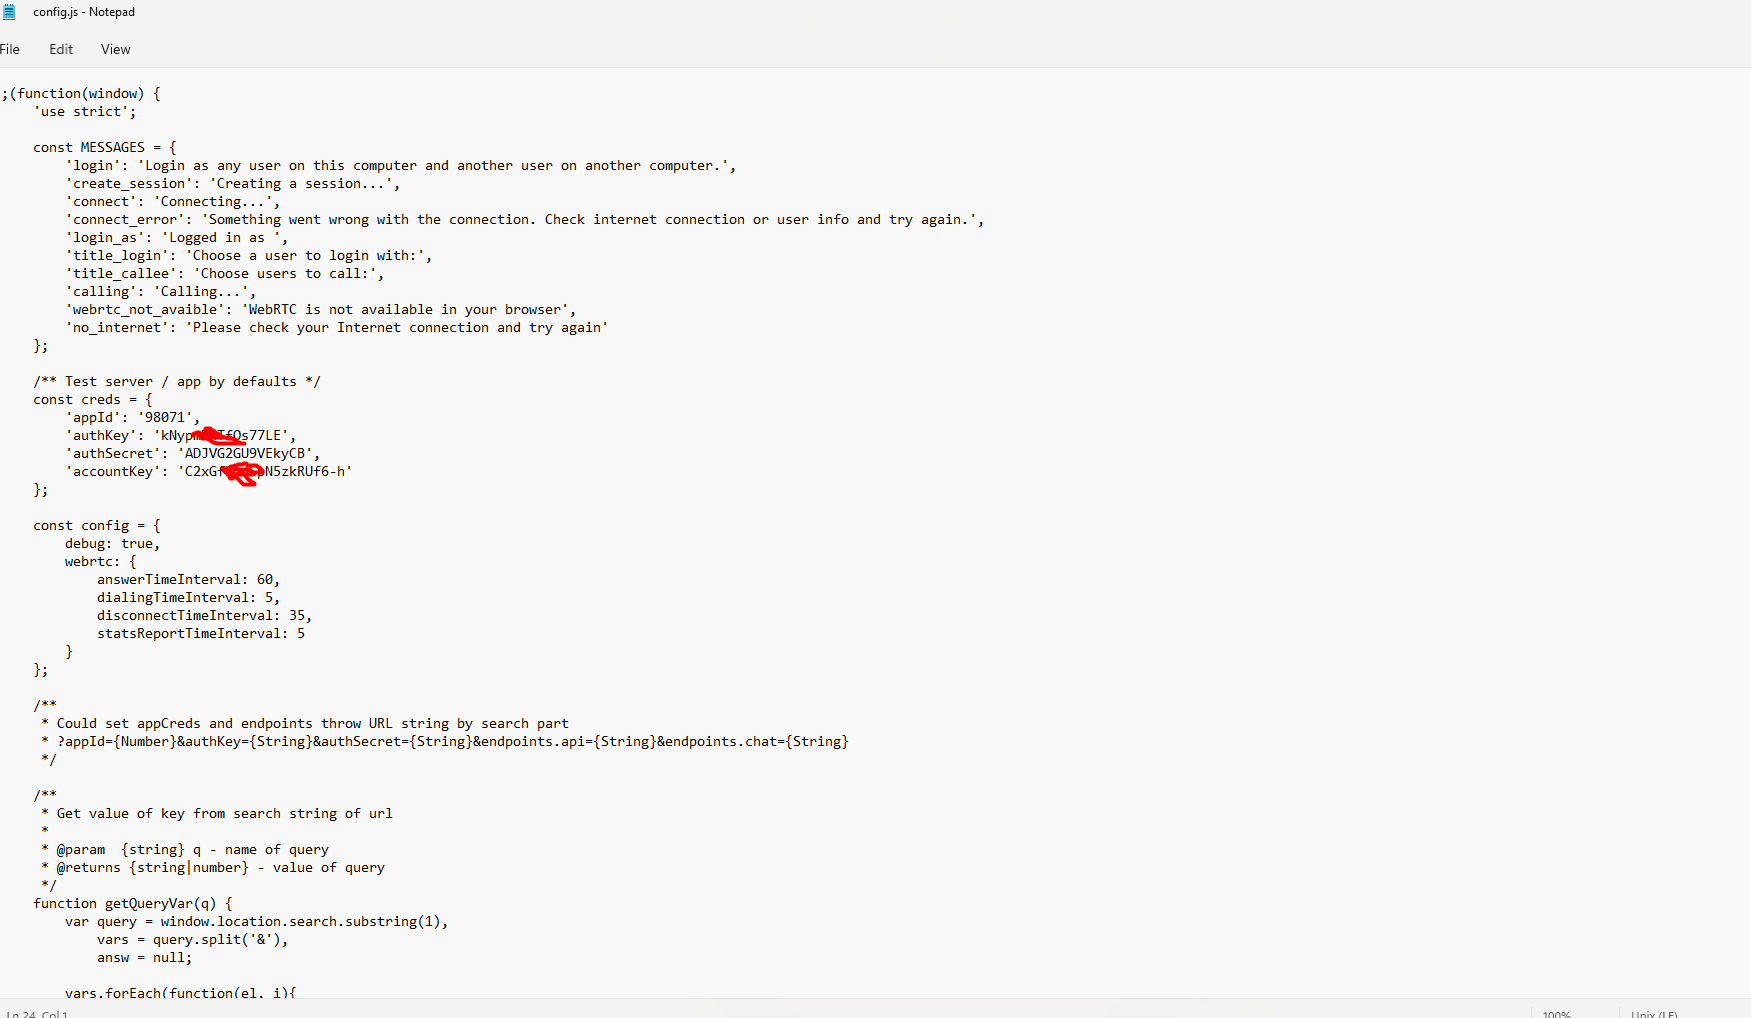
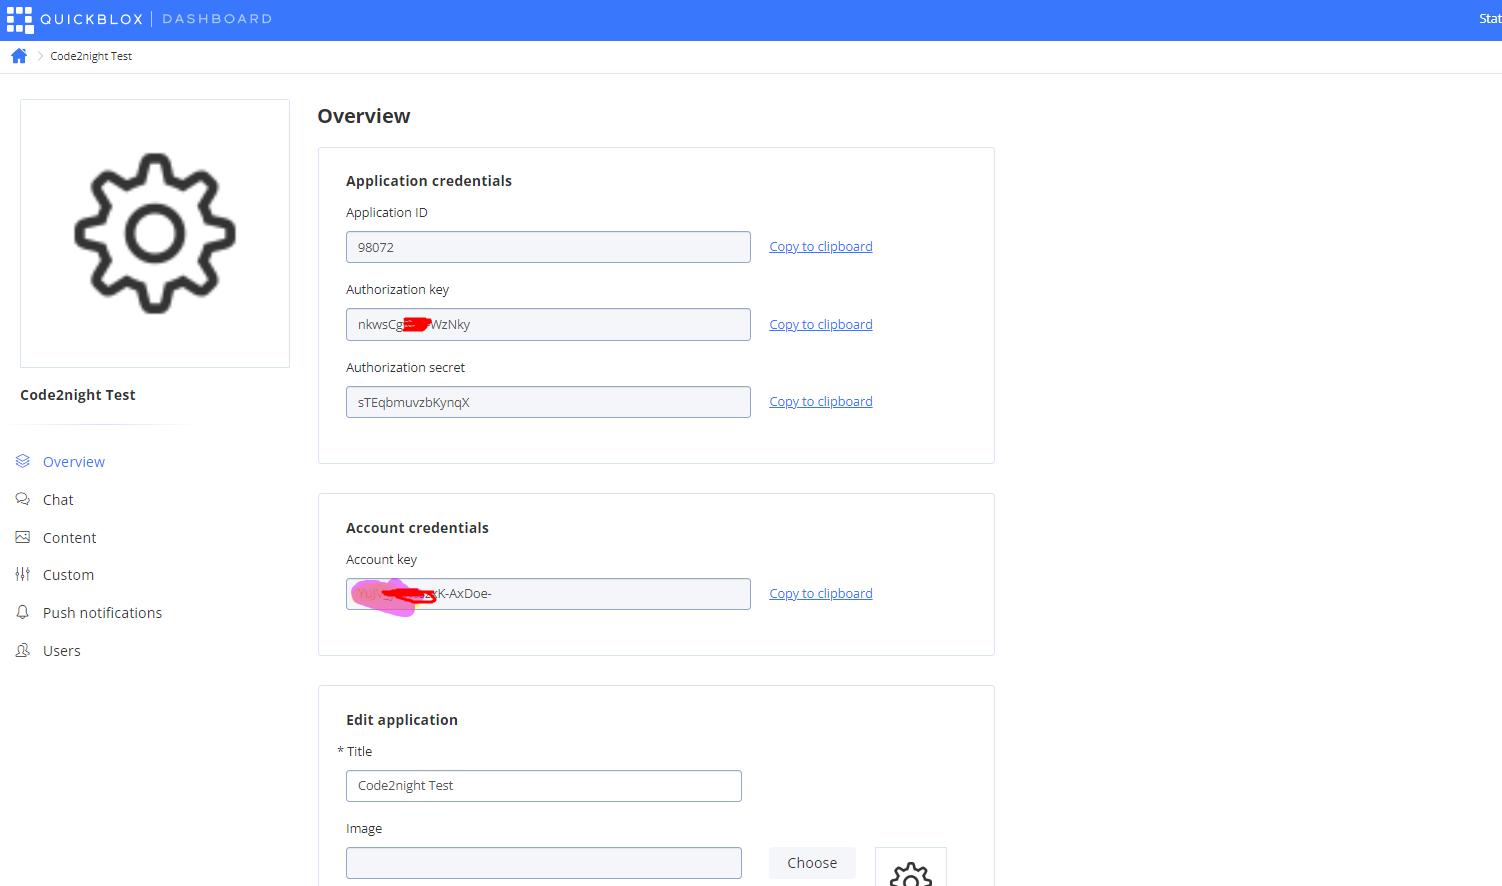
- Once your app is created, note down the credentials provided, as you will need these for configuration.
Setting Up the QuickBlox SDK
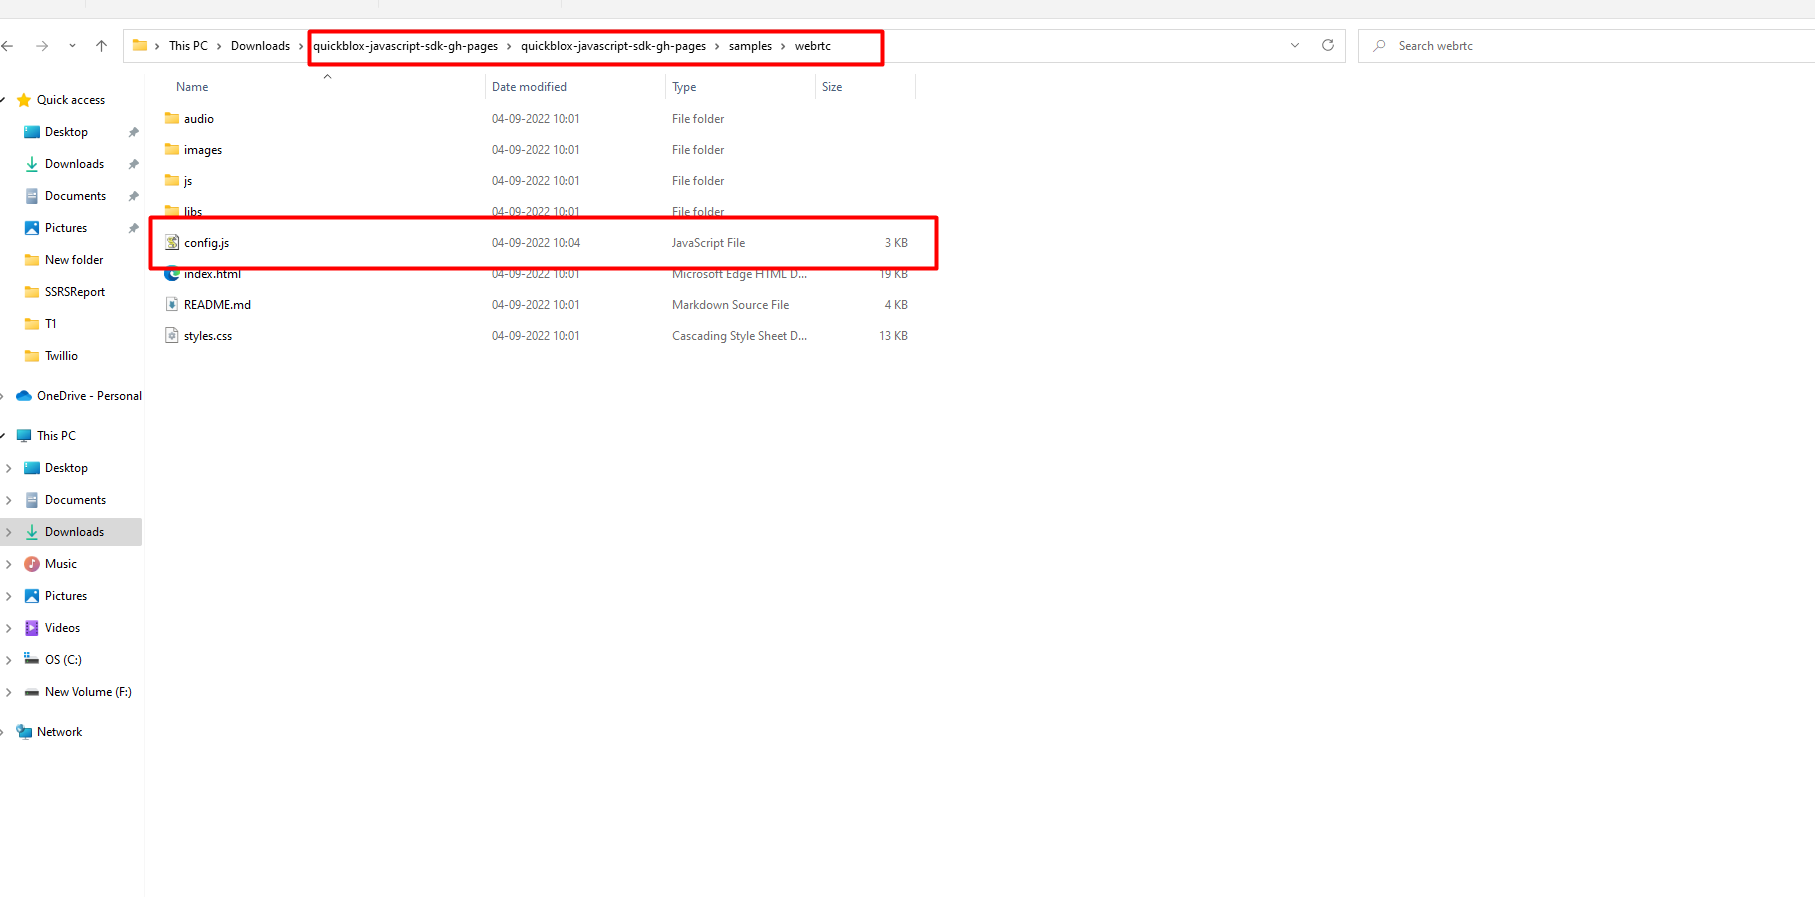
After creating your QuickBlox account, the next step is to set up the QuickBlox JavaScript SDK. You can download the SDK from the QuickBlox GitHub repository. Once downloaded, extract the files and navigate to the configuration file.
Open the configuration file in a text editor and input the credentials obtained during the signup process. Ensure that you save the changes before proceeding to test the sample code.
const QB = require('quickblox');

QB.init(YOUR_APP_ID, YOUR_AUTH_KEY, YOUR_AUTH_SECRET);
Testing the Sample Code
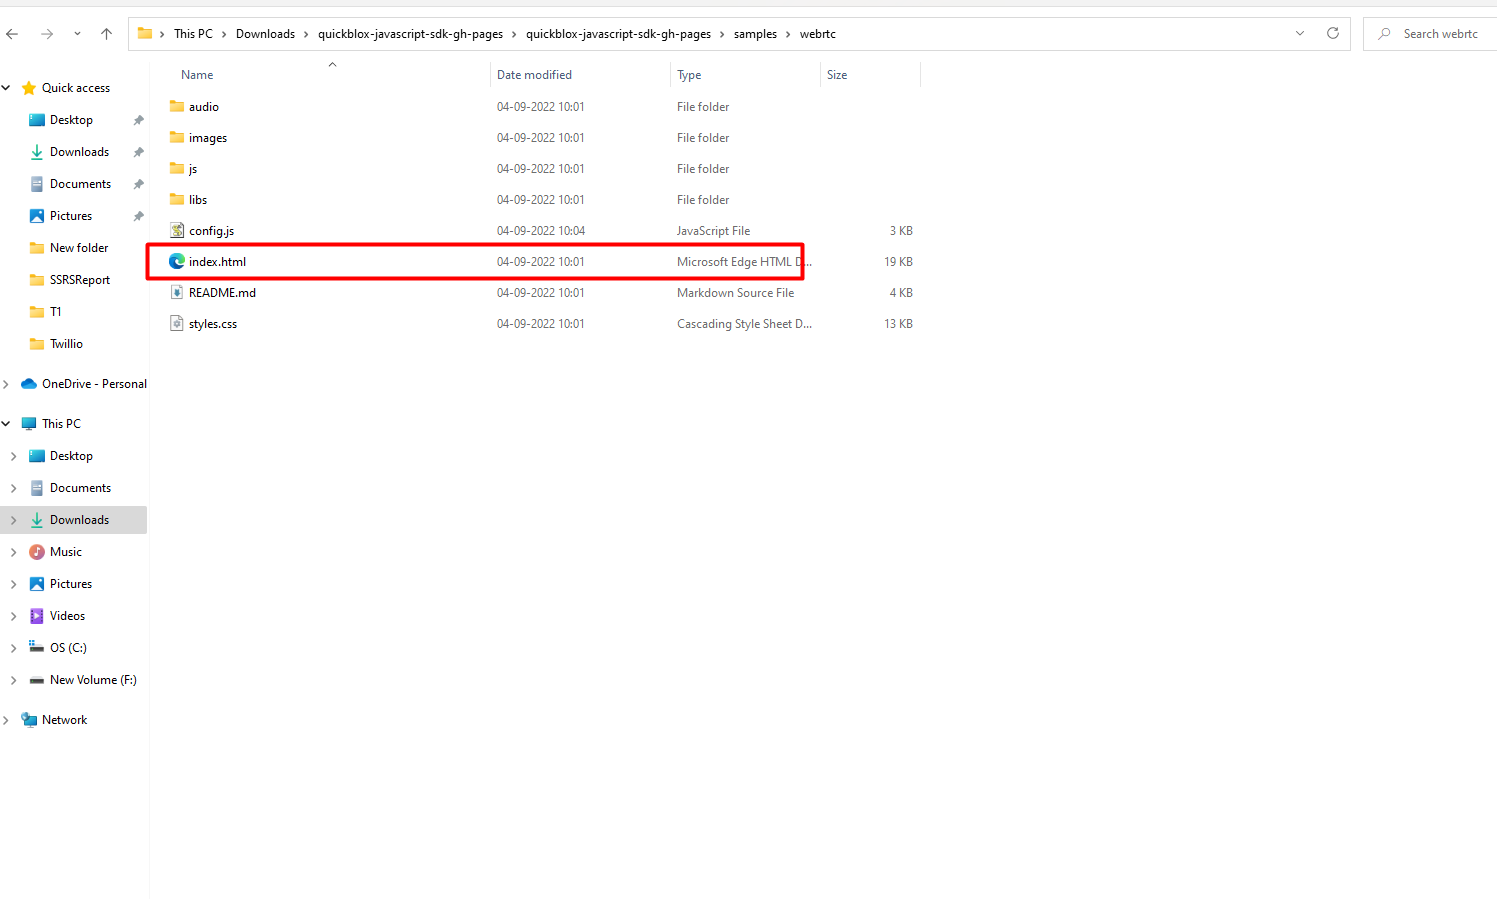
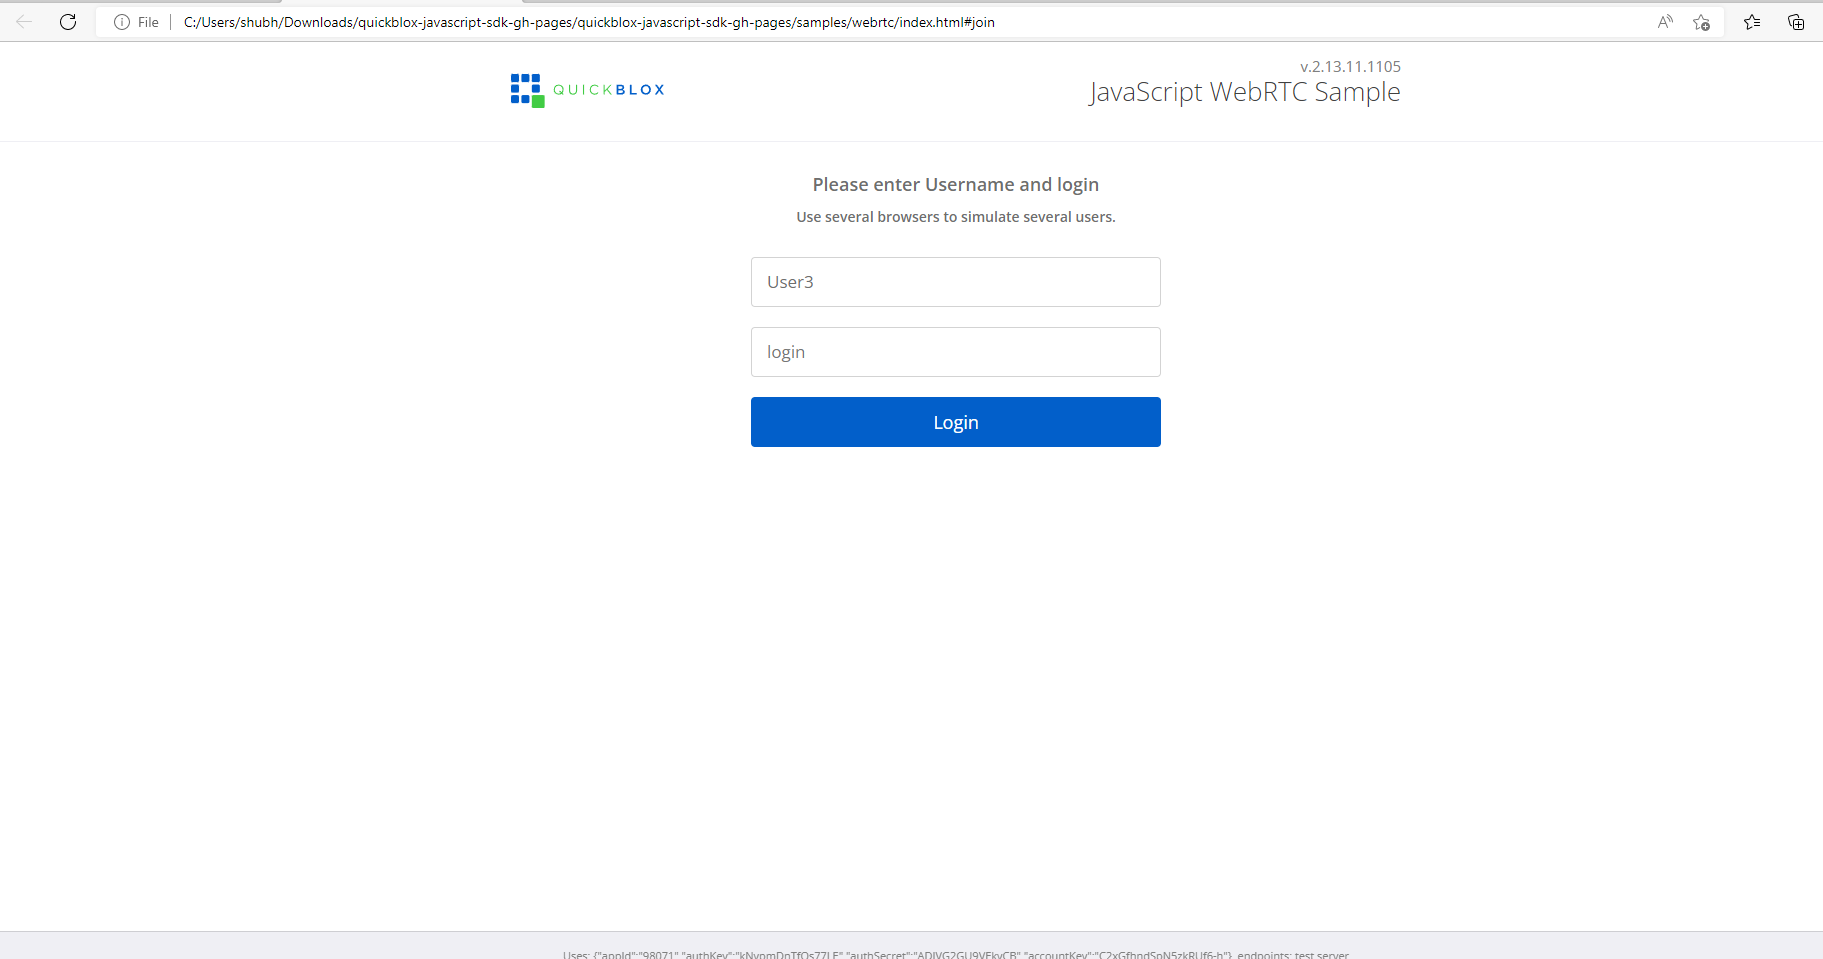
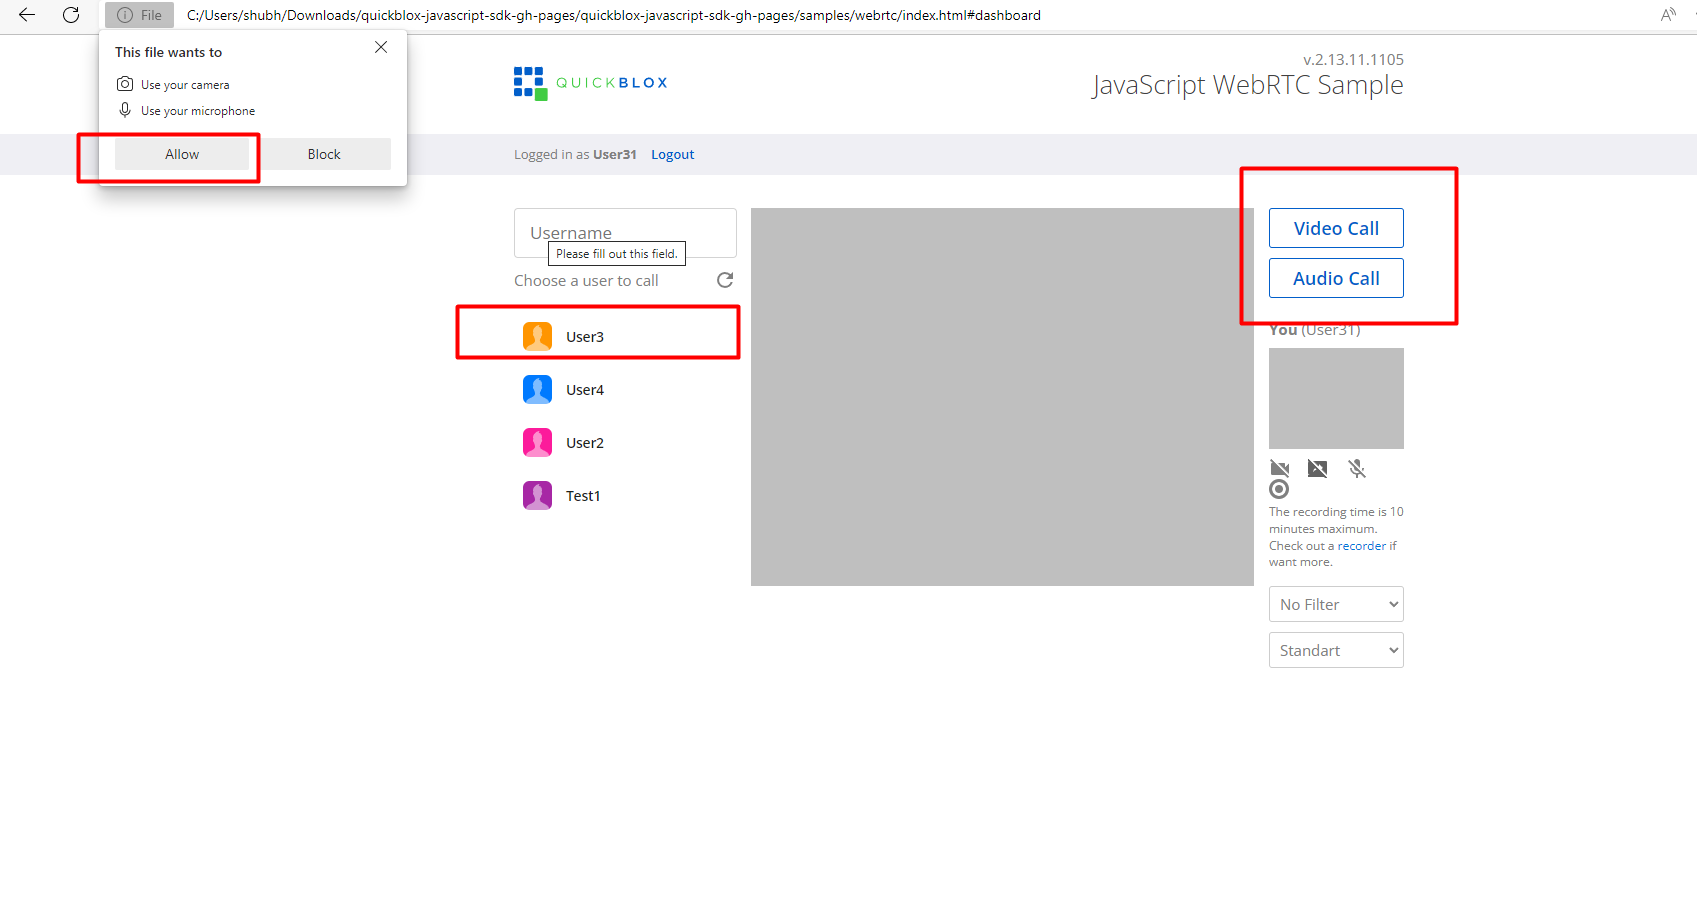
To test the QuickBlox audio and video calling functionality, open the index.html file from the downloaded sample code. In the browser, you will be prompted to enter a username and login name. It is important to avoid using spaces in these fields to prevent any issues during the login process.
After logging in, you will be asked to grant microphone and camera permissions. Once permissions are granted, you can select another user from the list to initiate a call. It is recommended to run the sample code on multiple machines or browser tabs to simulate real-world usage.
Making Audio and Video Calls
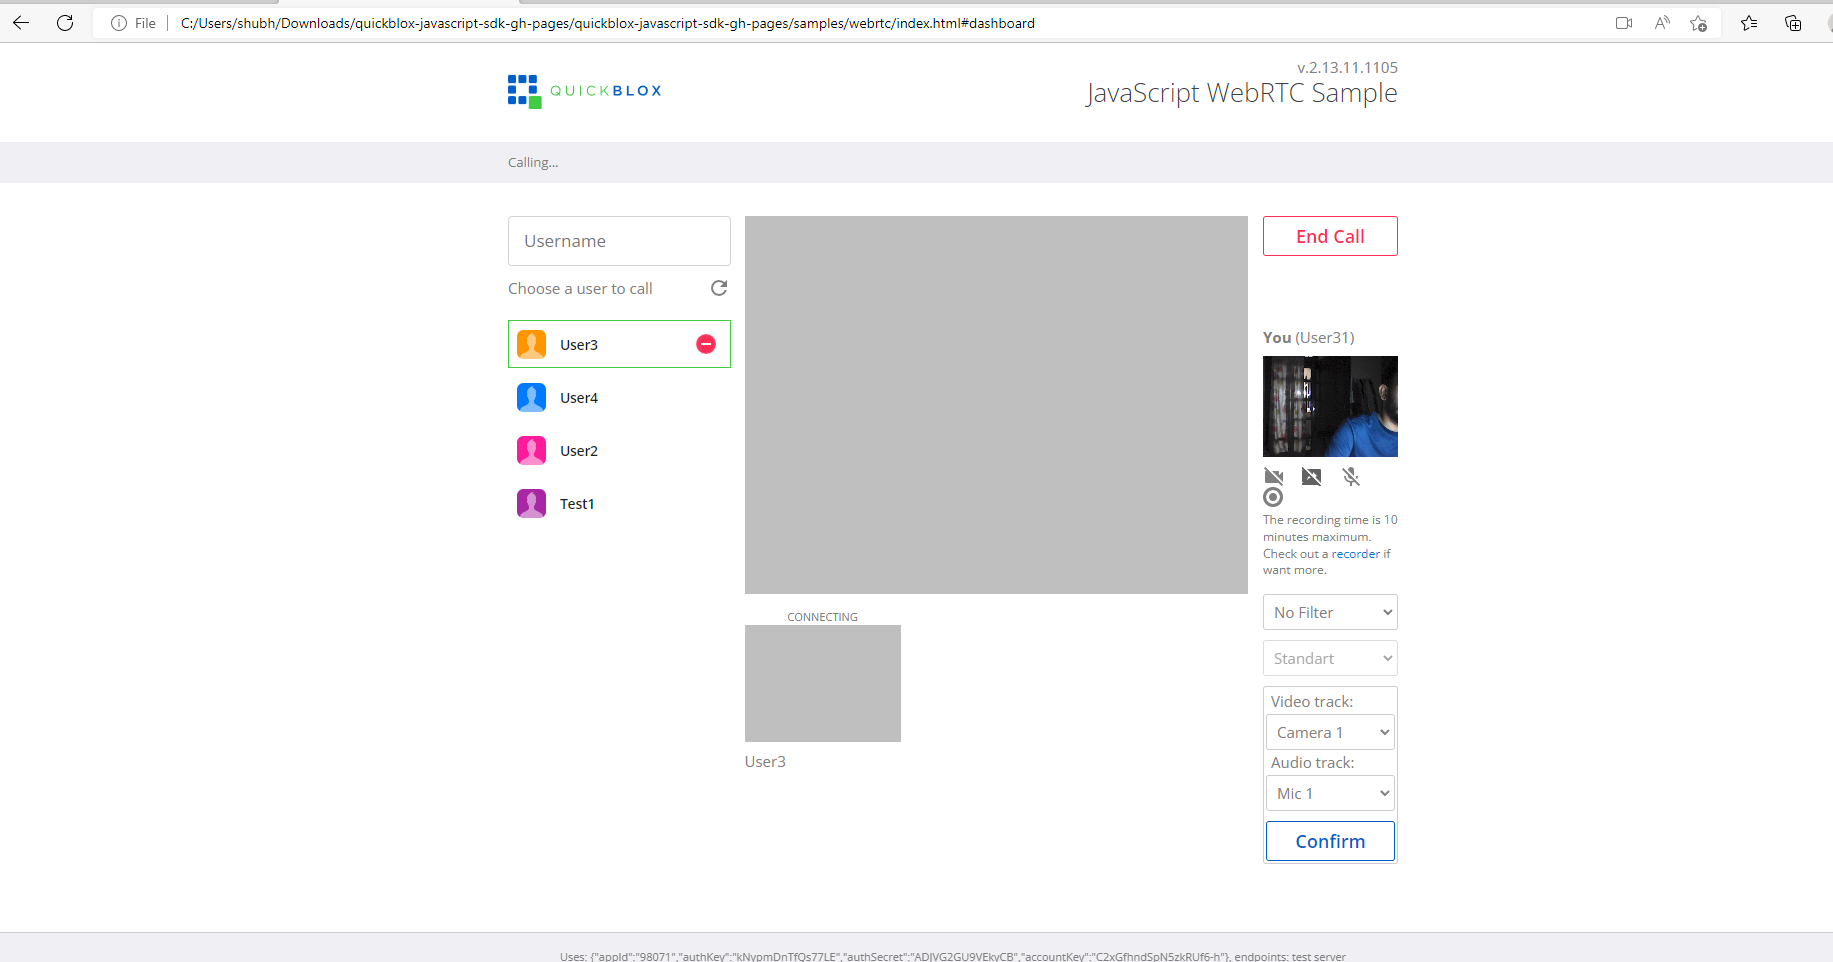
Once you have logged in and selected another user, you can initiate an audio or video call. Clicking on the respective buttons will send a call request to the selected user, who can choose to accept or decline the call. If accepted, the audio or video stream will be established, allowing for real-time communication.
Here’s a simple example of how to implement the call functionality:
function startCall(userId) {
  QB.webrtc.call(userId, {audio: true, video: true});
}

function onCallReceived(call) {
  // Handle incoming call
  QB.webrtc.acceptCall(call.id);
}
Handling Call Events
QuickBlox provides various events that can be used to manage call states effectively. These events can be crucial for providing a seamless user experience. For instance, you can listen for events such as call answered, call declined, and call ended to perform actions like updating the UI or notifying users.
Below is an example of how to handle call events:
QB.webrtc.onCallReceived = function(call) {
  console.log('Incoming call from:', call.from);
  // Show UI to accept or decline the call
};

QB.webrtc.onCallEnd = function(call) {
  console.log('Call ended:', call);
  // Update UI to reflect call status
};
Edge Cases & Gotchas
When integrating audio and video calls using QuickBlox, there are several edge cases to consider:
- Network Issues: Poor network connectivity can lead to call drops or degraded quality. Implementing reconnection logic can help mitigate this.
- Permission Denials: Users may deny microphone or camera permissions. Always handle these cases gracefully by providing feedback to users.
- Device Compatibility: Not all devices support WebRTC. Ensure that your application checks for compatibility before attempting to initiate calls.
Performance & Best Practices
To optimize the performance of audio and video calls, consider the following best practices:
- Use Adaptive Bitrate: Implement adaptive bitrate streaming to adjust video quality based on network conditions, ensuring a smoother experience for users.
- Limit Video Resolutions: For better performance on lower-end devices, consider limiting video resolutions to 720p or lower.
- Regularly Update SDK: Keep your QuickBlox SDK updated to benefit from the latest features and improvements.
Conclusion
Integrating audio and video calls into your web applications using QuickBlox is a straightforward process that can significantly enhance user interaction. By following the steps outlined in this article, you can successfully implement real-time communication features in your projects.
Key Takeaways:
- QuickBlox provides a robust solution for audio and video calls using WebRTC.
- Setting up QuickBlox requires creating an account and configuring the SDK.
- Handling call events is crucial for providing a seamless user experience.
- Consider edge cases and best practices to optimize performance.