Screen Recording with Audio using JavaScript in ASP.NET MVC
Overview of Screen Recording with Audio using JavaScript in ASP.NET MVC
Screen recording has become an essential feature in modern web applications. It allows users to capture their screen activity, which can be particularly useful for creating tutorials, recording gameplay, or sharing presentations. The JavaScript MediaRecorder API provides a straightforward way to implement this functionality in web applications.
By leveraging the MediaRecorder API, developers can create a seamless experience for users, allowing them to record their screens with just a few lines of code. This feature can enhance user engagement and provide valuable feedback in customer support scenarios.
Prerequisites
Before diving into the coding part, ensure that you have a basic understanding of HTML, CSS, and JavaScript. Familiarity with ASP.NET MVC is also beneficial, as this tutorial will guide you through integrating screen recording into an ASP.NET MVC application.
Additionally, make sure your browser supports the MediaRecorder API. Most modern browsers like Chrome, Firefox, and Edge support this feature, but it's always a good idea to check compatibility.
Creating the HTML Structure
First, we need to create the HTML structure that will host our screen recording functionality. This includes a video element to display the recorded video and a button to start the recording process.
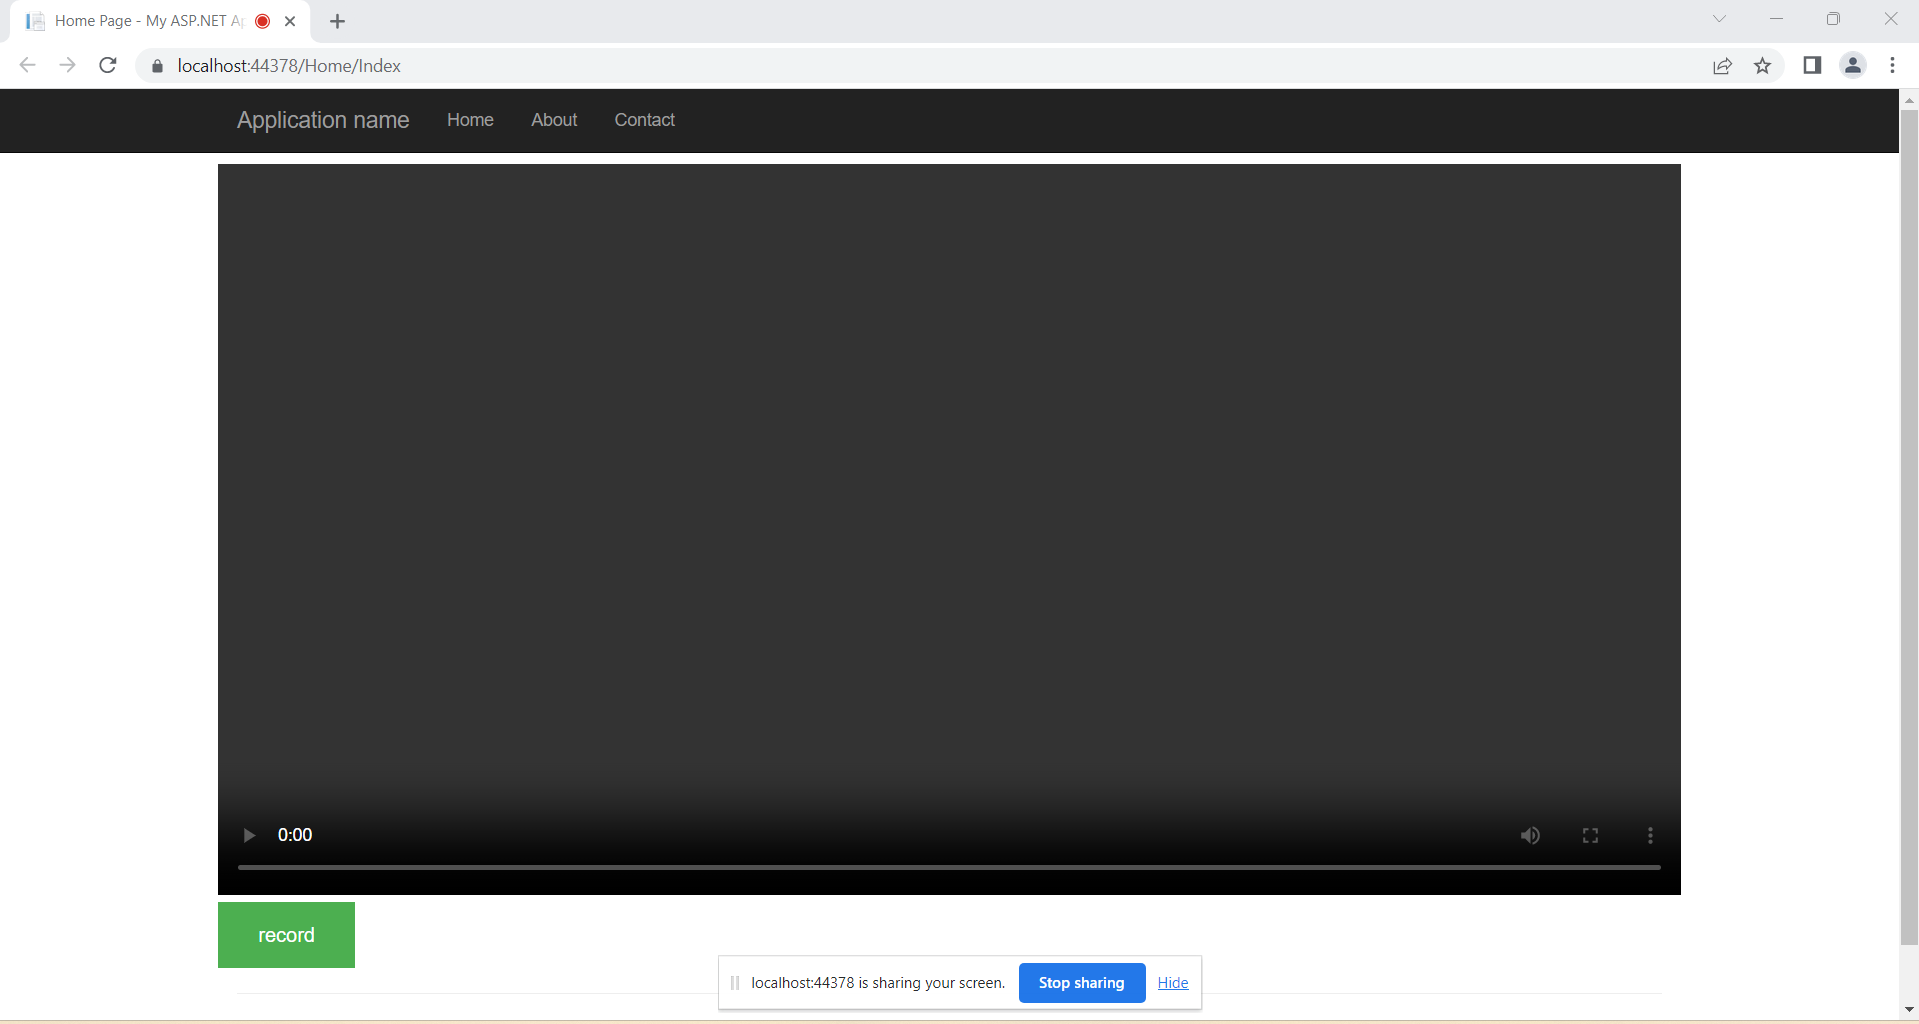
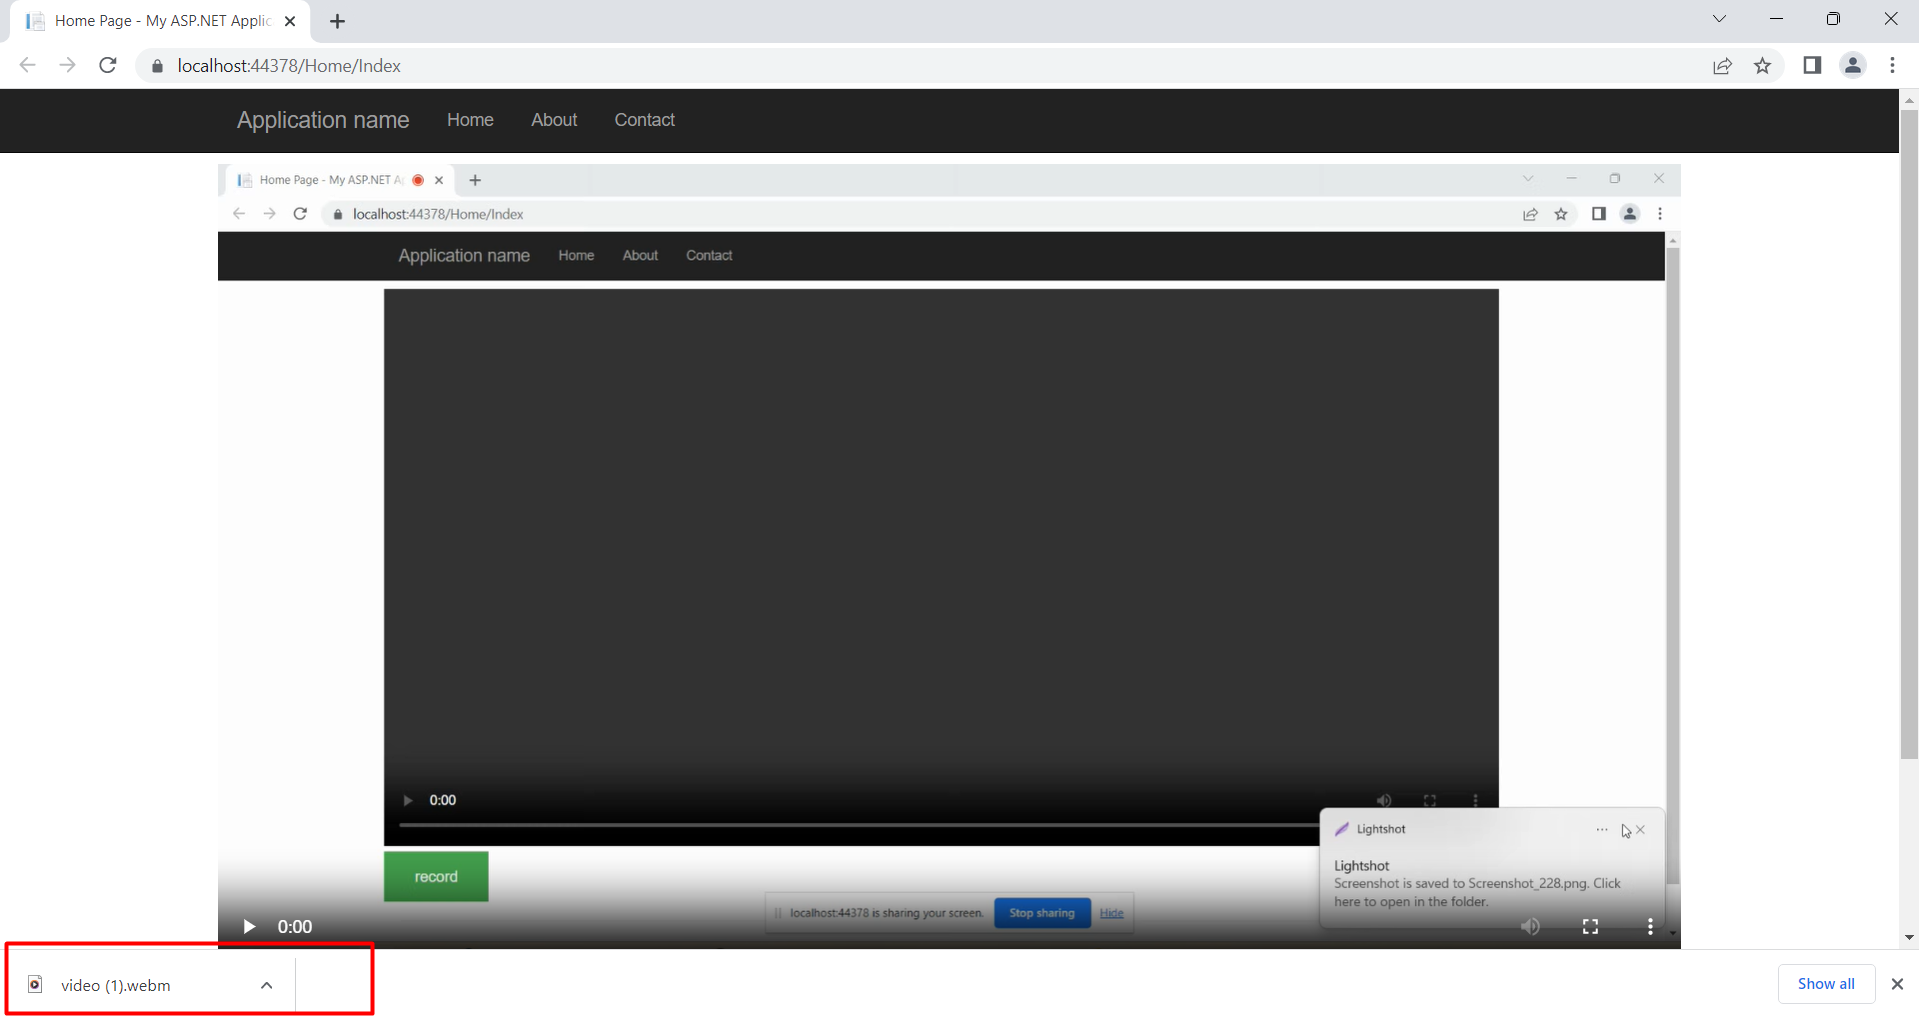
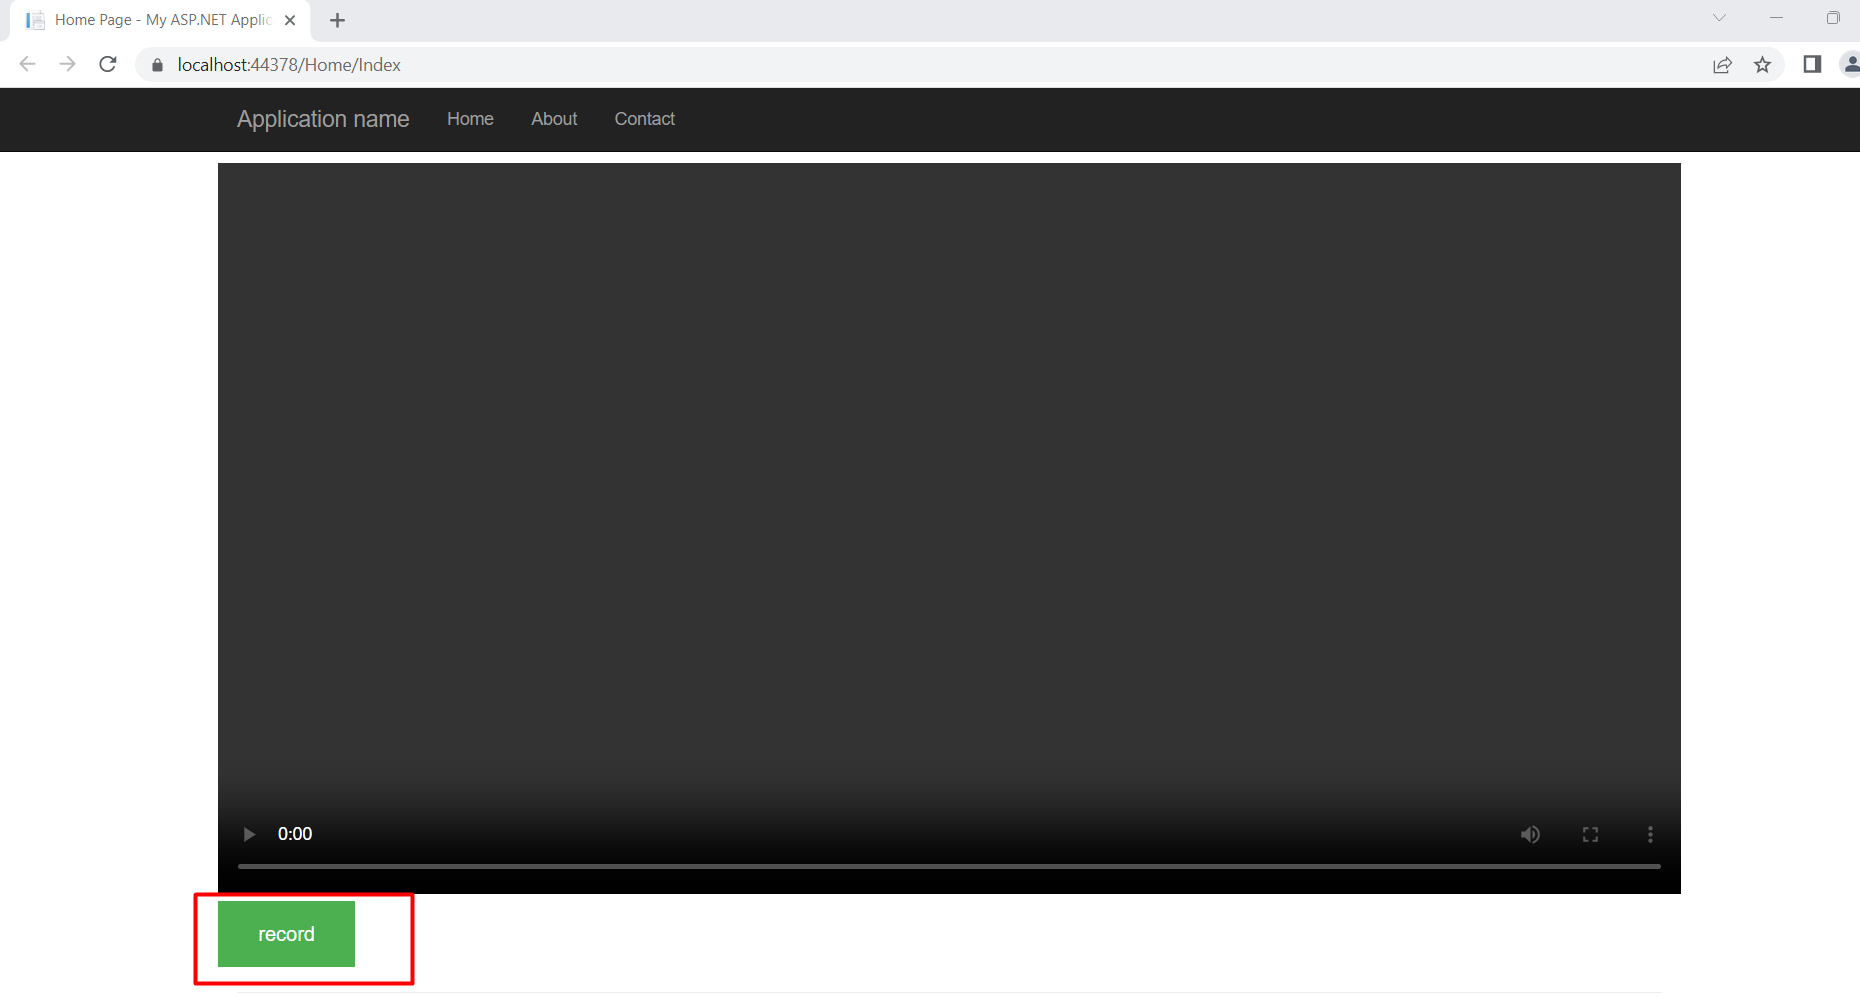
@{ ViewBag.Title = "Home Page"; } <style> .record-btn { background-color: #4CAF50; /* Green */ border: none; color: white; padding: 15px 32px; text-align: center; text-decoration: none; display: inline-block; font-size: 16px; } </style> <div class="row" style="padding-top:10px"> <video class="video" width="100%" controls></video> <button class="record-btn">record</button> </div> <script src="~/Content/index.js"></script>Implementing the JavaScript Logic
Next, we need to implement the JavaScript logic that will handle the screen recording. We'll use the MediaRecorder API to capture the screen and audio. Below is the code that sets up the recording process.
let btn = document.querySelector(".record-btn")
btn.addEventListener("click", async function () {
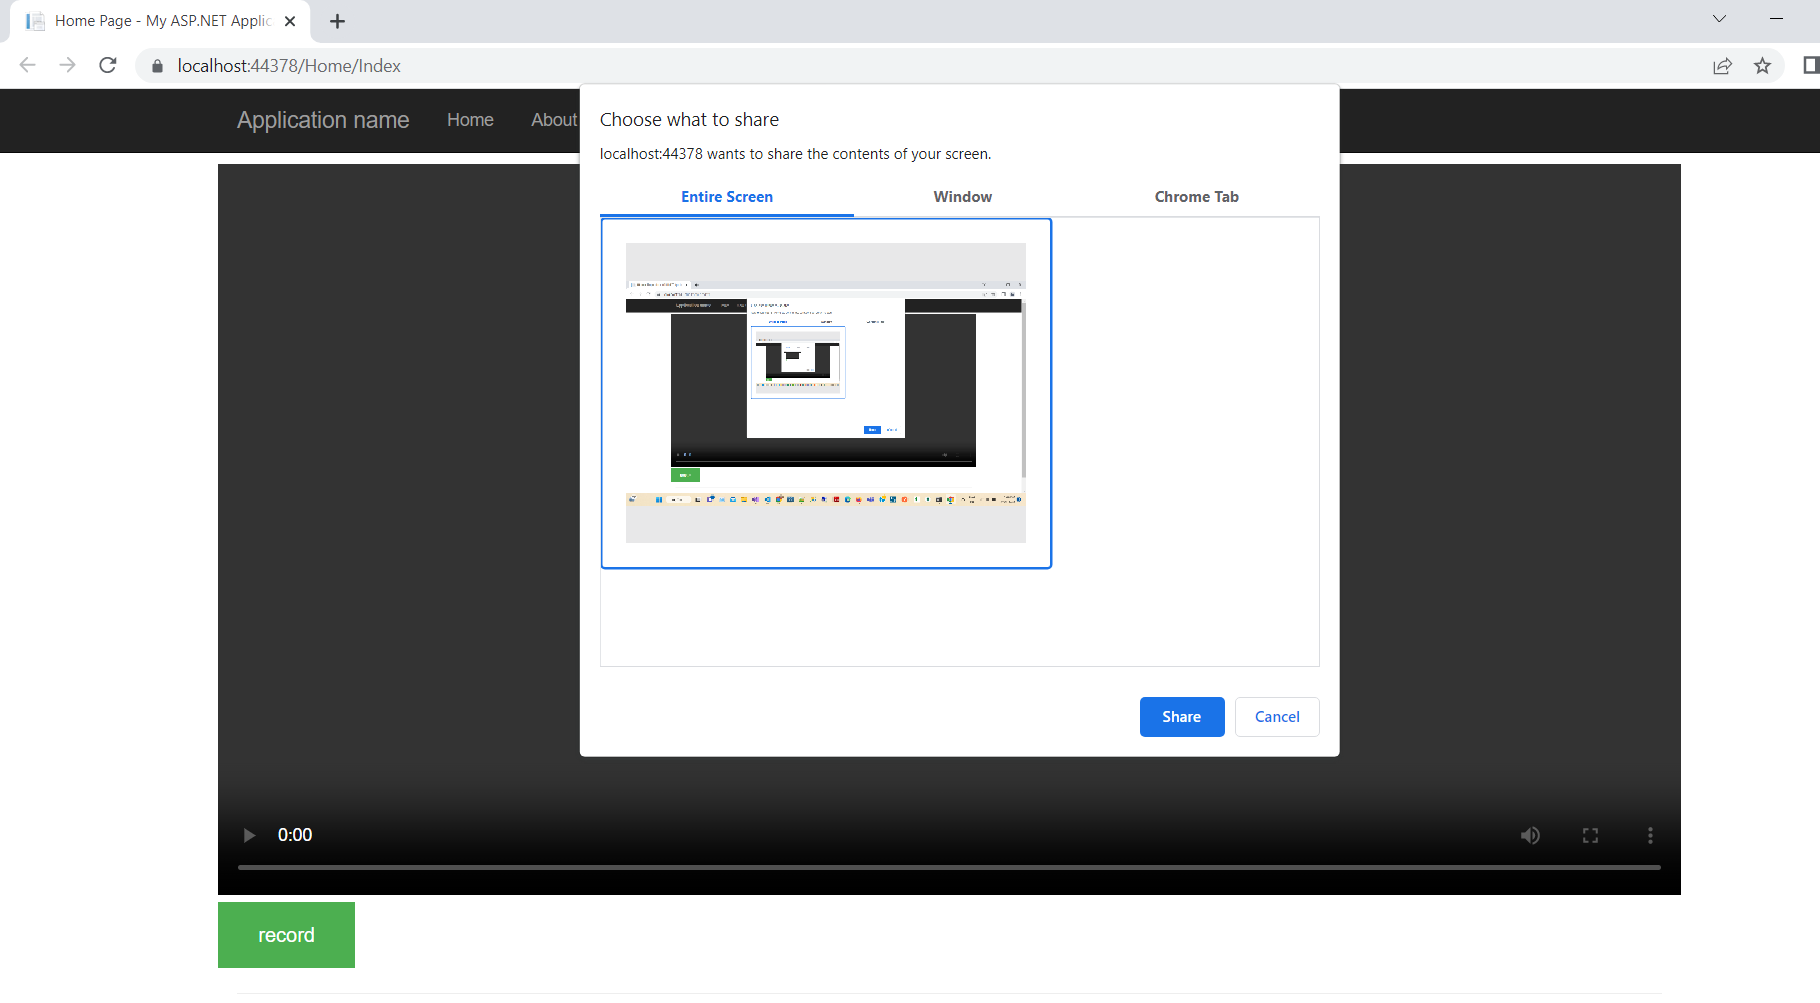
let stream = await navigator.mediaDevices.getDisplayMedia({ video: true, audio: true })
const mime = MediaRecorder.isTypeSupported("video/webm; codecs=vp9") ? "video/webm; codecs=vp9" : "video/webm"
let mediaRecorder = new MediaRecorder(stream, { mimeType: mime })
let chunks = []
mediaRecorder.addEventListener('dataavailable', function (e) {
chunks.push(e.data)
})
mediaRecorder.addEventListener('stop', function () {
let blob = new Blob(chunks, { type: chunks[0].type })
let url = URL.createObjectURL(blob)
let video = document.querySelector("video")
video.src = url
let a = document.createElement('a')
a.href = url
a.download = 'video.webm'
a.click()
})
// Start recording
mediaRecorder.start()
})Understanding the Code
In the JavaScript code, we start by selecting the record button and adding an event listener to it. When the button is clicked, we use navigator.mediaDevices.getDisplayMedia() to prompt the user to select a screen or application window to record. This method returns a media stream that contains the video and audio data.
We then create a MediaRecorder instance, passing the stream and specifying the MIME type. The dataavailable event is triggered when the media recorder has data available, which we store in an array called chunks. When the recording stops, we create a Blob from the chunks and generate a URL for it, allowing the user to download the recorded video.
Handling Edge Cases
While the MediaRecorder API is powerful, there are a few edge cases to consider:
- User Permissions: Users must grant permission to share their screen. Be sure to handle scenarios where permission is denied gracefully.
- Browser Compatibility: Not all browsers support the MediaRecorder API. Implement feature detection and provide fallback options or informative messages for unsupported browsers.
- Recording Limits: Some browsers may impose limits on the duration of recordings. Consider implementing a timer or notifying users when they approach these limits.
Performance & Best Practices
To ensure optimal performance while recording, consider the following best practices:
- Optimize Video Quality: Choose the appropriate video resolution and frame rate based on your application's requirements. Higher quality may lead to larger file sizes and increased resource usage.
- Manage Resources: Stop the recording and release resources when not needed to prevent memory leaks and excessive CPU usage.
- Provide Feedback: Indicate to users when recording is in progress using visual cues, such as changing the button text or displaying a recording indicator.
Conclusion
By following this tutorial, you have learned how to implement screen recording with audio using the JavaScript MediaRecorder API in an ASP.NET MVC application. This feature can significantly enhance user experience in various applications.
Key Takeaways:
- Screen recording can be easily implemented using the MediaRecorder API.
- Always handle user permissions and browser compatibility.
- Optimize performance by managing resources and providing user feedback.