Linkedin Sign In using LinkedinLogin Nuget package in Asp-Net MVC
Hello guys and welcome to Code2Night! In this article, we'll take a look at how to integrate the Linkedin Sign In functionality using the LinkedinLogin Nuget package in an Asp-Net MVC application. We'll cover everything you need to know to get up and running with this powerful authentication method, so let's get started!
Web developers are probably well aware of the requirement to integrate social logins into their applications. Users expect to be able to check in with their preferred platforms thanks to the growth of social media, rather than having to create yet another login and password. This enhances the user experience while also making it easier for developers to authenticate users.
One social login that has become increasingly popular is the Linkedin Login. With millions of professionals on the platform, it's a great option for applications targeting the business or career-oriented demographic.
Install-Package from Nuget Package Manager
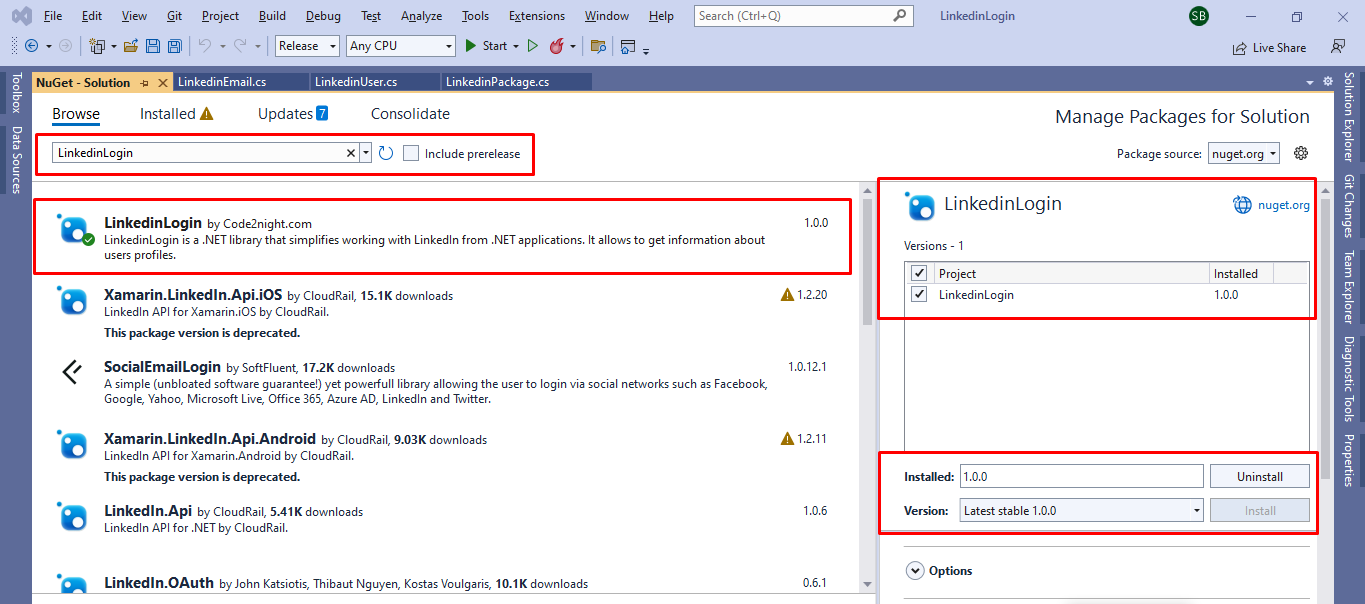
So, we will be using a Nuget package that is used for linkedin login in two easy steps and is quite simple. So first of all you have to install the Nuget package that is shown in the image.

You can also install this Nuget package using the command in the package manager console
Install-Package LinkedinLogin -Version 1.0.0
After you have successfully installed the LinkedinLogin page. You have to go to the controller and add code to your controller.
Now this method will return you the redirect URL which you have to add in your button href on view and on clicking that button it will redirect to the LinkedIn login screen. So we will be storing the information in ViewBag and passing that on to the view. So first do this on the controller side on the action which is fired when the page is loaded.
        public ActionResult Index()
        {
            ViewBag.uri = LinkedinLogin.LinkedinPackage.RedirectToLinkedinLoginUrl("ClientId", "redirectUri");
            ViewBag.url = LinkedinLogin.LinkedinPackage.RedirectToLinkedinLoginUrl("7710pzauu34u5oni12cxsabc", "http://localhost:8080/Home/RedirectLinkedIN");
            return View();
        }
Now, we will add another action method which is the redirect method which we will redirect after you enter your LinkedIn id and password on the LinkedIn login screen and authentication is successful. then it will redirect to the method. You have to pass the URL of this method in redirect uri as a parameter. This must also be added when creating LinkedIn client id and client secret key.
        public ActionResult RedirectLinkedIN(string code)
        {
            try
            {
                var results = LinkedinLogin.LinkedinPackage.GetLinkedinUserProfile(code, "clientId", "clientSecet", "redirectUri");
                var result = LinkedinLogin.LinkedinPackage.GetLinkedinUserProfile(code, "7710pzu5onereeicxs", "xUvKfIranere45Z0KDa50", "http://localhost:8080/Home/RedirectLinkedIN");
            }
            catch (Exception ex)
            {
                throw ex;
            }
            return View();
        }
Now, the URL that we set in the viewing in the first step will be used like this on the view. When you will click on this anchor button it will redirect to the LinkedIn Login screen where you will authenticate your user.
 @{
    ViewBag.Title = "Home Page";
}
<a style="margin-top:10px" href="@ViewBag.url"
   class="btn btn-primary"> Hureee!Login with LinkedIN</a>
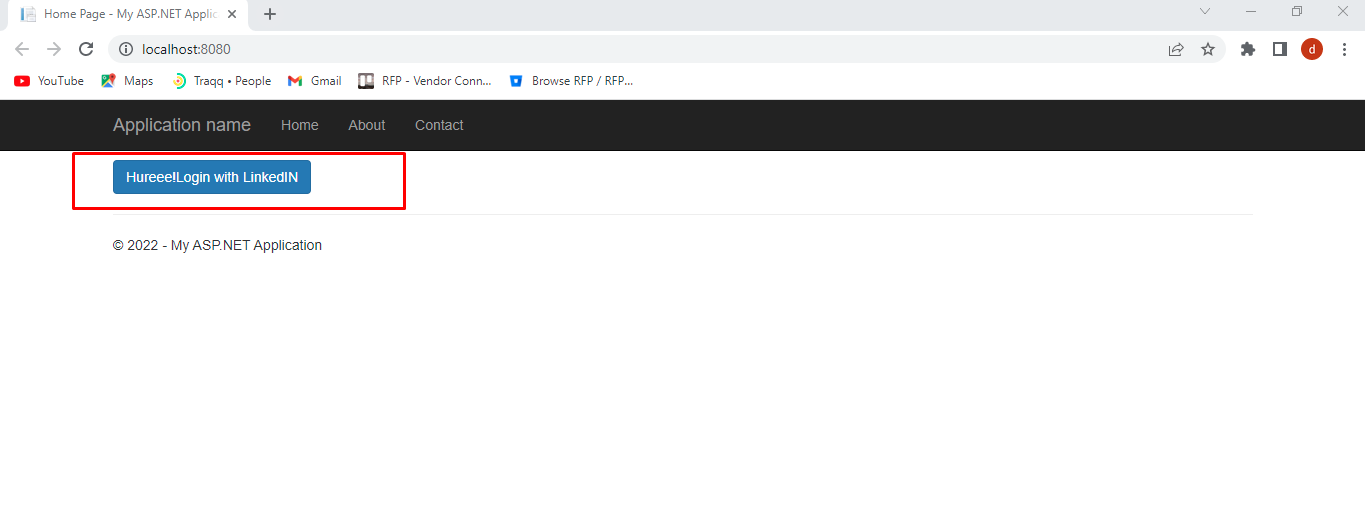
Now, run the application and you will see this button. Click on this button

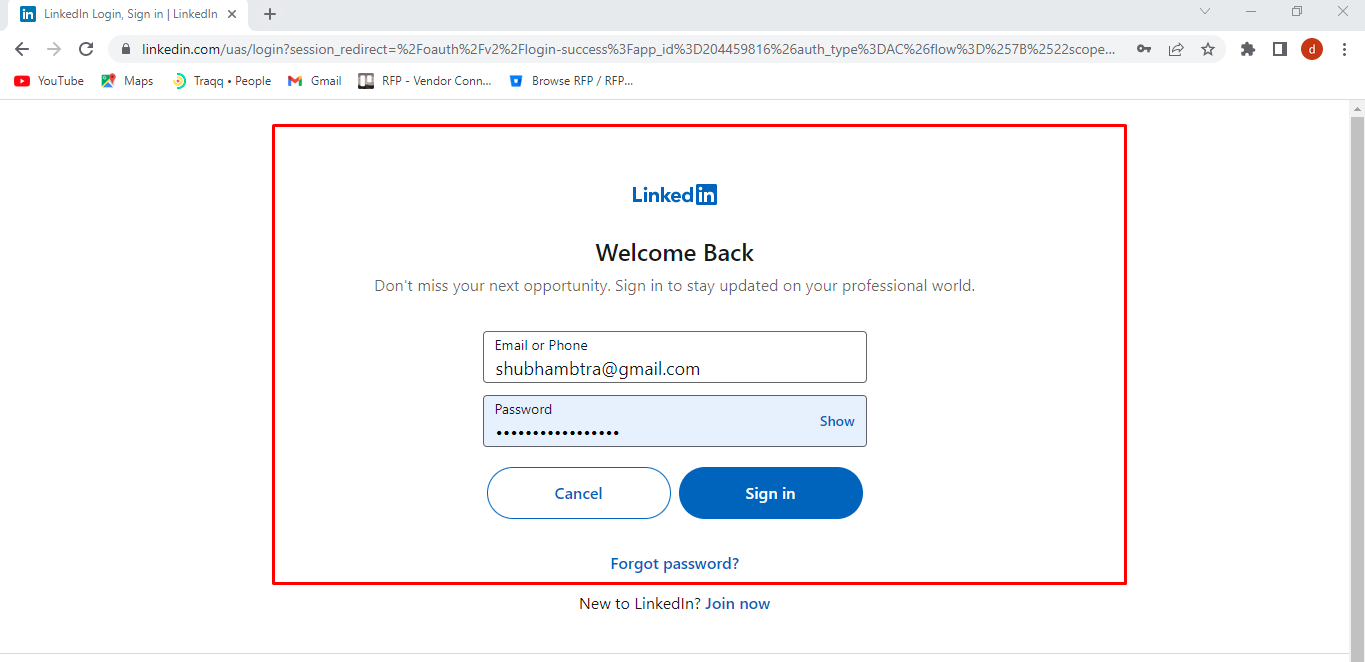
You will see this screen on redirect. You can also face an error if Redirect URI in the app doesn't match the one passed in the code. If everything is fine you will see this screen. Enter the details and click on Sign in.

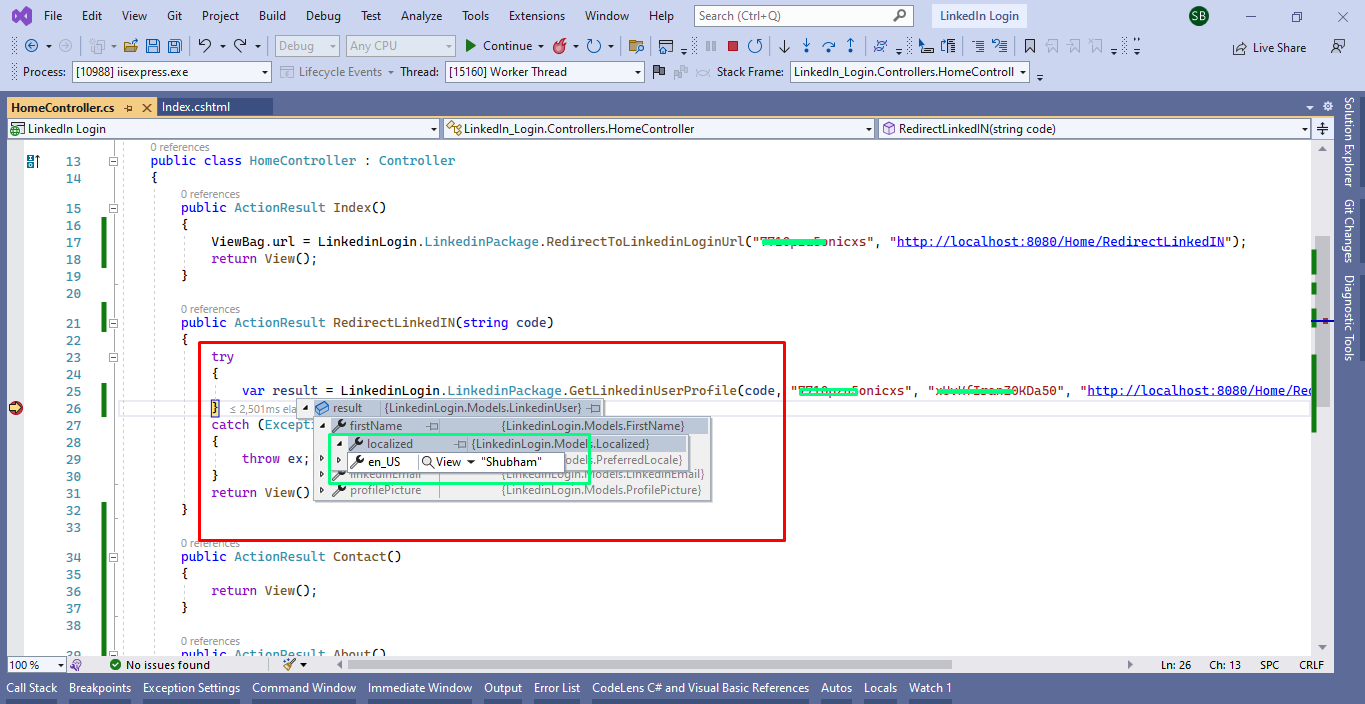
Now, it will redirect to the method which we have passed inside the redirect URI. Here you will get the Code parameter in the request sent by LinkedIn.This code will be passed in our second method along with the client id, client secret, and redirect URI. In the result, you can see the LinkedIn profile returned for the logged-in user.
 So this is how you can integrate Linkedin Sign In using the LinkedinLogin Nuget package in Asp-Net MVC. If you face any issue you can comment on the article.

