
How to Integrate Linkedin Login in Asp.net MVC
We welcome everyone at Code2Night! In this article, we will learn how to Integrate LinkedIn login in ASP.NET MVC Undoubtedly technology has changed dynamics drastically; therefore social media play crucial roles in our lives globally. Thus developers must incorporate social login features within their respective applications seamlessly.
To aid fellow practitioners out there who may want to integrate LinkedIn Login into their ASP.NET MVC application. We will detail the step-by-step process extensively in this blog post. By utilizing ASP.NET MVC - a robust web application framework - we can produce secure and efficient authentication systems.
Social Login
So, nowadays it is really important while developing applications that users don't have to waste a lot of time trying to register or go inside your web application. So, keeping in mind the need of today's world we have few Social Login available that are getting used mostly. These include Google Login, Linkedin, and Microsoft. So, if you want to implement Google Login then please refer to this article Google Authentication in Asp.net MVC, which explains all steps for Google Login.
LinkedIn Login
So, for LinkedIn login we will have to follow these steps, first of all, we will need to get our Client Id and Client Secret like all Social Login. So we will see how to get the client id and client secret in LinkedIn.
Register New LinkedIn App
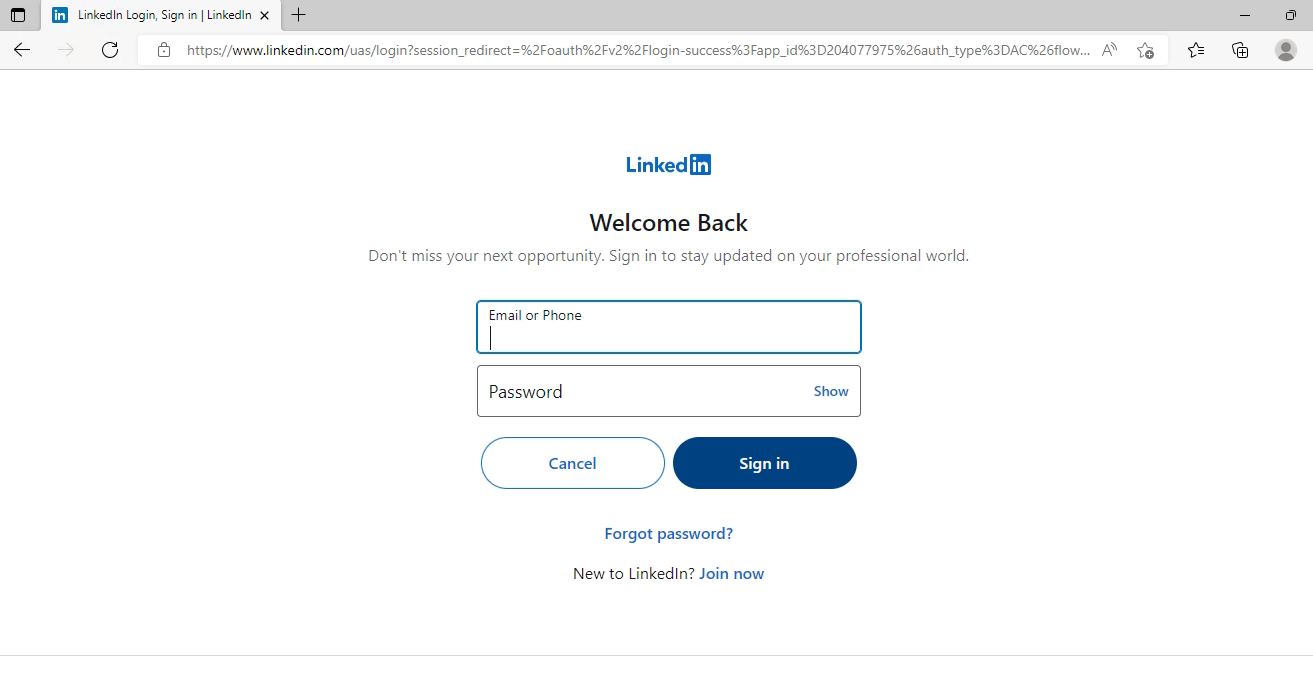
So we have to register a new LinkedIn app first, so just go to the developer login of LinkedIn and log in using one LinkedIn account, as shown in the image.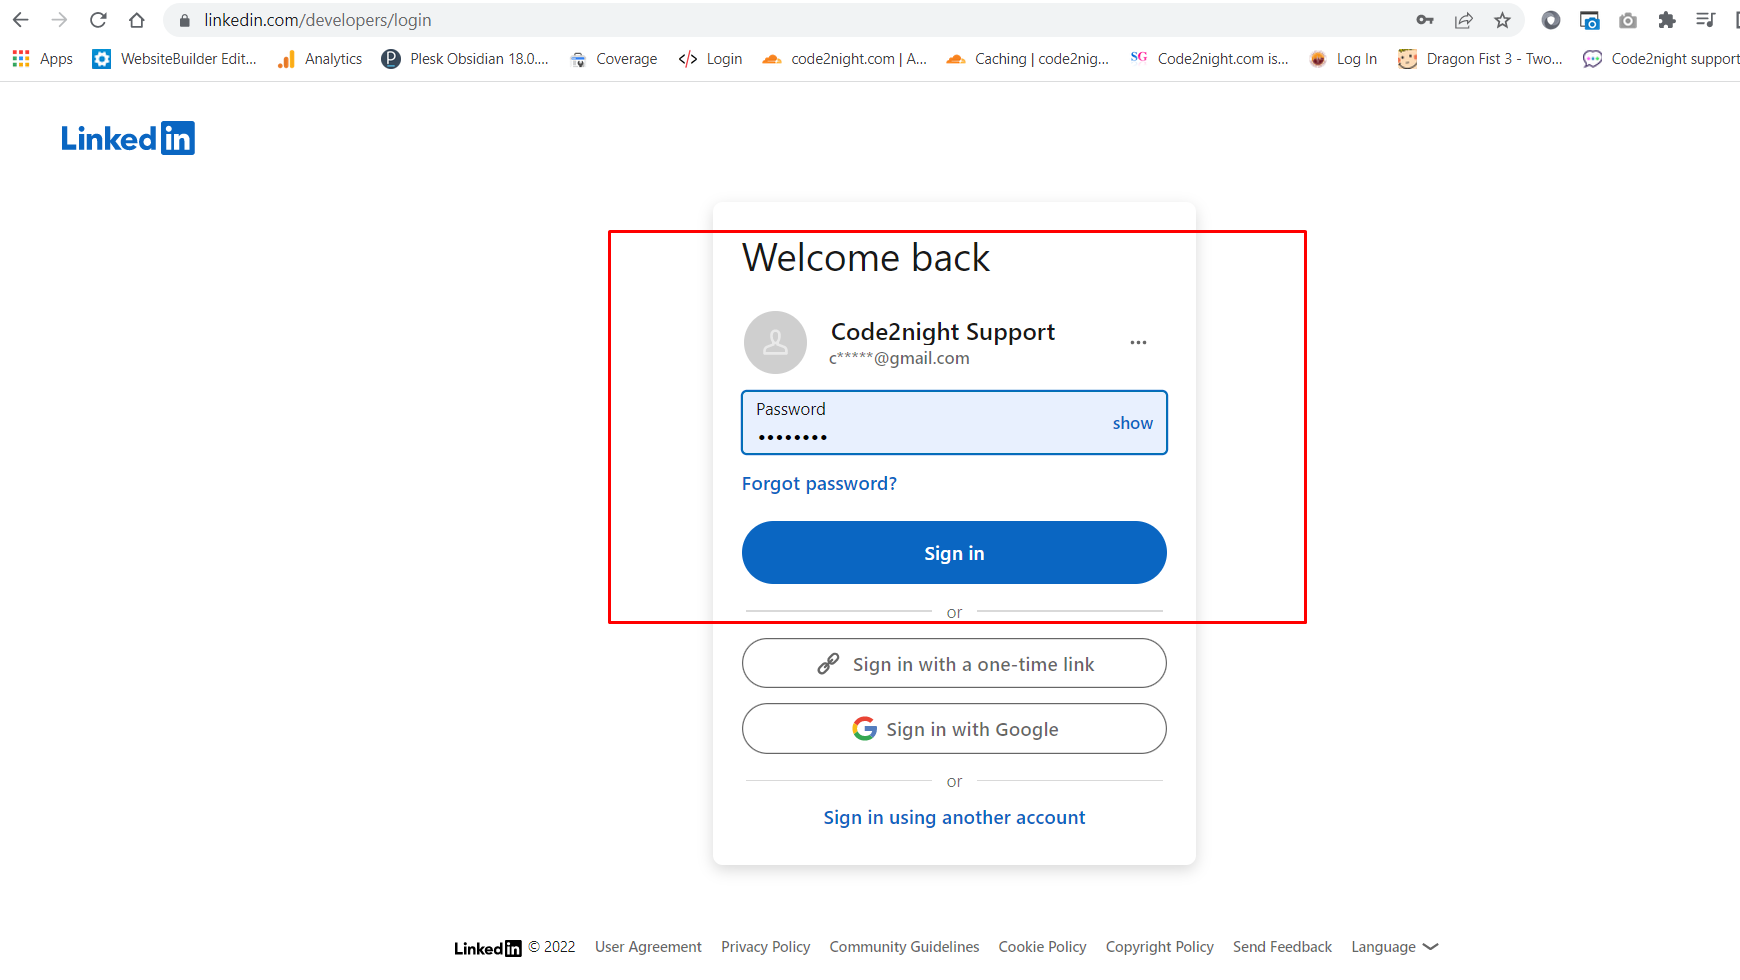
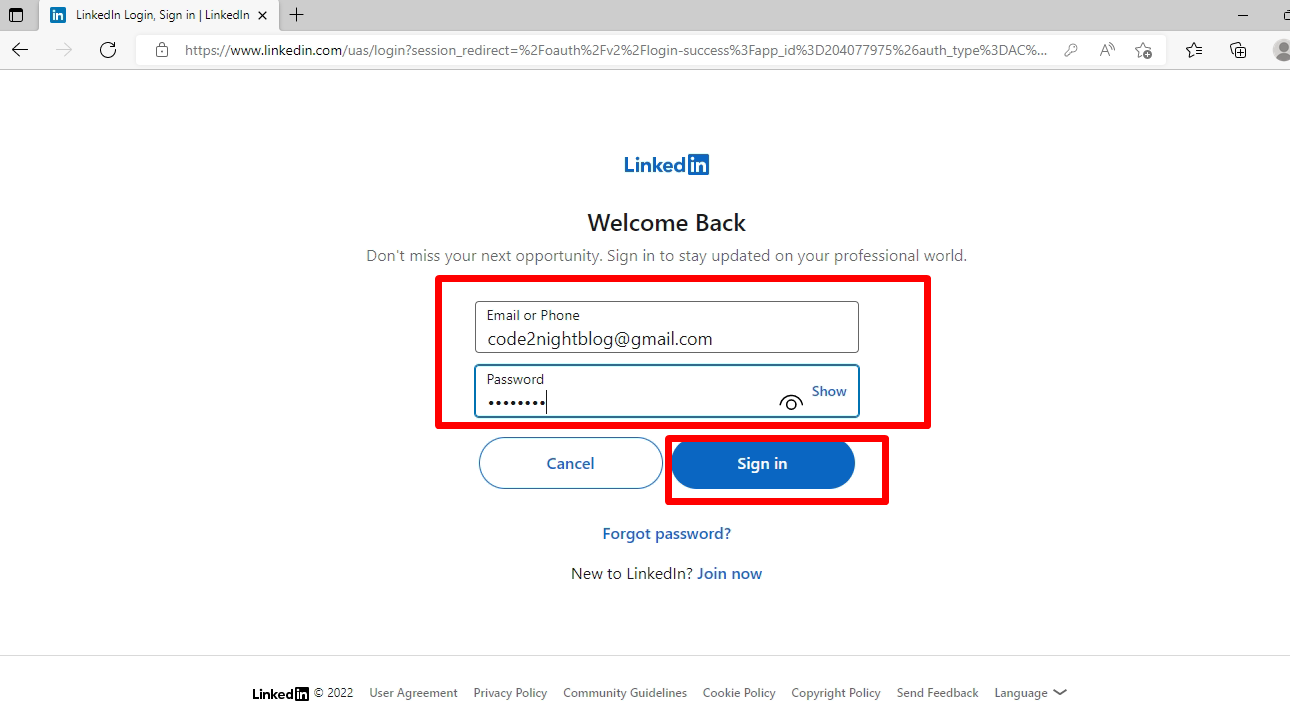
So, here we have to enter our LinkedIn account username and password and click on Sign In.
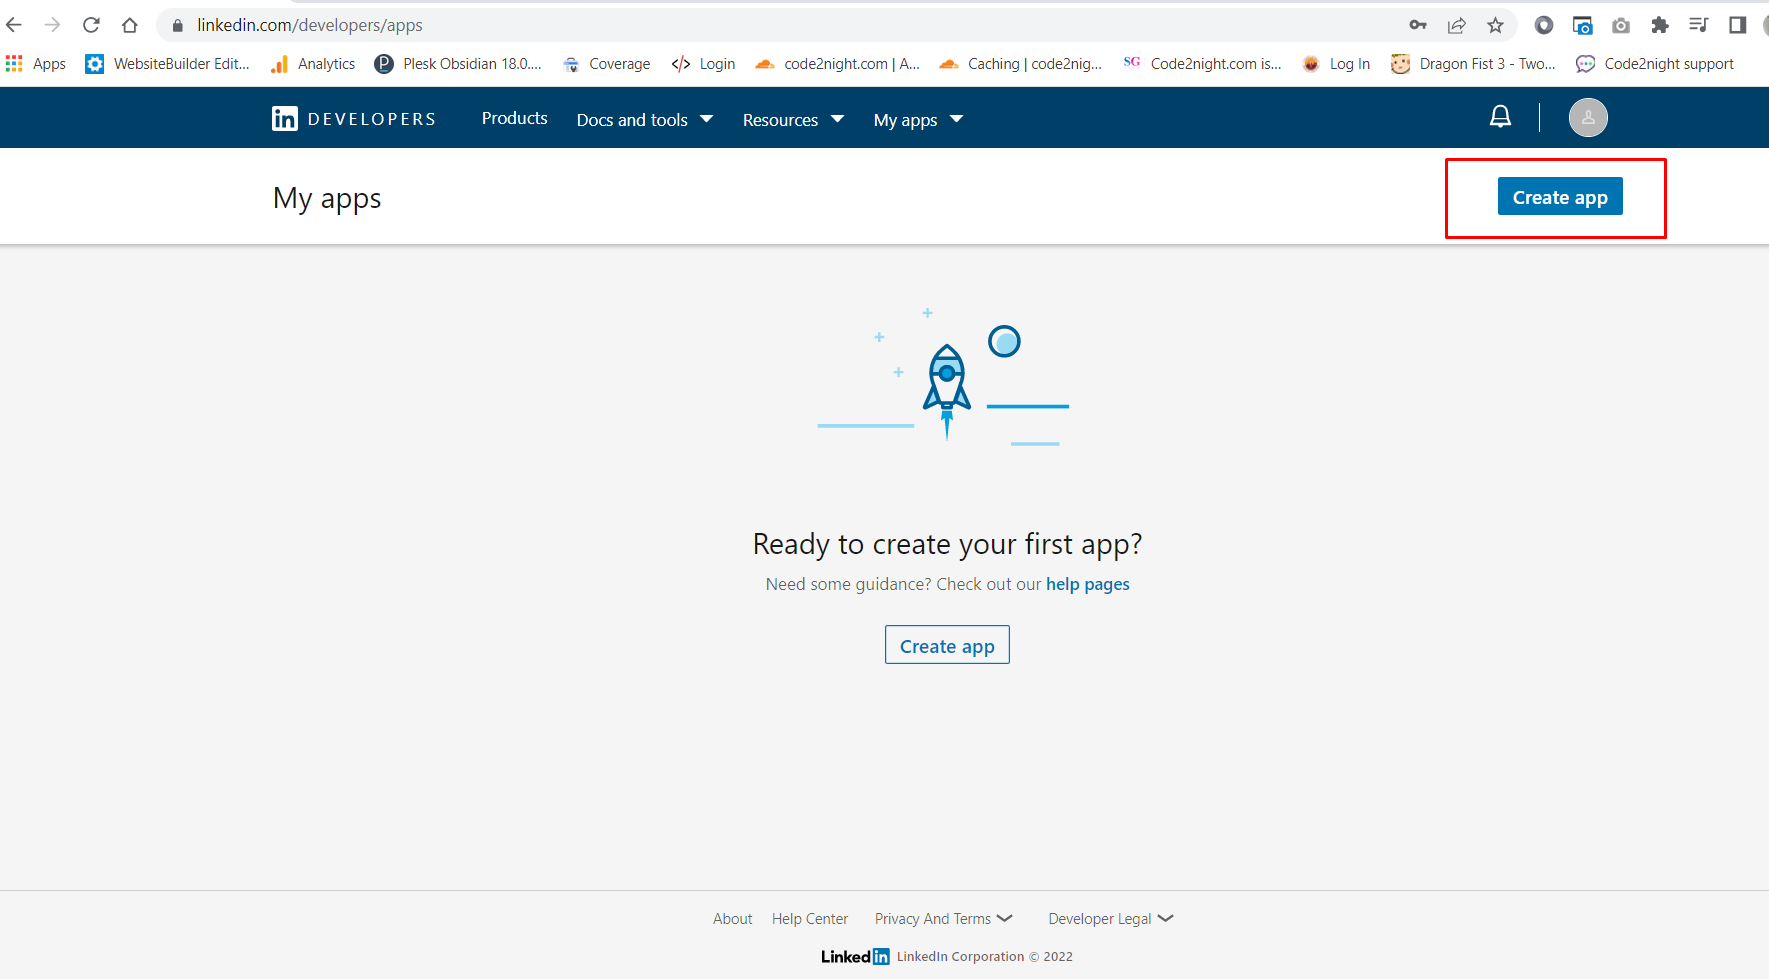
Now, we will see this screen where you have to click on Create App
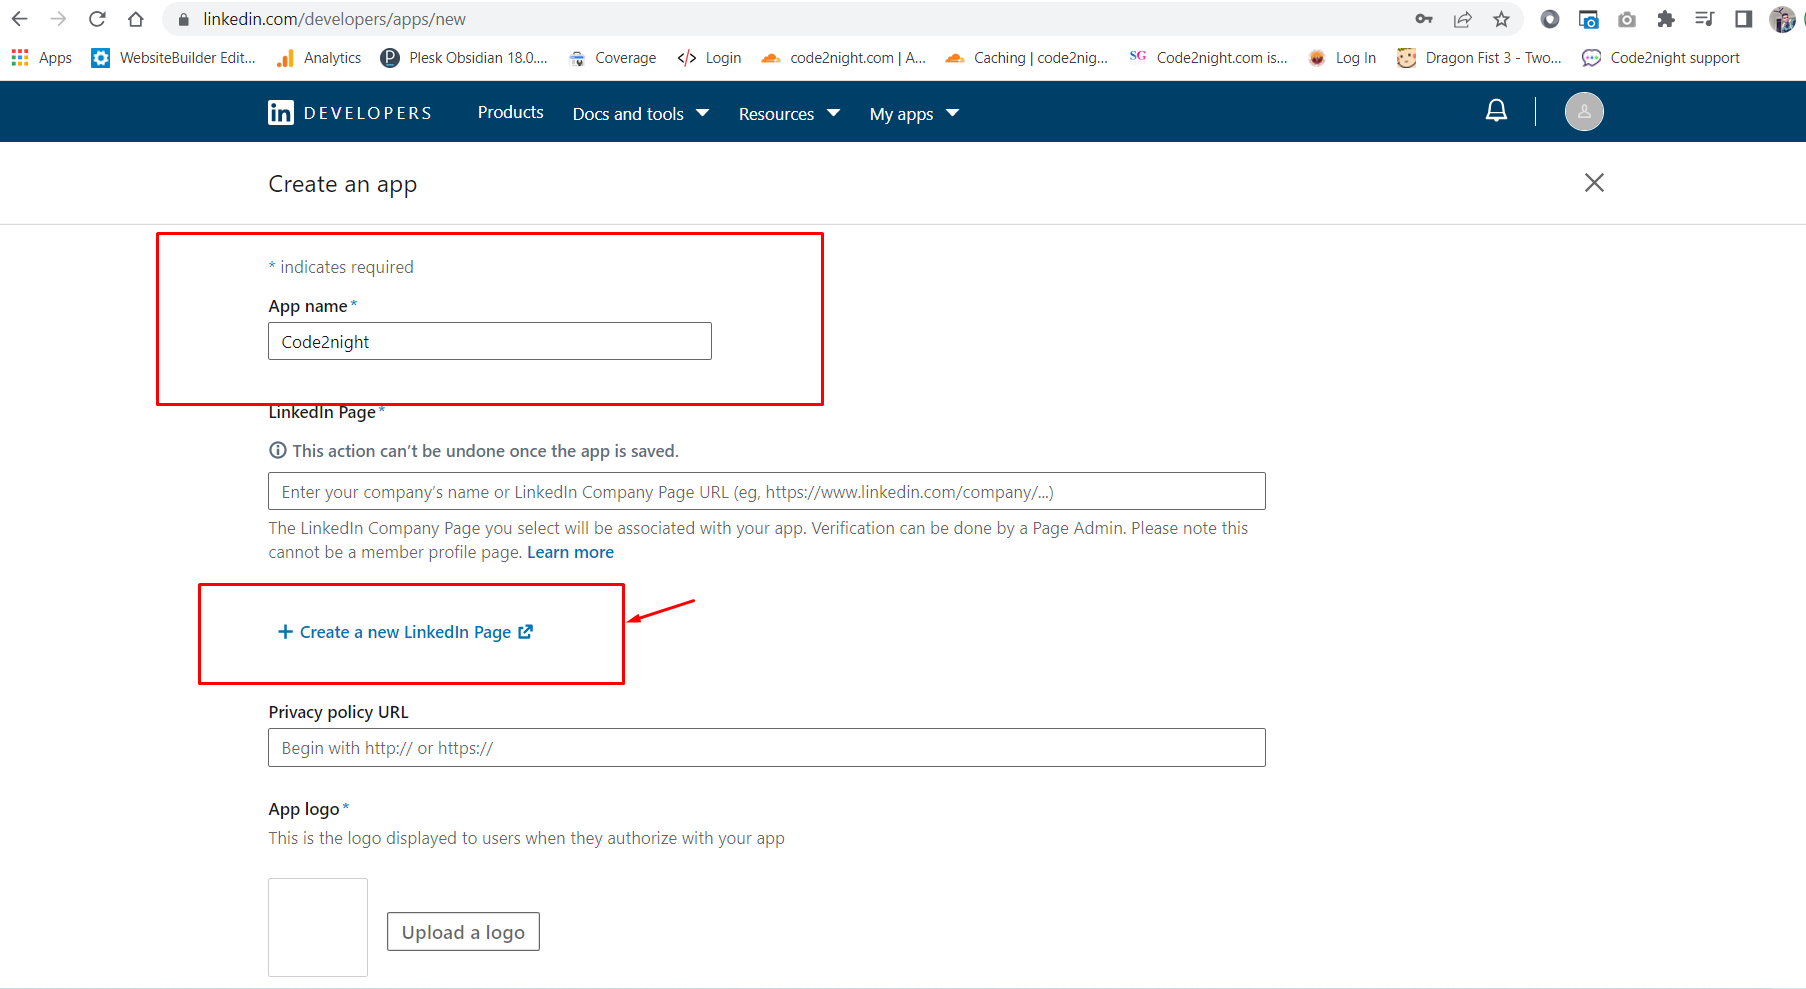 Now, we have to add the app name that will be shown when the user will be asked for permission while using LinkedIn Login on your web app.
After entering the name, you will need one company page. You can click on Create a company profile if you don't have a company page already.
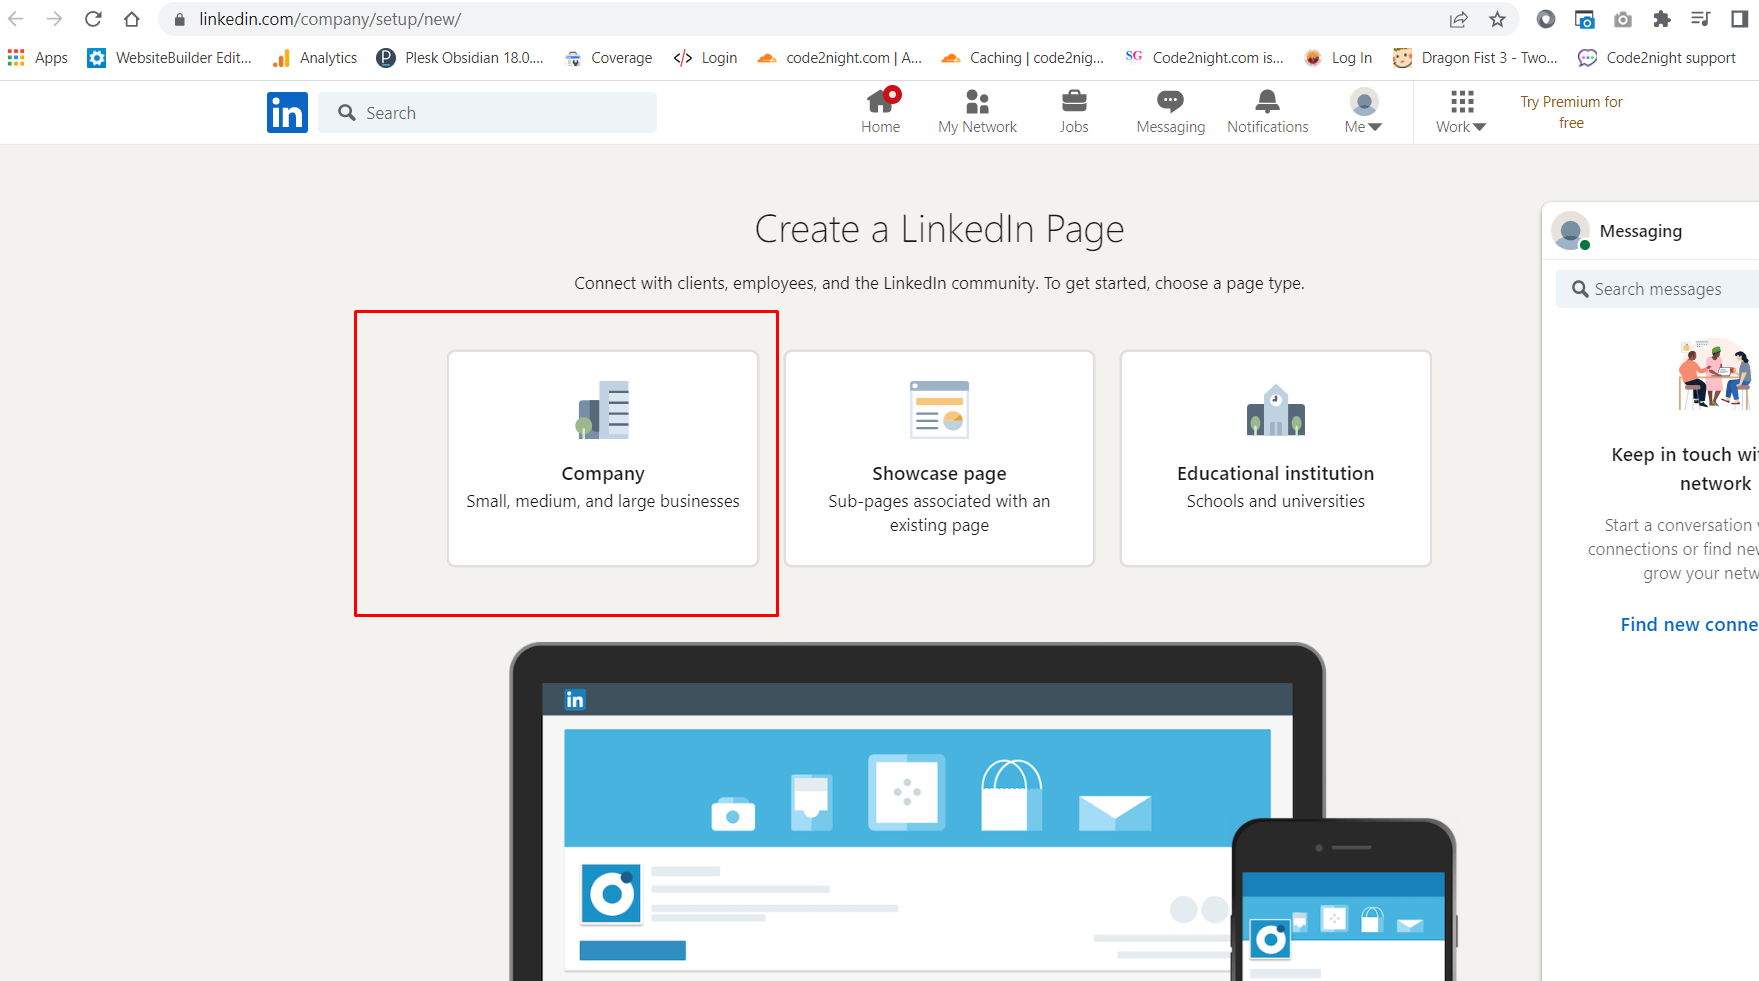
On this screen, you have to click on Company because we want to create one company page.
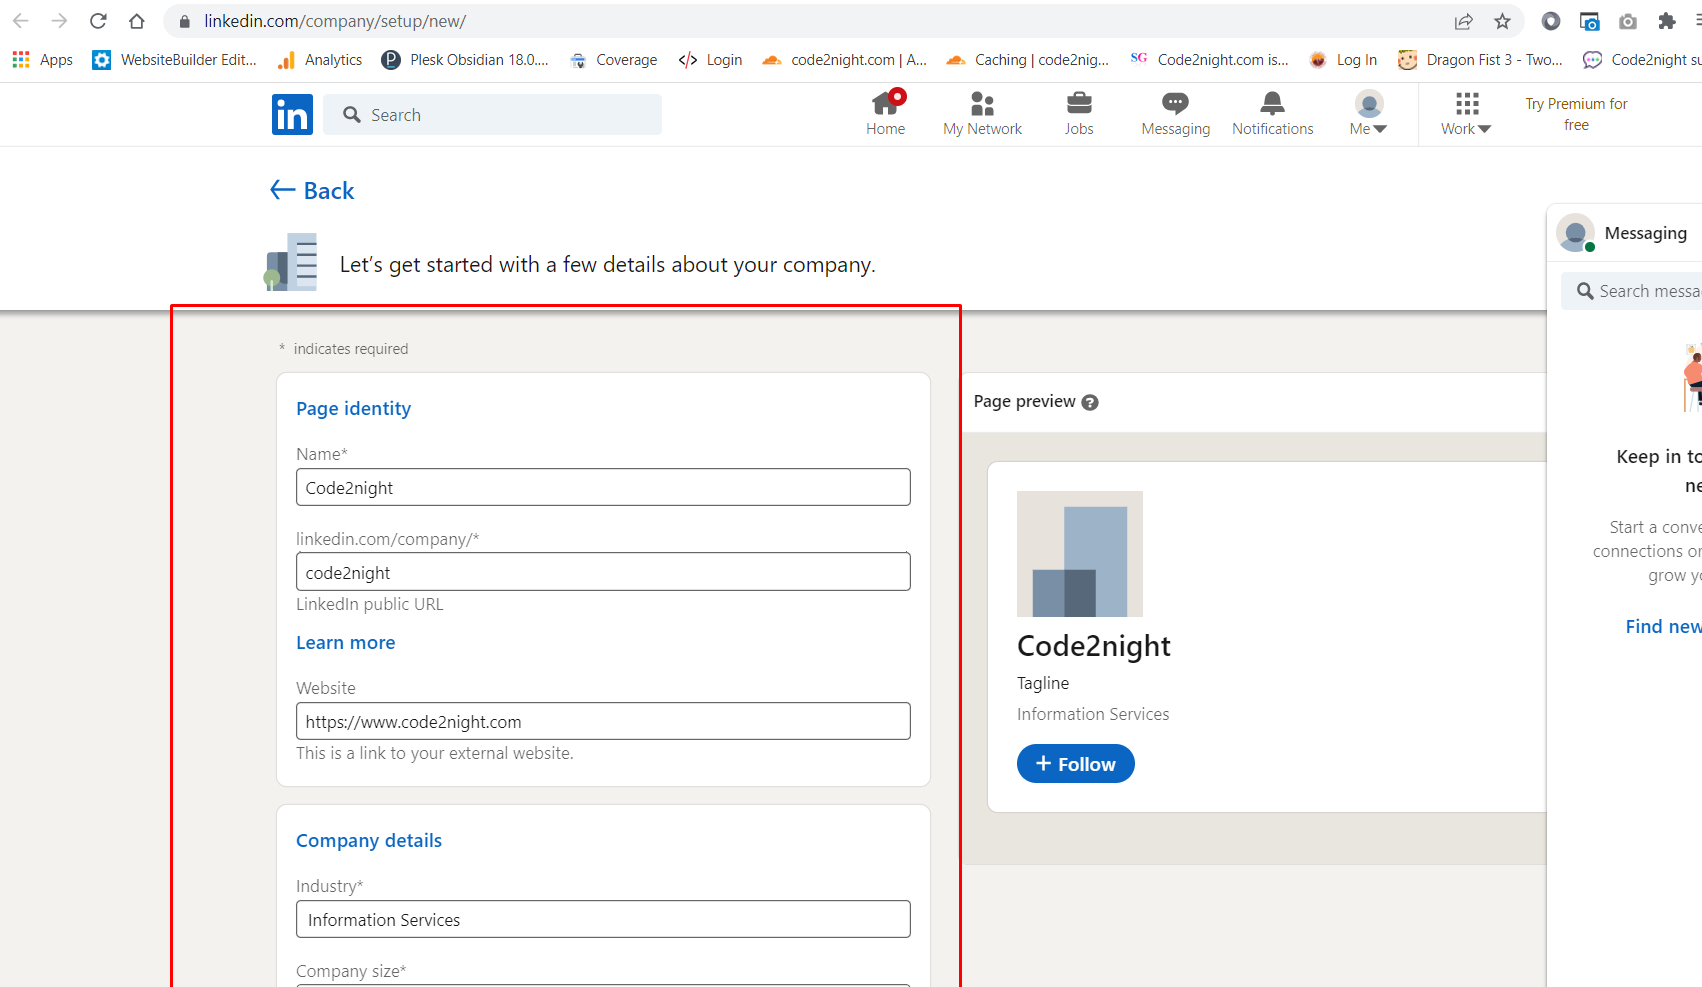
Fill in all the details here, that are required and should be valid. For this step, your LinkedIn account must be an old one. As it will not save for new accounts.
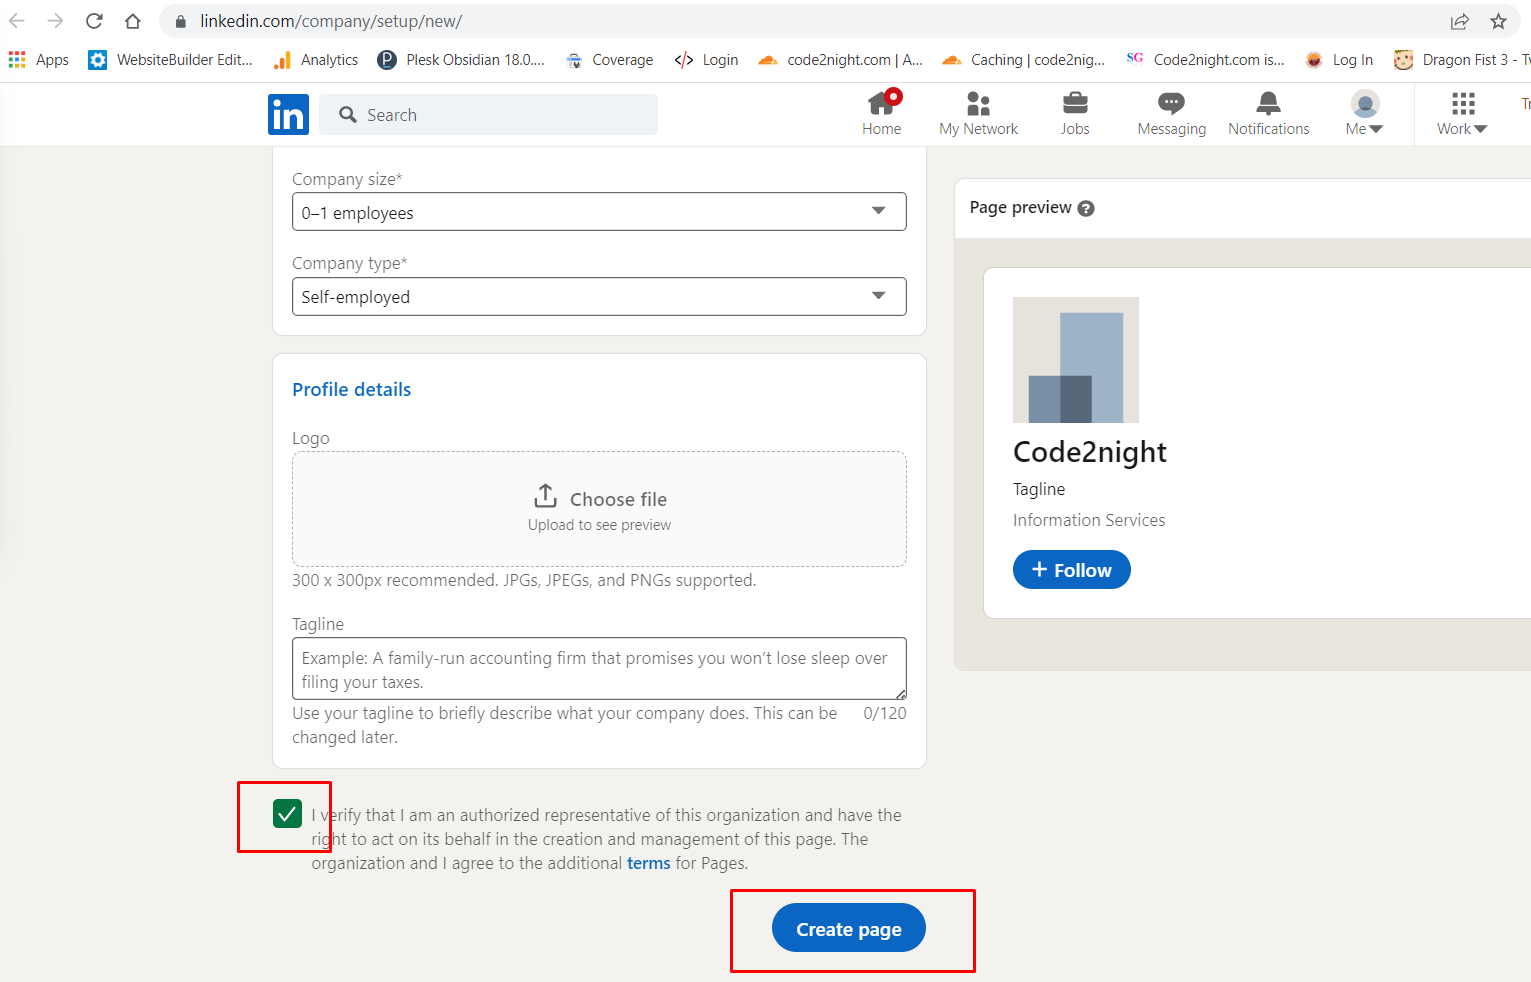
After filling in your details, you have to click on Create page. This will create your company page and we can go back to the process of creating an app in step 3.
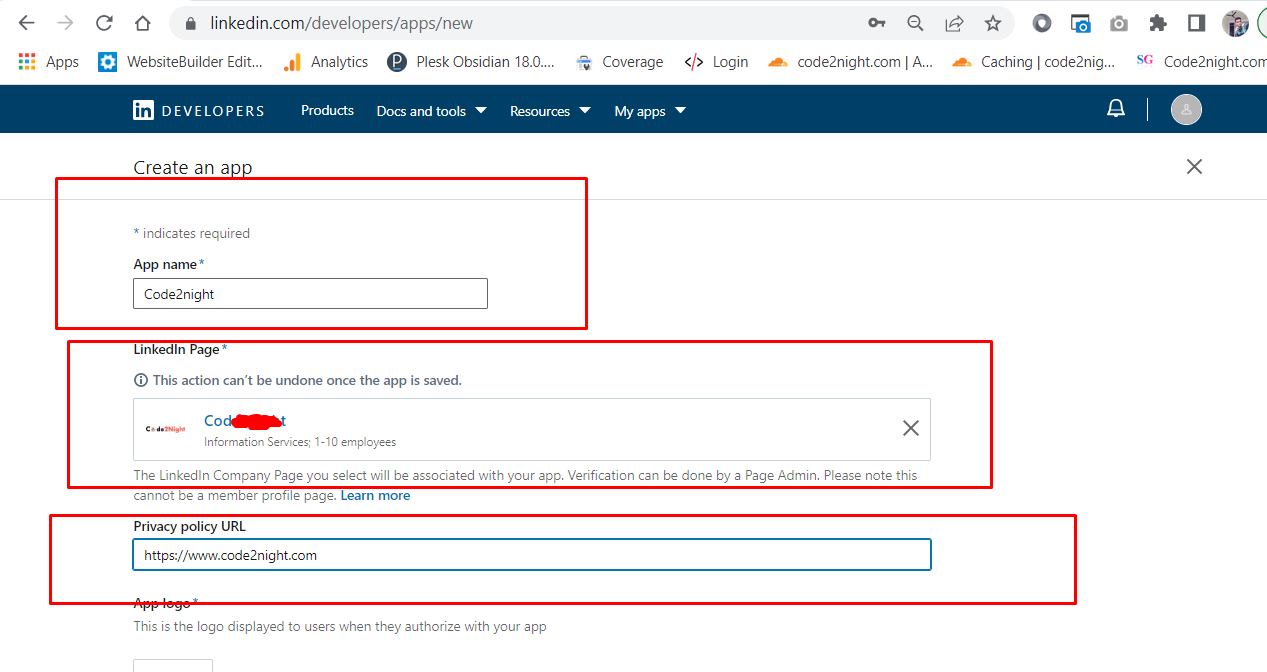 Now, you can select your created company page in the Linked Page selection search box. Select your company page and then enter the privacy page URL, which can be any URL.
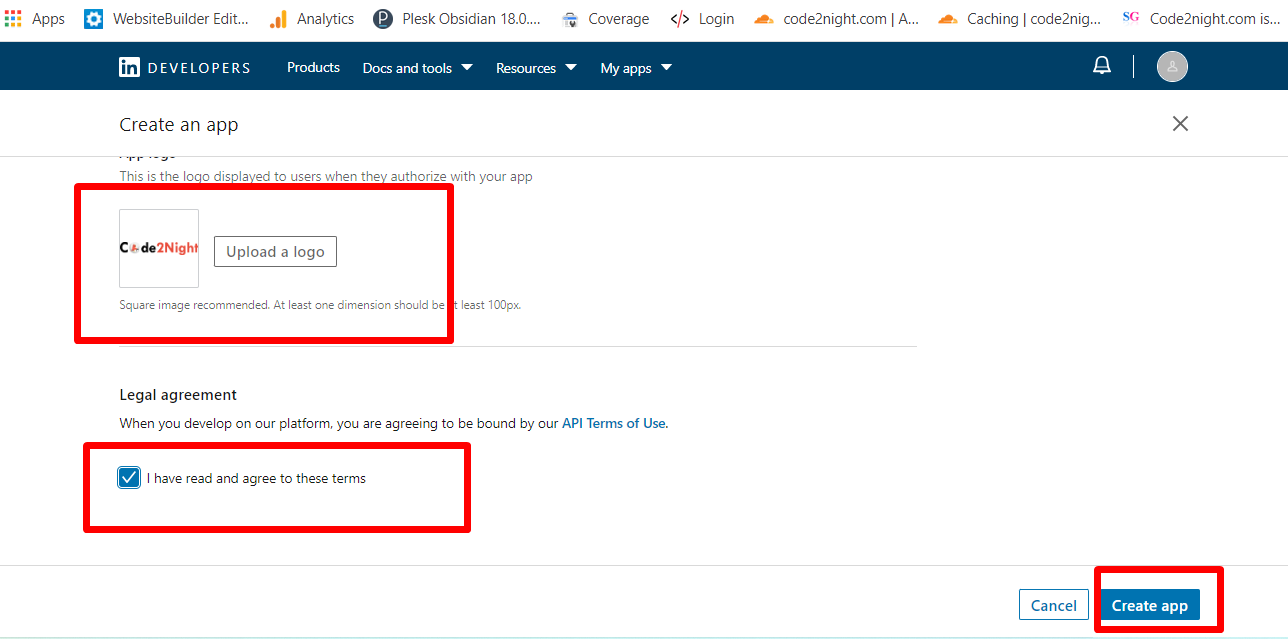
Now, add your logo and check the checkbox and click on create an app.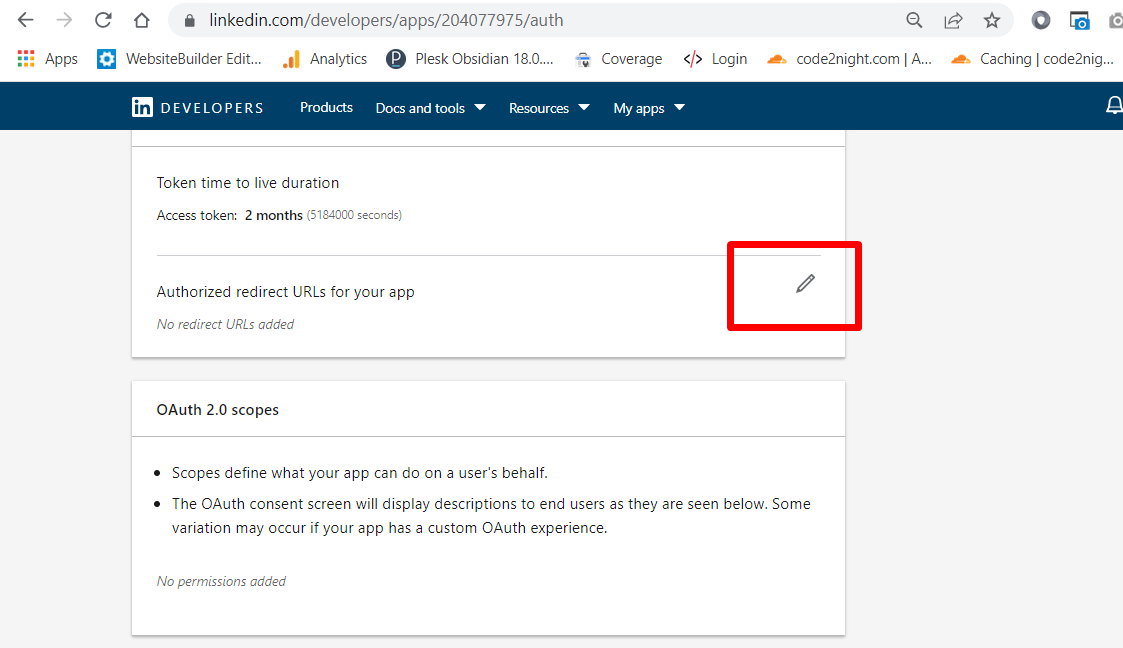
Now, at this step, you have to click on this edit icon and you will see one link button there
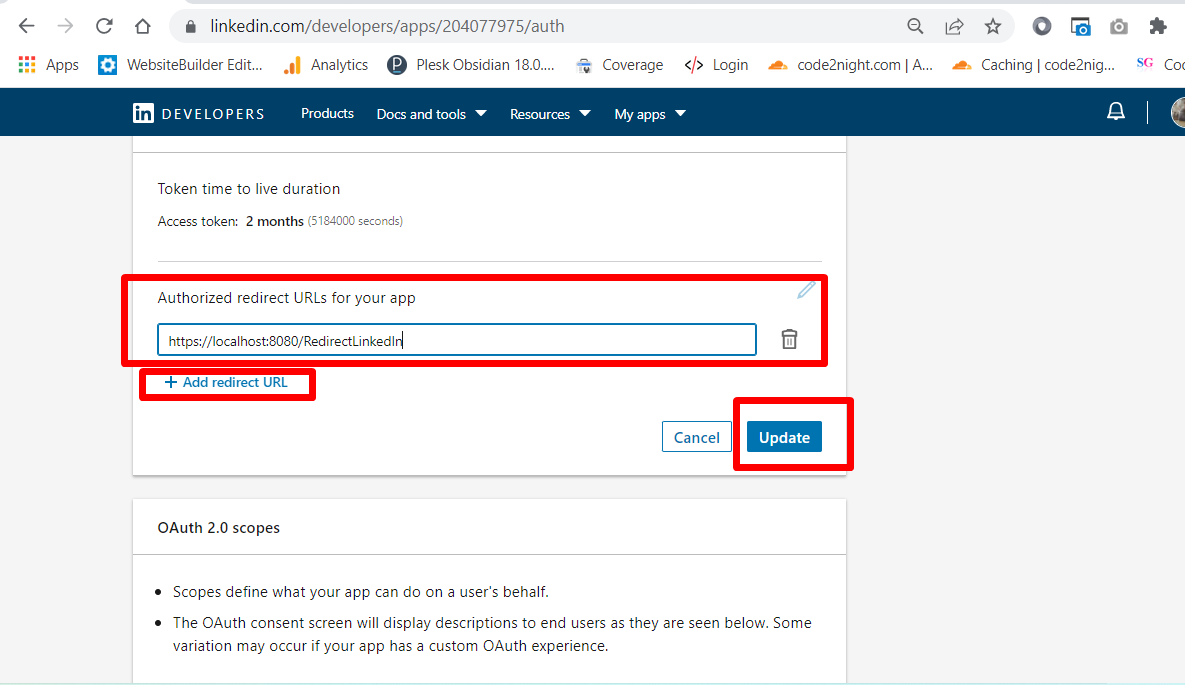
This must be the URL from your application that you will redirect when the user will authorize the LinkedIn Login. You can change this URL as per your need.
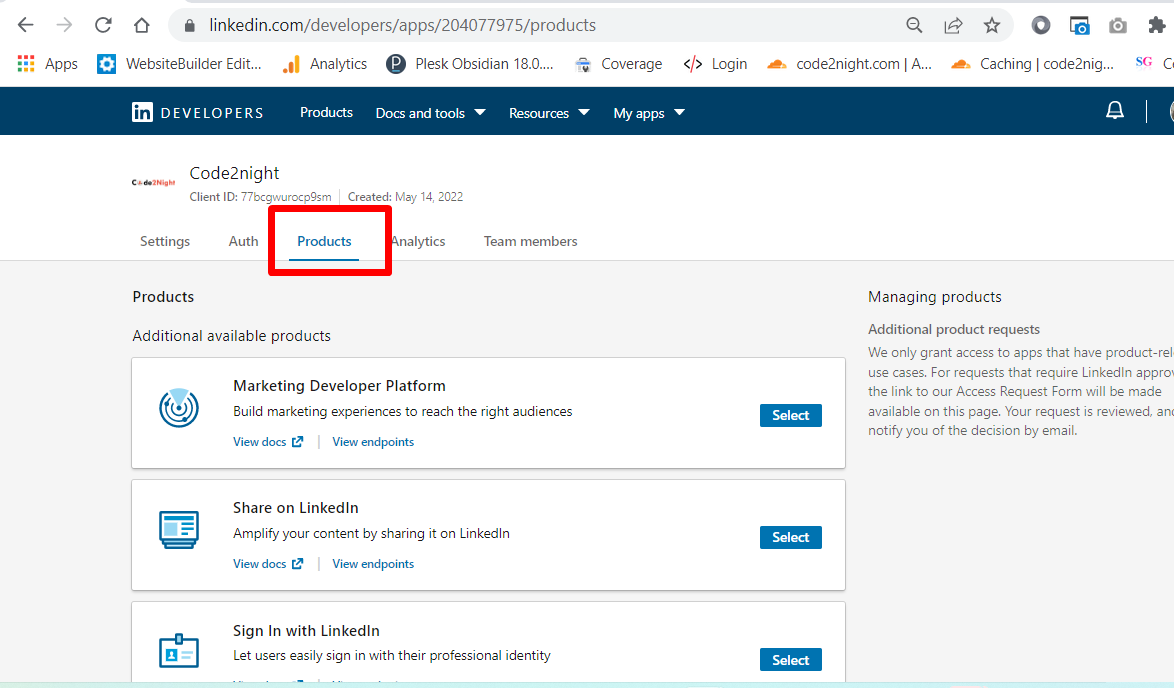
Now, click on the products tab.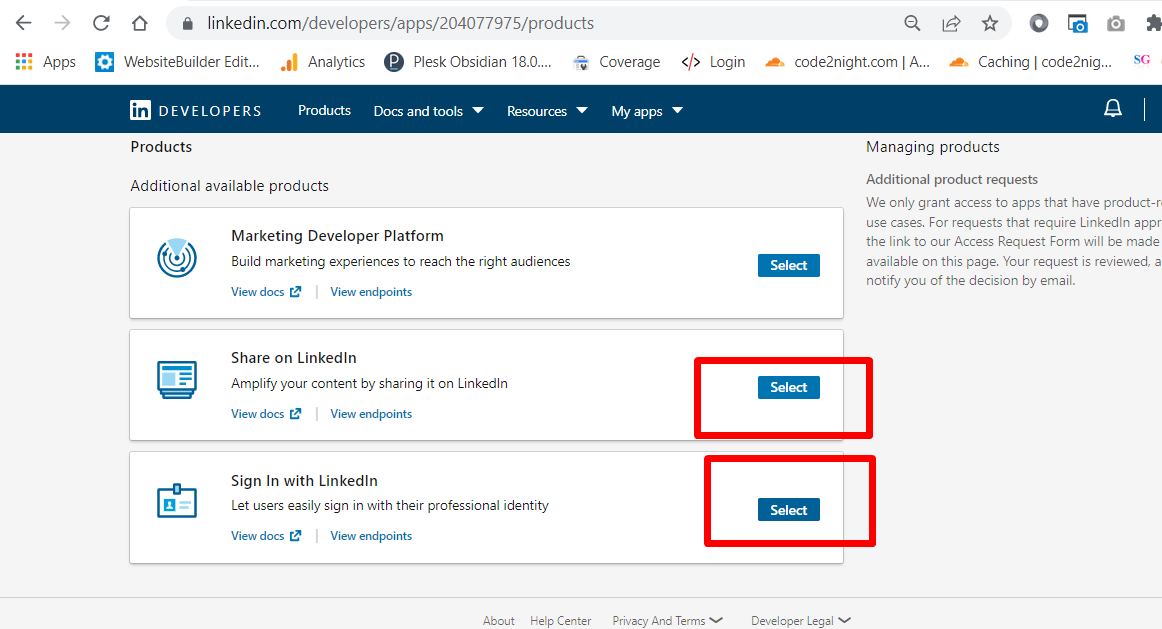
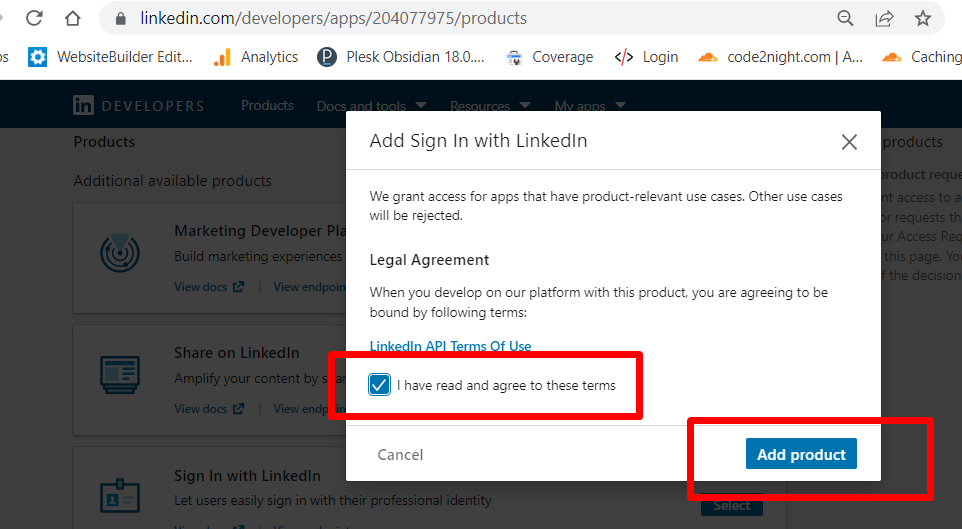
Now, this is one of the most important steps, as you have to select the features that you want to use, so click on select on the last two options. This will open a popup where you will have to check the checkbox and then the add button.
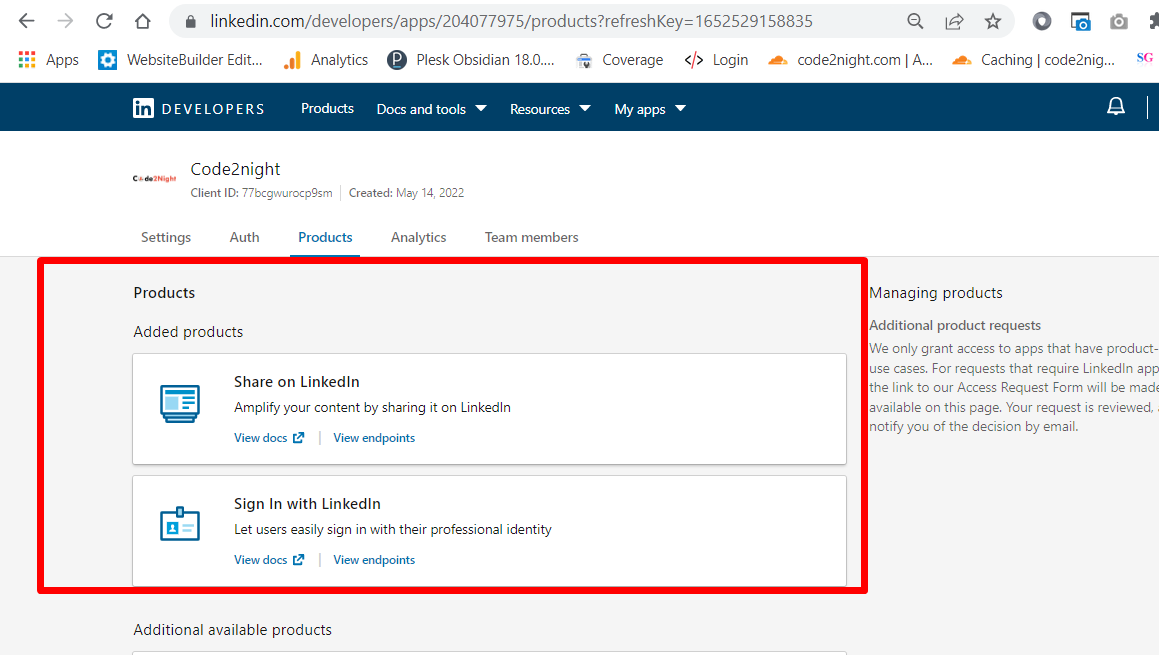
After adding both the service, they will appear like this, now your app is set up for getting used. You can go to Auth and check your Client Id and Client Secret. 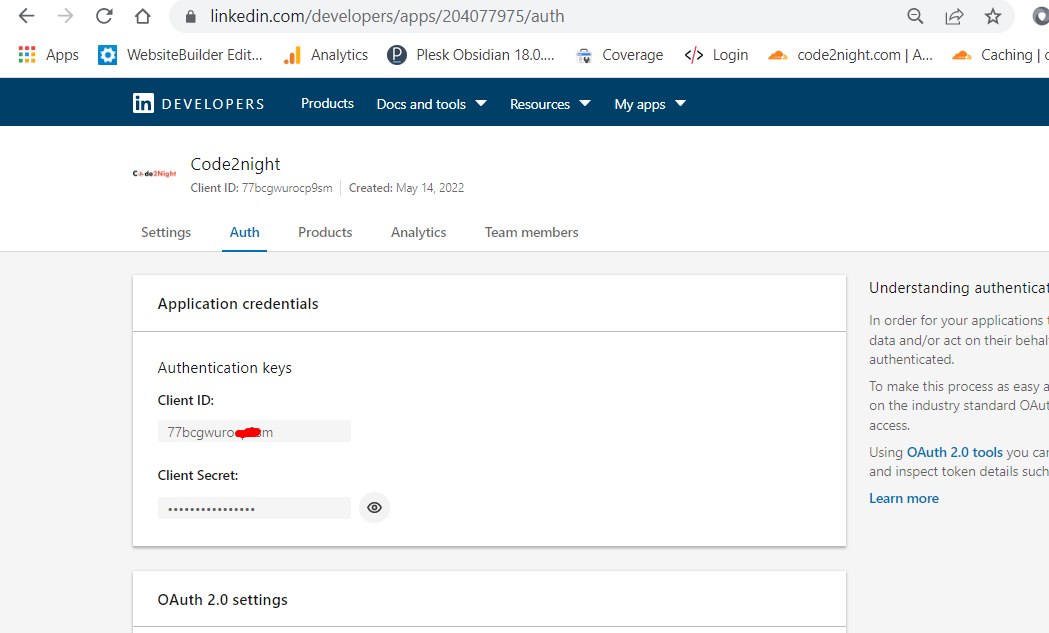
Note, down your client id and client secret key from here. Now, we will go to our application and write the code for LinkedIn Authentication.
public ActionResult RedirectLinkedIN(string code, string state)
{
try
{
var client = new RestClient("https://www.linkedin.com/oauth/v2/accessToken");
var request = new RestRequest(Method.POST);
ServicePointManager.SecurityProtocol = (SecurityProtocolType)3072;
request.AddParameter("grant_type", "authorization_code");
request.AddParameter("code", Request.QueryString["code"].ToString());
request.AddParameter("redirect_uri", "http://localhost:8080/Home/RedirectLinkedIN");
request.AddParameter("client_id", "Enter Your ClientId");
request.AddParameter("client_secret", "Enter Your Client Secret");/*These are to be added in the view also on the button*/
IRestResponse response = client.Execute(request);
var content = response.Content;
var res = (JObject)JsonConvert.DeserializeObject(content);
var client2 = new RestClient("https://api.linkedin.com/v2/emailAddress?q=members&projection=(elements*(handle~))&oauth2_access_token=" + res["access_token"]);
client = new RestClient("https://api.linkedin.com/v2/me?projection=(id,firstName,lastName,profilePicture(displayImage~:playableStreams))&oauth2_access_token=" + res["access_token"]);
request = new RestRequest(Method.GET);
var request2 = new RestRequest(Method.GET);
response = client.Execute(request);
var response2 = client2.Execute(request);
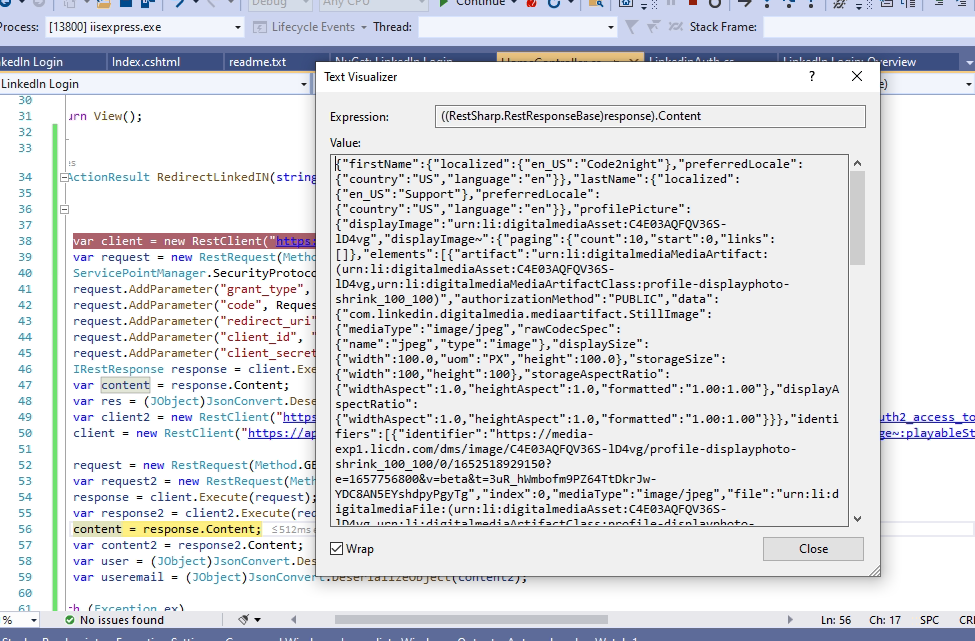
content = response.Content;
var content2 = response2.Content;
var user = (JObject)JsonConvert.DeserializeObject(content);
var useremail = (JObject)JsonConvert.DeserializeObject(content2);
}
catch (Exception ex)
{
throw ex;
}
return View();
}So, on the controller we will add one action where the user will redirect after successful login, this action and URL must match the name which was given while creating the app. You have to install RestSharp 104 version for this.
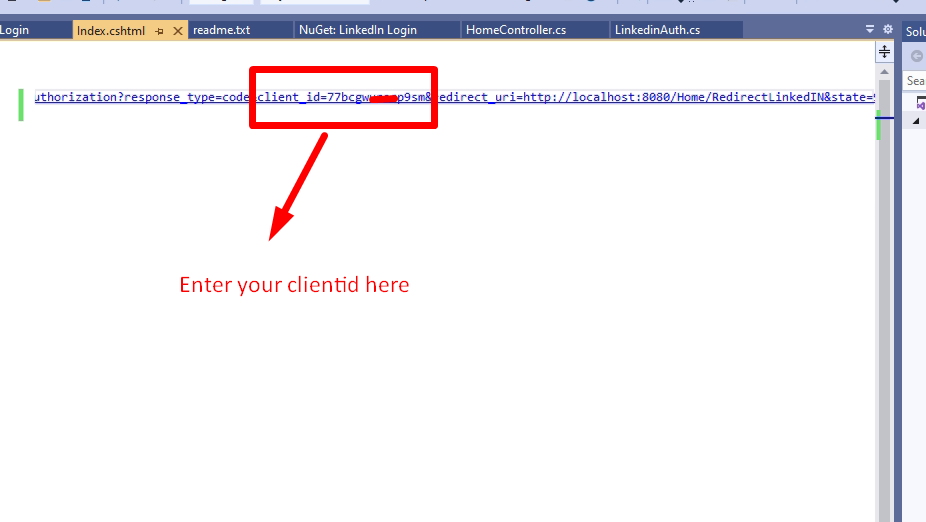
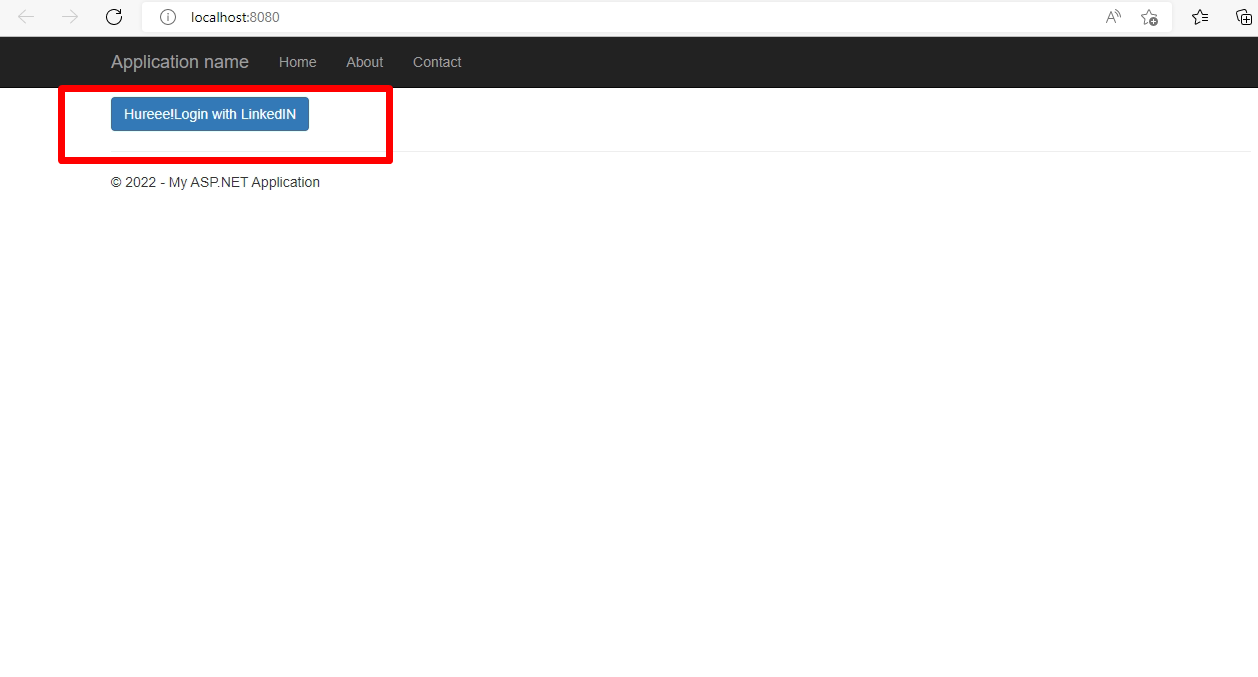
<a style="margin-top:10px" href="https://www.linkedin.com/oauth/v2/authorization?response_type=code&client_id=77bc666rocp9sm&redirect_uri=http://localhost:8080/Home/RedirectLinkedIN&state=987654321&scope=r_liteprofile,r_emailaddress"
   class="btn btn-primary"> Hureee!Login with LinkedIN</a>
Here, on the view we will add one button, which will be used for LinkedIn Authentication. Remember, you have to replace the URL and client id in the href. Now run your application.
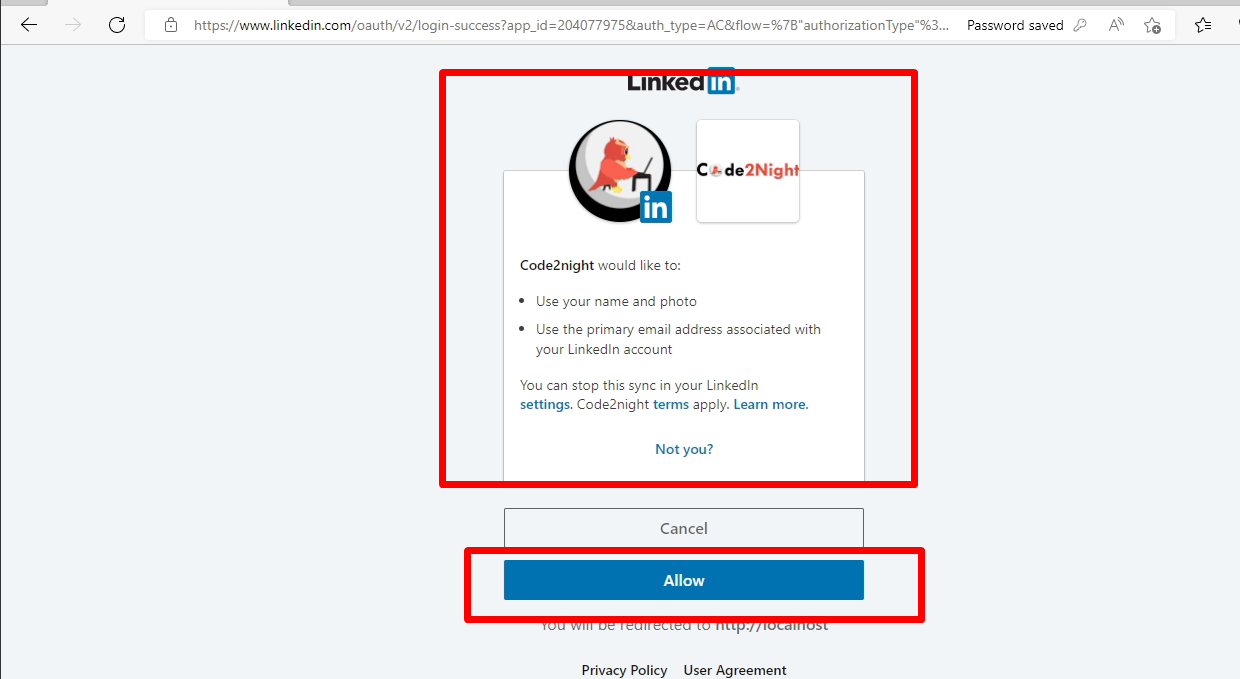
After, clicking on allow it will go to your Redirect URL which you provided while creating an app. You will get your Login information there. Like shown in the image.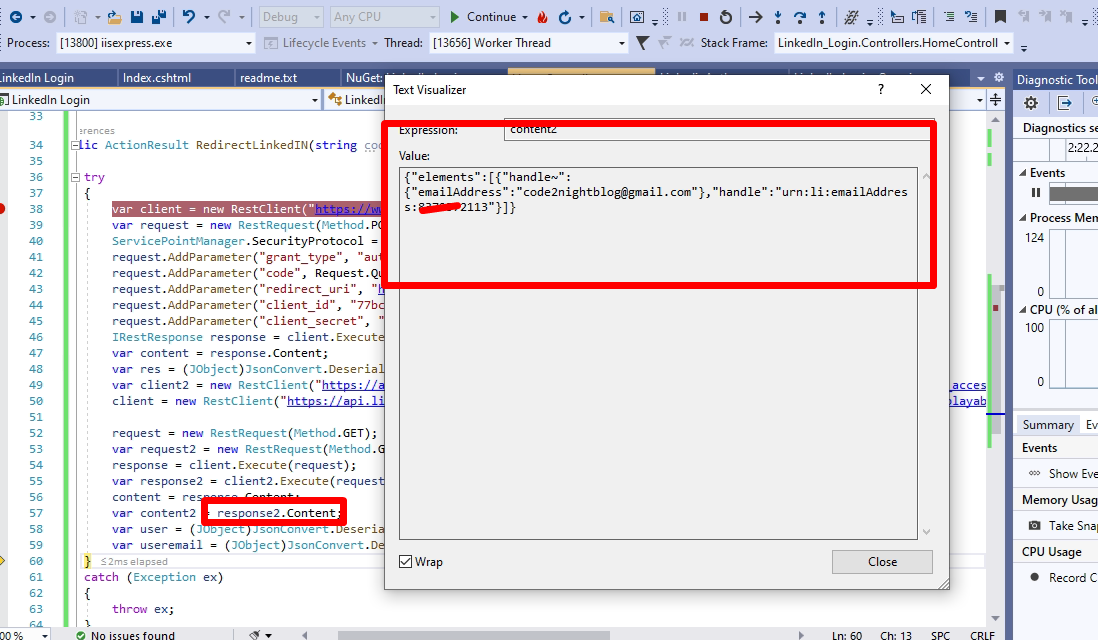
So, this is how to Integrate Linkedin Login in Asp.net MVC. If you get any error regarding Redirect Url, then please double check the URL in the code and the app and also that you are using your client id and client secret.
