
How to implement JWT Token Authentication and Validate JWT Token in ASP.NET MVC using JWT
Hello, readers, and welcome to Code2Night! In this blog post, we will focus on the latter and explore how to implement JWT Token Authentication in ASP.NET MVC. As developers, we understand the crucial role that security plays in ensuring the integrity and confidentiality of our applications. One powerful technique we often employ is the implementation of security tokens.
JSON Web Tokens (JWT) have gained significant traction in recent years due to their simplicity, efficiency, and versatility. They provide a secure and reliable way to transmit information between parties as digitally signed tokens. These tokens can be used for authentication, authorization, and even exchanging information between systems.
Throughout this article, we will guide you through the process of implementing JWT Token Authentication within your ASP.NET MVC application. We will unravel the inner workings of JWT tokens, learn how to generate and validate them and integrate them seamlessly into your application's authentication flow.
JWT
JSON Web Token (JWT) is an open standard that defines a compact way for securely transmitting information between parties as a JSON object. It is often used in web applications to securely keep user-related data or claims which can be verified easily,
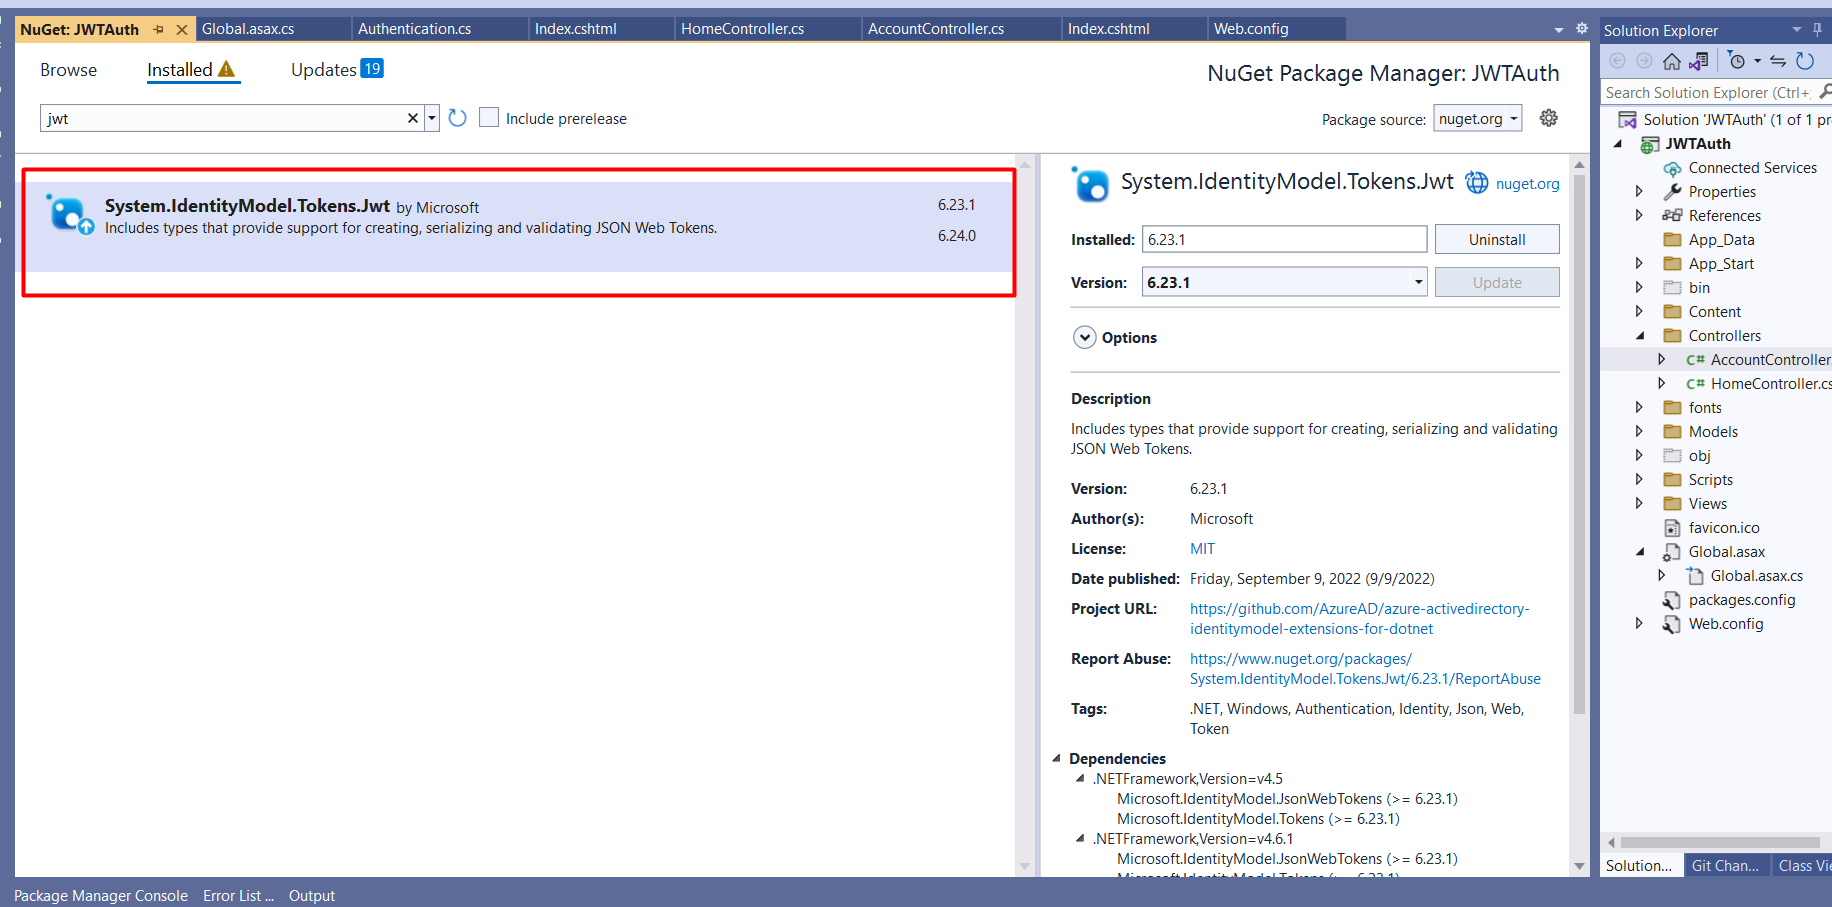
So first of all we have to install the Nuget package which is shown in the image below:-
After adding the details we have to add JWT details in your web config, you can also add them directly on the page or you can do that in web.config file. So we will add these JWT configurations in the web config. JWT Key you can use any random number strings that you want to use for encryption.
	<appSettings>
		<add key="config:JwtKey" value="C1CF4B7DC4C4175B6618DE4F55CA4"/>
		<add key="config:JwtExpireDays" value="30"/>
		<add key="config:JwtIssuer" value="https://localhost:44318"/>
		<add key="config:JwtAudience" value="SecureApiUser"/>
	</appSettings>
Now on the login controller or the controller where you want to create a JWT token for login. You can put this code. Here you can notice we have used Authentication.GenerateJwtToken which we will create in the next step. This method will be creating a JWT token.
     // POST: /account/login
        [HttpPost]
        [AllowAnonymous]
        [ValidateAntiForgeryToken]
        public async Task<ActionResult> Login(AccountLoginModel viewModel)
        {
            try
            {
                if (!ModelState.IsValid)
                    return View("index", viewModel);


                string encryptedPwd = viewModel.Password;
                var userPassword = Convert.ToString(ConfigurationManager.AppSettings["config:Password"]);
                var userName = Convert.ToString(ConfigurationManager.AppSettings["config:Username"]);
                if (encryptedPwd.Equals(userPassword) && viewModel.Email.Equals(userName))
                {
                    var roles = new string[] { "SuperAdmin", "Admin" };
                    var jwtSecurityToken = Authentication.GenerateJwtToken(userName, roles.ToList());
                    Session["LoginedIn"] = userName;
                    var validUserName = Authentication.ValidateToken(jwtSecurityToken);
                    return RedirectToAction("index", "Home", new { token = jwtSecurityToken });

                }

                ModelState.AddModelError("", "Invalid username or password.");

            }
            catch (Exception e)
            {
                ModelState.AddModelError("", "Invalid username or password.");
            }
            return View("Index", viewModel);
        }
Now add the Authentication class in the model folder and add this code over there. This method mainly has the code for generating tokens for user claims.
  public class Authentication
    {
        // Generate token
        public static string GenerateJwtToken(string username, List<string> roles)
        {
            var claims = new List<Claim>
        {
            new Claim(JwtRegisteredClaimNames.Sub, username),
            new Claim(JwtRegisteredClaimNames.Jti, Guid.NewGuid().ToString()),
            new Claim(ClaimTypes.NameIdentifier, username)

        };

            roles.ForEach(role =>
            {
                claims.Add(new Claim(ClaimTypes.Role, role));
            });

            var key = new SymmetricSecurityKey(Encoding.UTF8.GetBytes(Convert.ToString(ConfigurationManager.AppSettings["config:JwtKey"])));
            var creds = new SigningCredentials(key, SecurityAlgorithms.HmacSha256);
            var expires = DateTime.Now.AddDays(Convert.ToDouble(Convert.ToString(ConfigurationManager.AppSettings["config:JwtExpireDays"])));

            var token = new JwtSecurityToken(
                Convert.ToString(ConfigurationManager.AppSettings["config:JwtIssuer"]),
                Convert.ToString(ConfigurationManager.AppSettings["config:JwtAudience"]),
                claims,
                expires: expires,
                signingCredentials: creds
            );

            return new JwtSecurityTokenHandler().WriteToken(token);
        }

        // Validate the token
        public static string ValidateToken(string token)
        {
            if (token == null)
                return null;

            var tokenHandler = new JwtSecurityTokenHandler();
            var key = Encoding.ASCII.GetBytes(Convert.ToString(ConfigurationManager.AppSettings["config:JwtKey"]));
            try
            {
                tokenHandler.ValidateToken(token, new TokenValidationParameters
                {
                    ValidateIssuerSigningKey = true,
                    IssuerSigningKey = new SymmetricSecurityKey(key),
                    ValidateIssuer = false,
                    ValidateAudience = false,
                    // set clockskew to zero so tokens expire exactly at token expiration time (instead of 5 minutes later)
                    ClockSkew = TimeSpan.Zero
                }, out SecurityToken validatedToken);

                var jwtToken = (JwtSecurityToken)validatedToken;
                var jti = jwtToken.Claims.First(claim => claim.Type == "jti").Value;
                var userName = jwtToken.Claims.First(sub => sub.Type == "sub").Value;

                // return user id from JWT token if validation successful
                return userName;
            }
            catch
            {
                // return null if validation fails
                return null;
            }
        }
    }
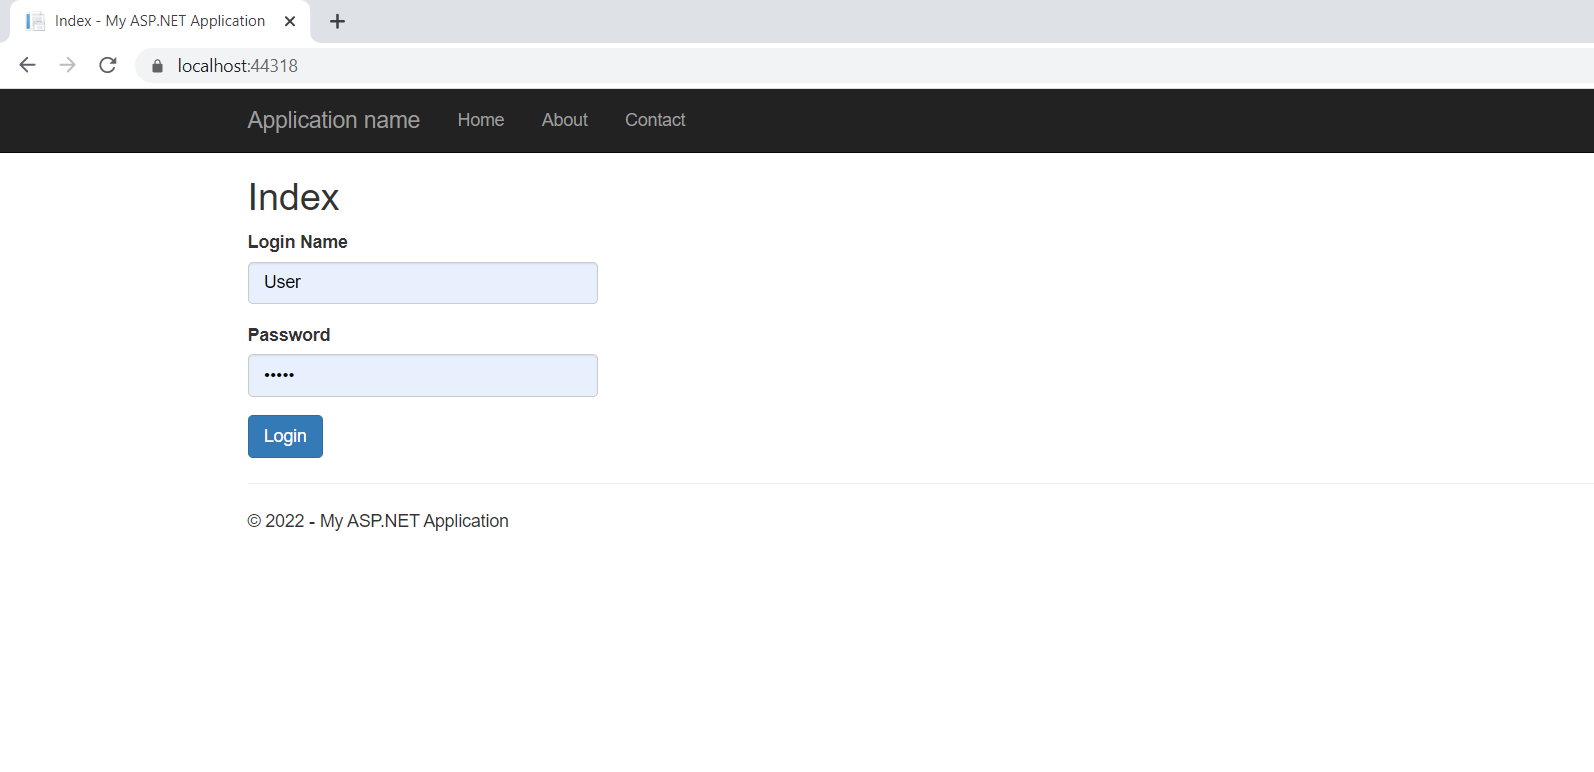
Now run the application and log in with the correct credentials
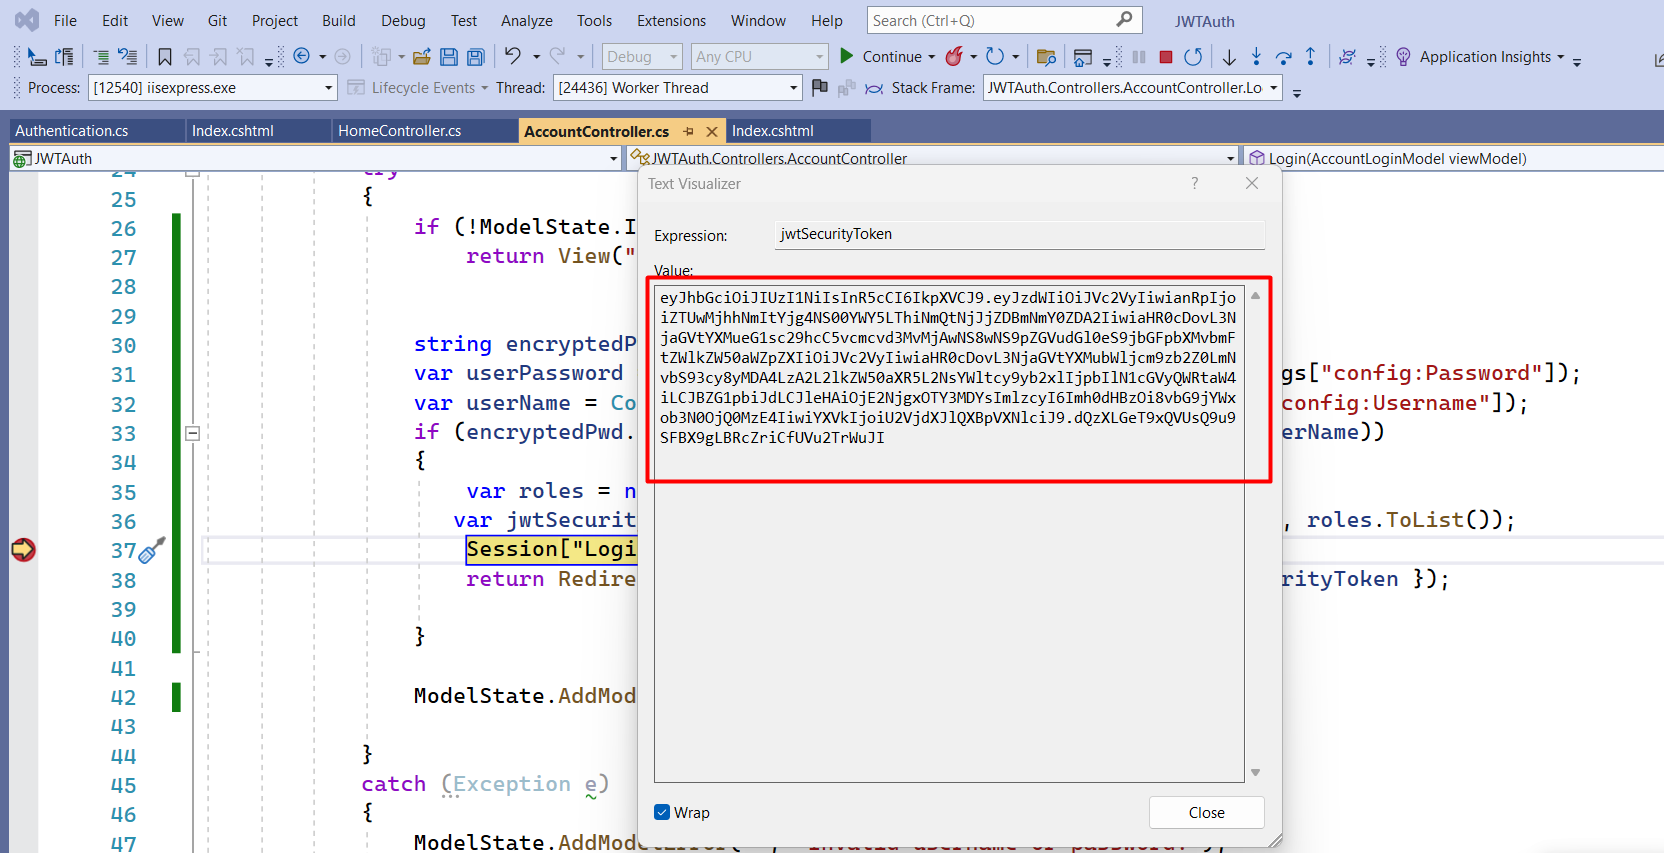
You can see a unique token will be generated and you can also verify the information stored in the token in the next step
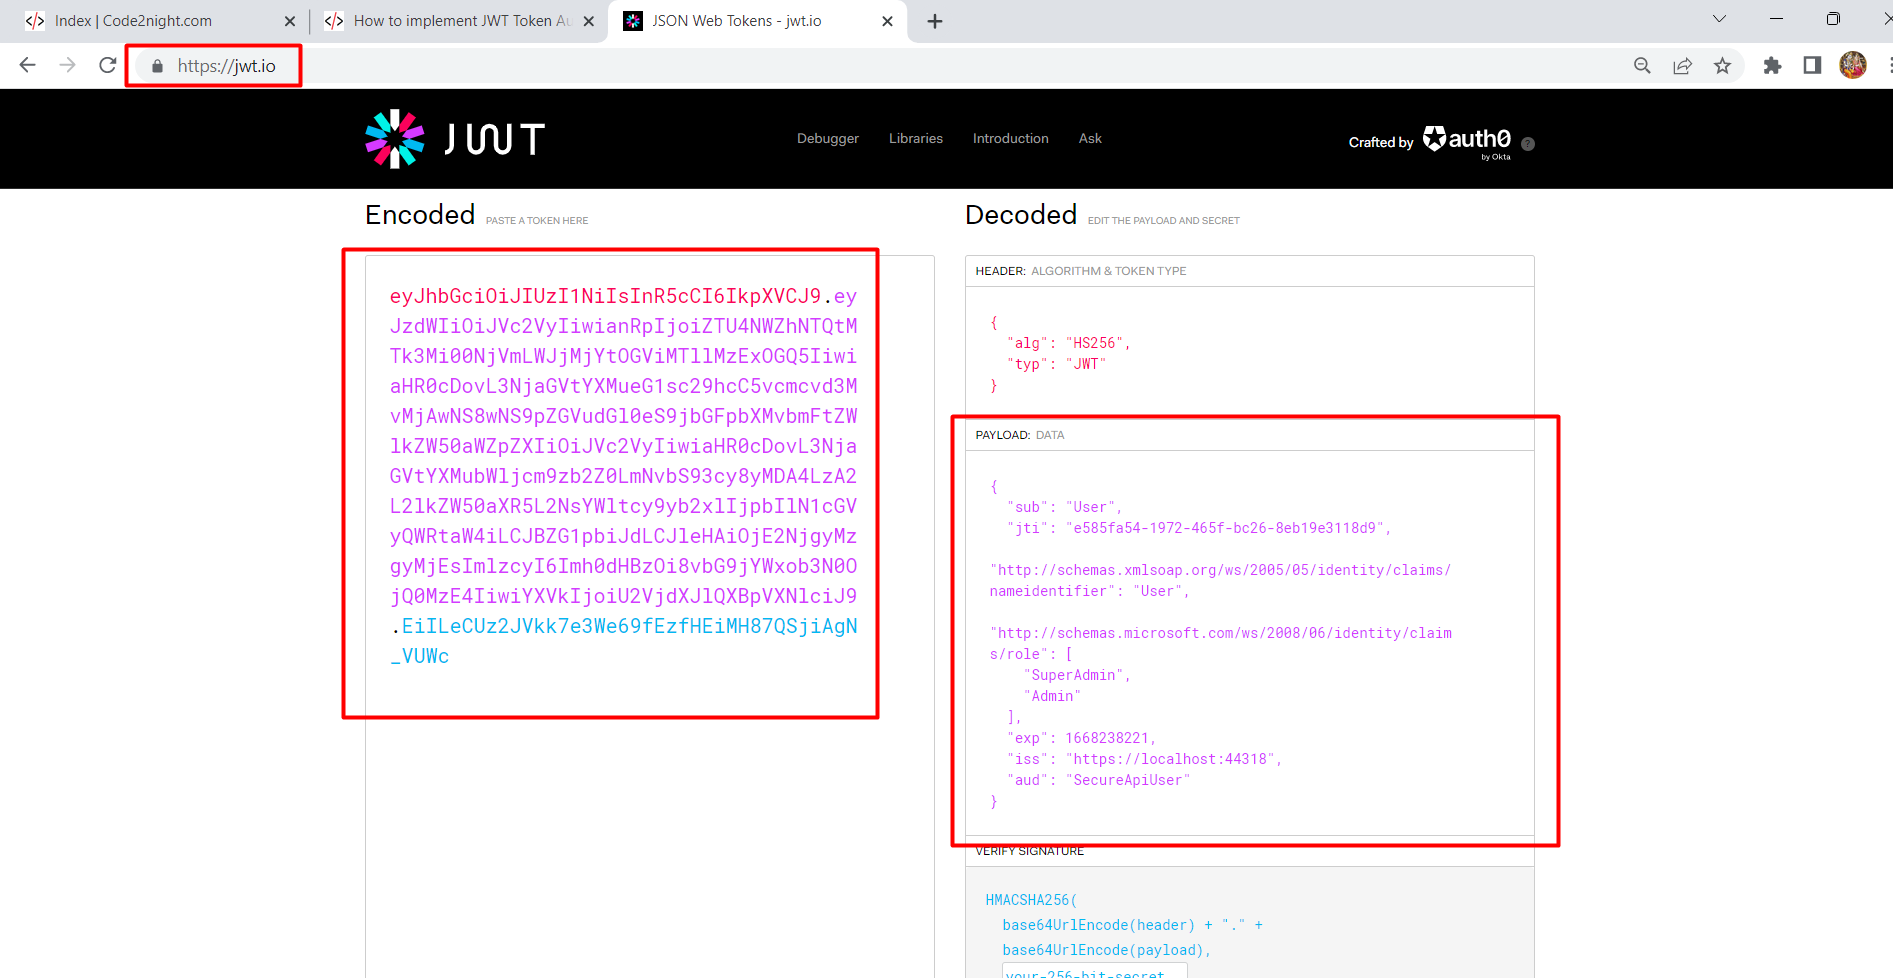
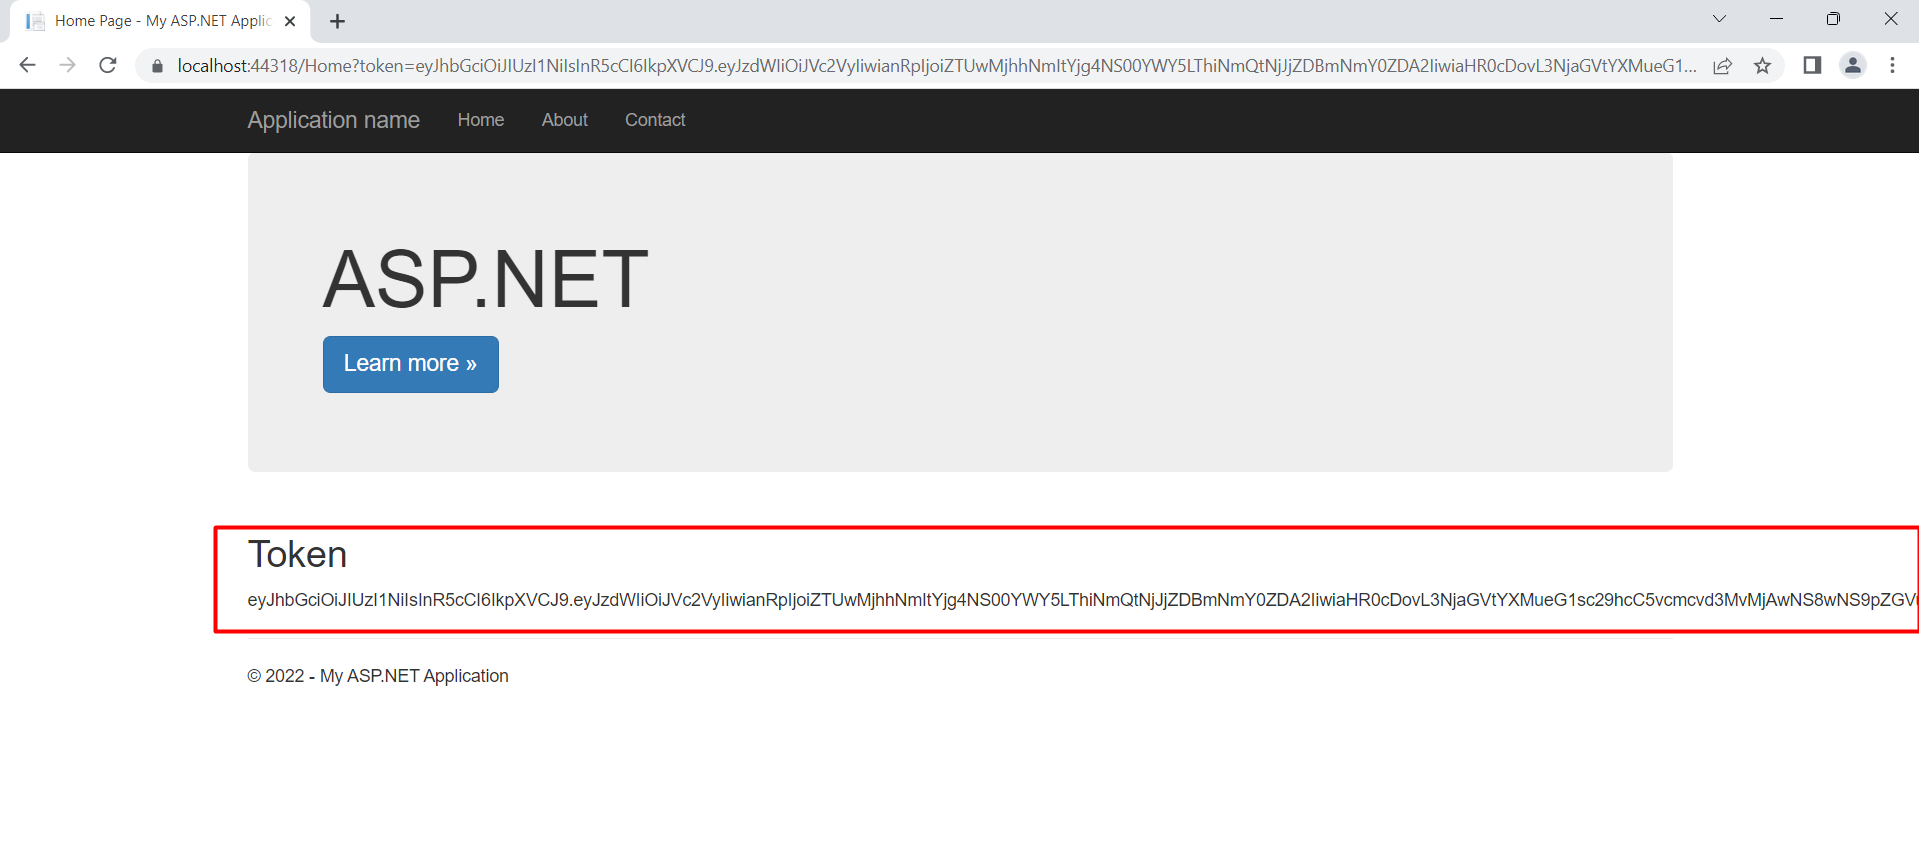 Paste the token generated by our application and here it will deserialize the encrypted information in a format that is readable. You can see here all the claims that were added by you while creating the JWT token.
 So, this is how we can implement JWT Token Authentication in ASP.NET MVC using JWT.
