Git Tutorial for Beginners and Intermediate
Understanding Git and GitHub
Git is a distributed version control system that allows developers to track changes in their codebase and collaborate with others. It enables multiple developers to work on the same project without overwriting each other's changes. GitHub, on the other hand, is a web-based platform that hosts Git repositories, providing a user-friendly interface for managing projects and facilitating collaboration.
Using Git and GitHub together allows developers to maintain a complete history of their code changes, revert to previous versions if needed, and collaborate with team members more efficiently. This is especially important in larger projects where multiple contributors are involved.
In this tutorial, we will cover the basics of Git and GitHub, including creating a repository, staging changes, committing changes, and using branches effectively.
Prerequisites
Before diving into Git and GitHub, ensure you have the following:
- A computer with Git installed. You can download it from git-scm.com.
- A GitHub account. Sign up for free at github.com.
- Basic knowledge of the command line interface (CLI).
Creating a GitHub Account
To get started with GitHub, you first need to create an account. Follow these steps:
- Visit GitHub.com.
- Click on the Sign up button and fill in the required details.
- Verify your email address to activate your account.
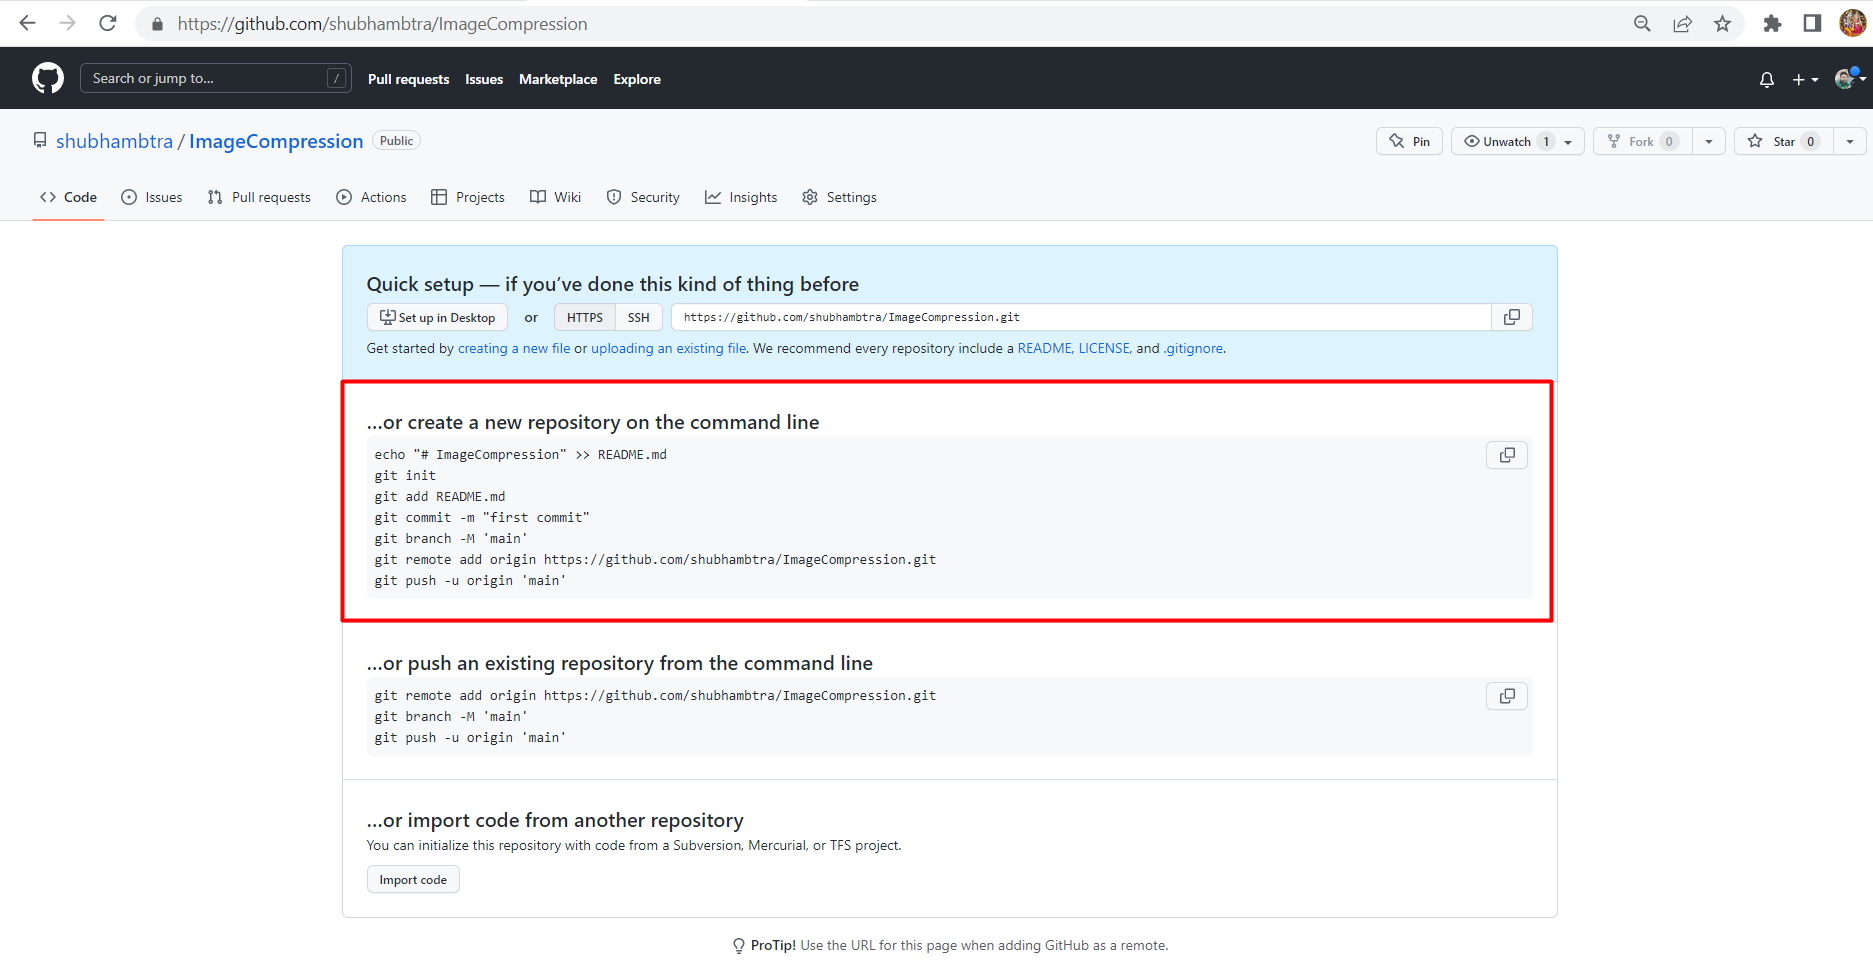
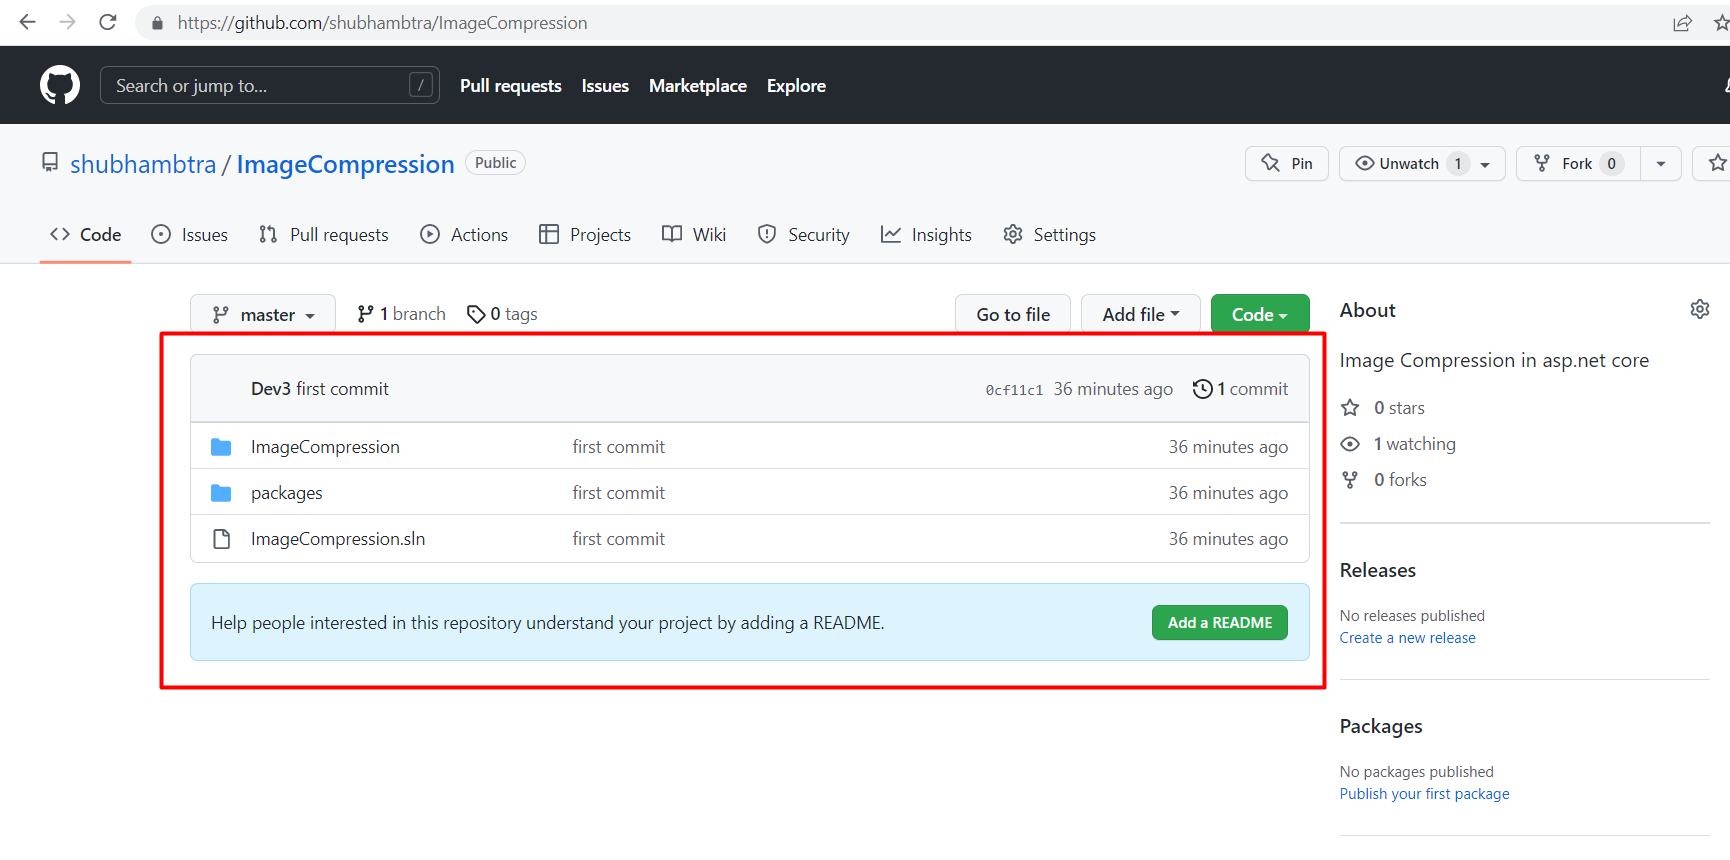
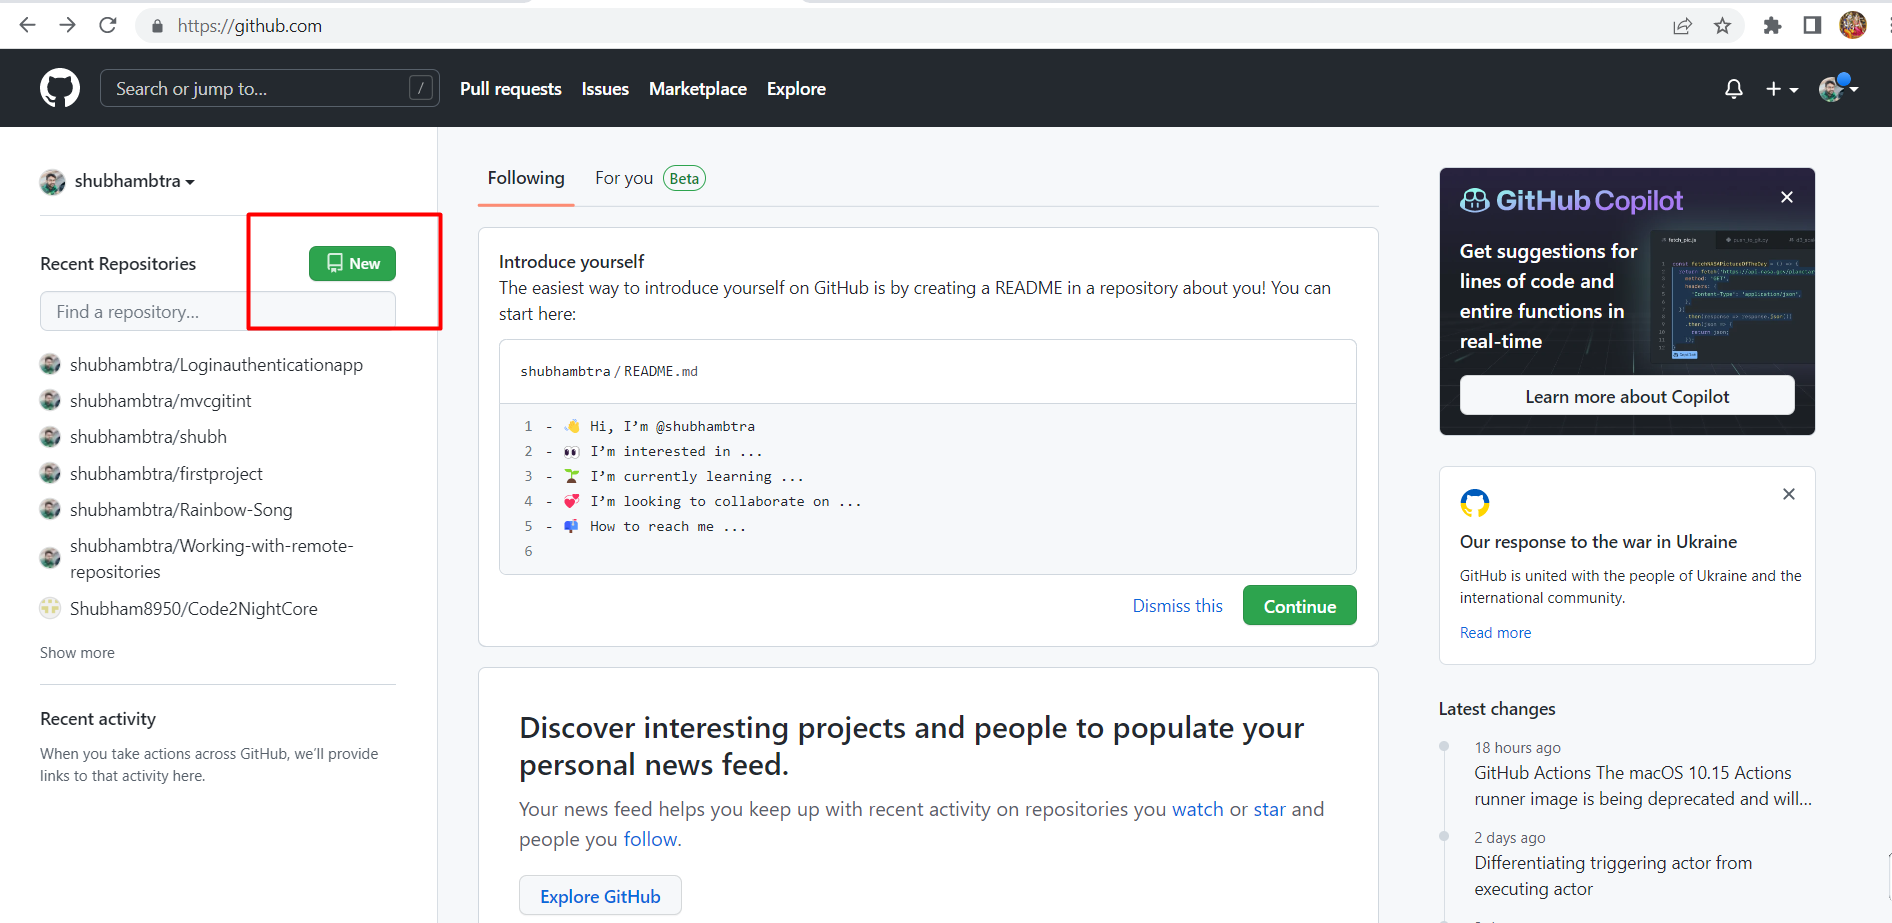
Creating a New Repository
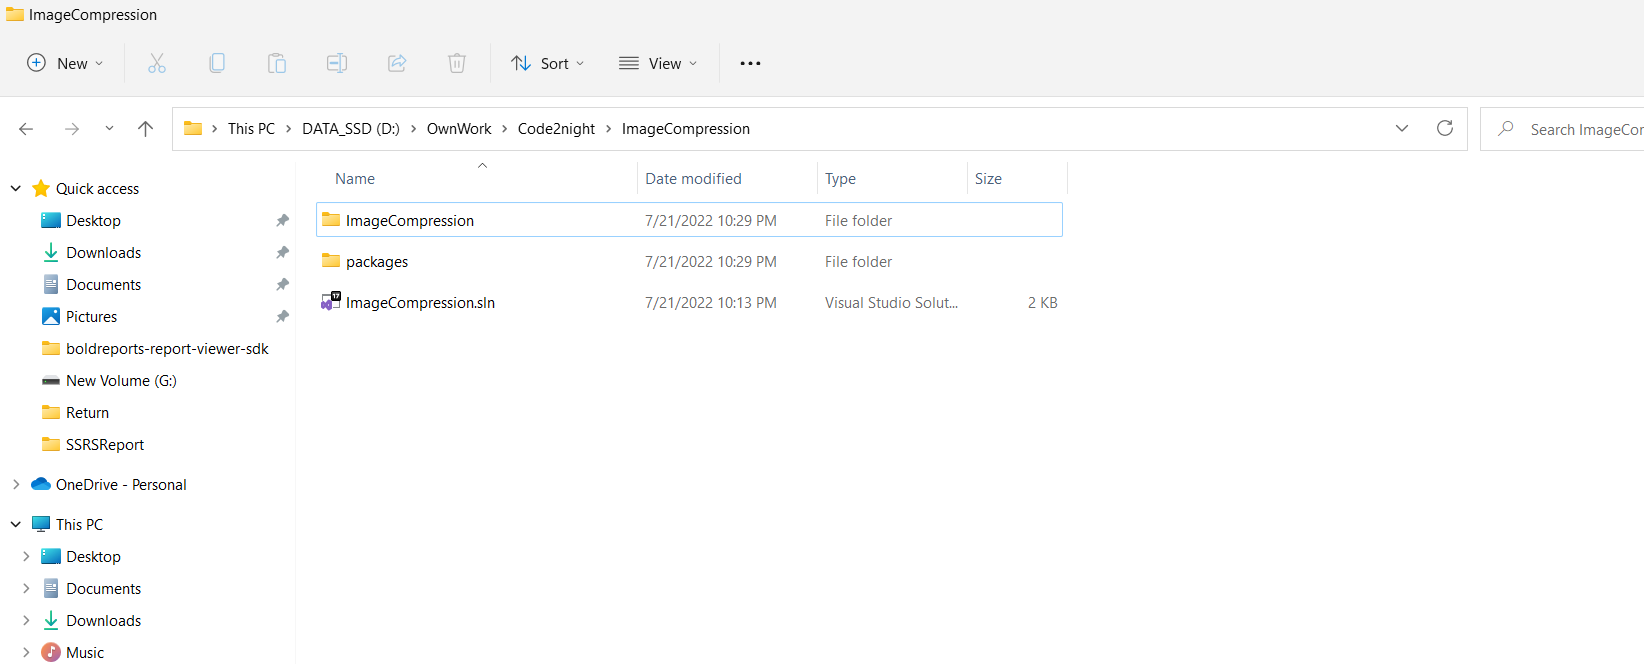
Once you have logged into GitHub, the next step is to create a new repository. A repository is like a folder for your project that contains all its files and history. Here's how to create one:
- Click on the New button on your GitHub dashboard.
- Fill in the repository name and description.
- Select whether you want it to be public or private.
- Click Create repository.
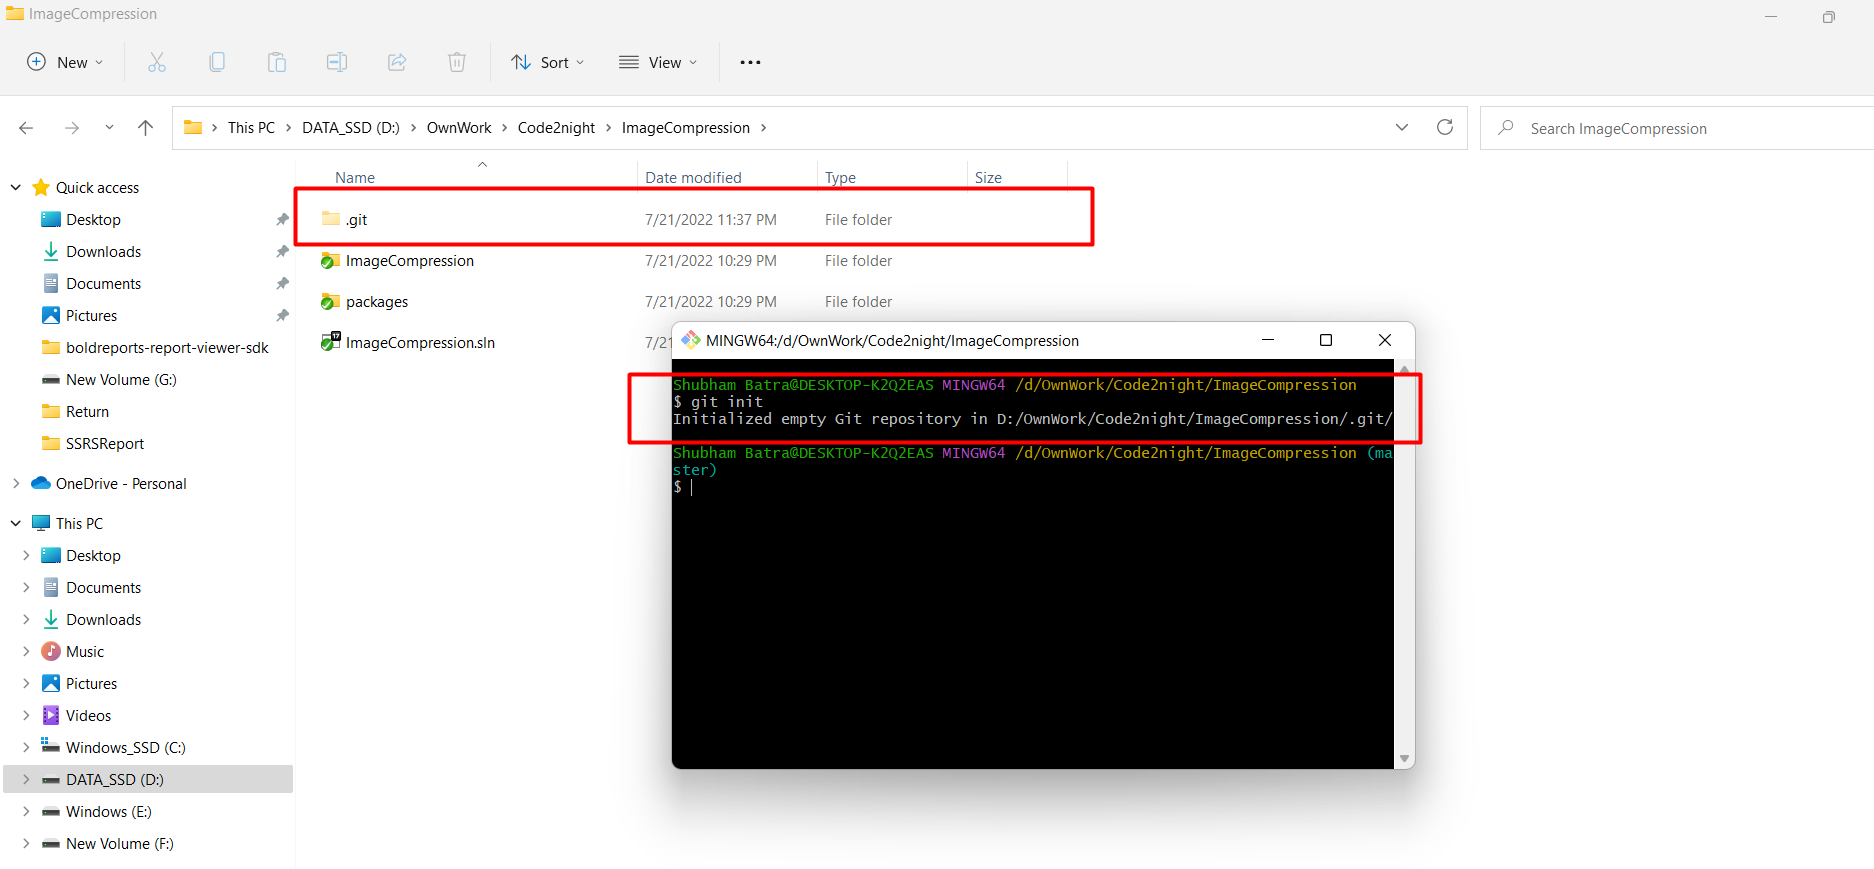
Setting Up Git Locally
After creating a repository, you need to set up Git on your local machine to start tracking your project. Here are the commands you will use:
git initThe git init command initializes a new Git repository in your project directory. Here’s how to do it:
- Open your command prompt or terminal.
- Navigate to your project folder.
- Run
git init.
Adding and Committing Changes
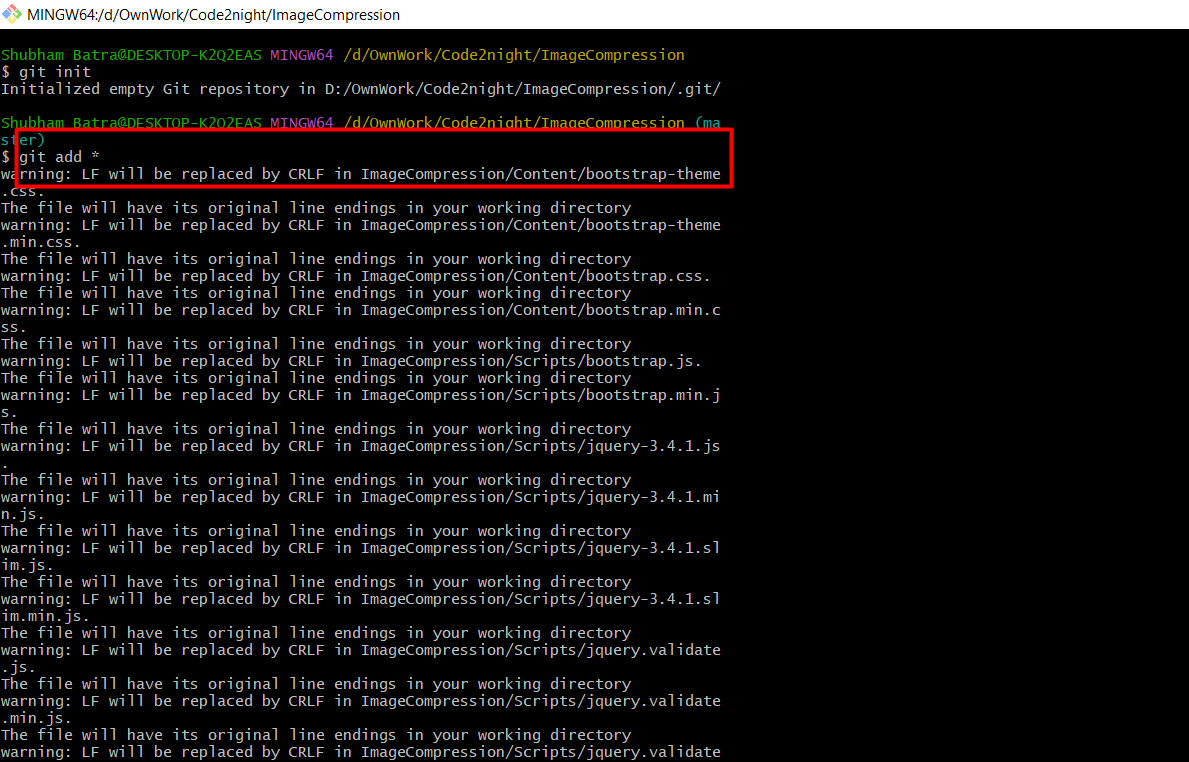
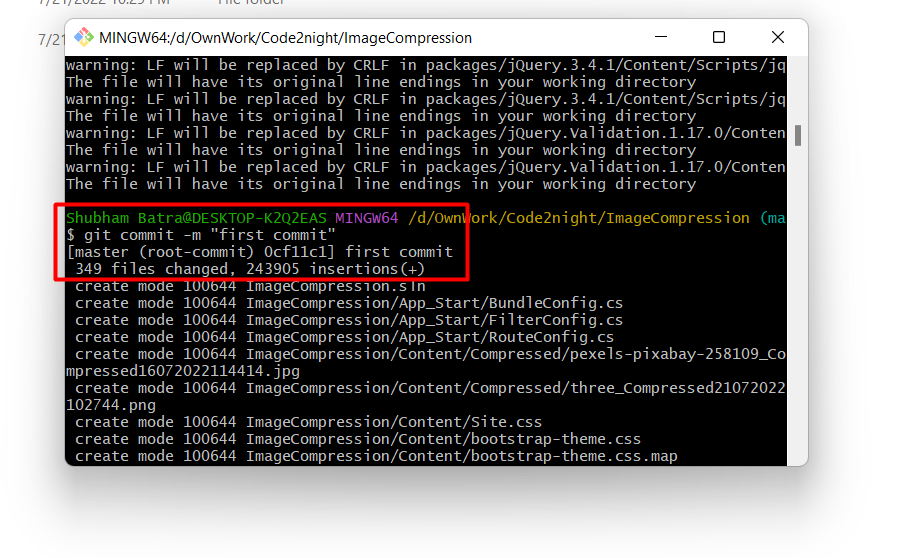
Once Git is initialized, you can start adding files to your repository. Use the following commands:
git add .The git add command stages your changes, making them ready for commit. You can add specific files or all files using git add .. After staging, commit your changes:
git commit -m "Initial commit"The git commit command saves your staged changes to the repository. It's a good practice to write meaningful commit messages.
Connecting to GitHub
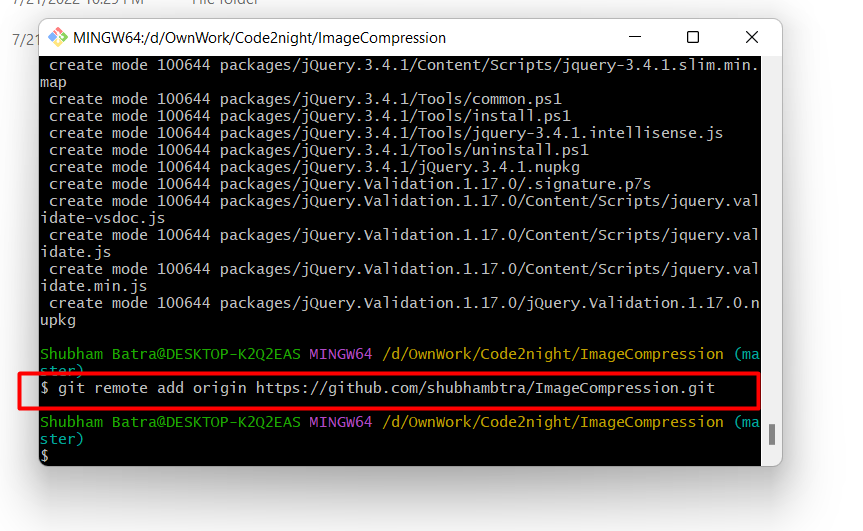
To push your local repository to GitHub, you need to link it to your GitHub repository using:
git remote add origin https://github.com/yourusername/repositoryname.gitReplace yourusername and repositoryname with your GitHub username and repository name. Now, push your changes with:
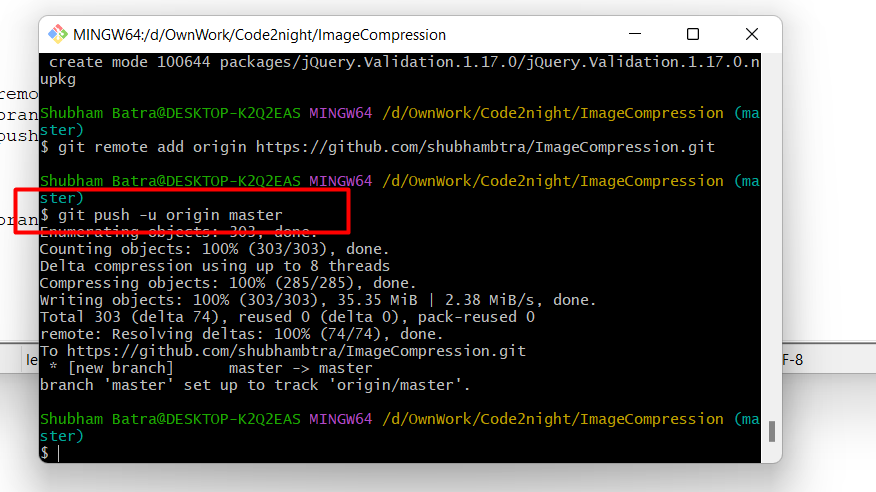
git push -u origin masterThis command uploads your local commits to your GitHub repository. The master branch is the default branch where your main code resides.
Using Branches
Branches are an essential feature of Git that allow you to work on new features or fixes without affecting the main codebase. To create a new branch, use:
git branch new-featureSwitch to your new branch with:
git checkout new-featureAfter making changes, you can commit them just like before. Once your feature is complete, you can merge it back to the master branch:
git checkout mastergit merge new-featureCollaboration with Pull Requests
When working with teams, you can create a pull request (PR) on GitHub to propose changes. This allows team members to review your code before merging it into the main branch. To create a pull request:
- Push your branch to GitHub.
- Navigate to your repository on GitHub.
- Click on the Pull requests tab.
- Click New pull request.
- Select your branch and click Create pull request.
Edge Cases & Gotchas
While using Git, you may encounter some common issues:
- Merge Conflicts: When two branches have conflicting changes, Git will prompt you to resolve these conflicts manually.
- Detached HEAD: If you check out a commit instead of a branch, you enter a 'detached HEAD' state. Always remember to create a new branch if you want to keep changes.
Performance & Best Practices
To optimize your Git workflow, consider the following best practices:
- Commit often with clear messages to track changes effectively.
- Use branches liberally to isolate features and fixes.
- Regularly pull updates from the main repository to stay in sync.
- Use .gitignore files to exclude files that should not be tracked (e.g., build files, sensitive data).
Conclusion
In this tutorial, we've covered the fundamental aspects of using Git and GitHub for version control. By following these steps, you can effectively manage your code, collaborate with others, and maintain a robust project history.
- Understanding Git and GitHub is crucial for modern software development.
- Creating a repository allows you to store and manage your project files.
- Using branches helps in isolating features and avoiding conflicts.
- Pull requests facilitate collaboration and code review among team members.