Dependency Injection Using Ninject In ASP.NET MVC
Hello guys and welcome to Code2Night! Today we will be discussing Ninject Dependency Injection in ASP.NET MVC. In the world of ASP.NET MVC development, managing dependencies is a crucial aspect. As applications grow in complexity, managing dependencies manually becomes a cumbersome task. This is where dependency injection (DI) comes into play, making the development process more efficient and scalable. One of the popular DI frameworks for ASP.NET MVC is Ninject. It allows developers to inject dependencies into their code with ease, making their applications more testable, modular, and maintainable. In this article, we will explore the basics of Ninject and how to implement it in ASP.NET MVC. So let's dive in and learn about this powerful DI framework!
Step 1: Create an ASP.net MVC Project
From Visual Studio 2022, choose File->Project
Select MVC Template and click OK
Step 2: Create a model name Employee
Create a Model name Employee in the model folder
    public class Employee
    {
        public int Id { get; set; }
        public string Name { get; set; }
        public string Designation { get; set; }
        public string Dept { get; set; }
        public string BloodGroup { get; set; }
    }
Step 3: Add Connection String
Add connection string in Web.config
	<connectionStrings>
		<add name="DefaultConnection" connectionString="Data Source=servername; Integrated Security=true;Initial Catalog= DbEmployee;" providerName="System.Data.SqlClient" />
	</connectionStrings>
Step 4: Create a Context class
Create DbEmployeeContext Class in the Model folder.
    public class DbEmployeeContext : DbContext
    {
        public DbEmployeeContext() : base("DefaultConnection")
        {
        }
        public DbSet<Employee> Employees { get; set; }
    }
Step 5: Create a Repository Interface and Repository Class
Create IEmployeeRepository Interface and EmployeeRepository class in the EmployeeRepository folder
    public interface IEmployeeRepository : IDisposable
    {
        IQueryable<Employee> All { get; }
        Employee Find(int? id);
        void InsertOrUpdate(Employee employee);
        void Delete(int id);
        void Save();
    }
Repository Class
  public class EmployeeRepository : IEmployeeRepository
    {

        DbEmployeeContext context = new DbEmployeeContext();

        public IQueryable<Employee> All
        {

            get { return context.Employees; }
        }

        public Employee Find(int? id)
        {

            Employee objEmployee = new Employee();
            objEmployee = context.Employees.Where(p => p.Id == id).FirstOrDefault();
            return objEmployee;
        }

        public void InsertOrUpdate(Employee employee)
        {
            if (employee.Id == default(int))
            {
                // Insert entity
                context.Employees.Add(employee);
            }
            else
            {
                // Update entity
                context.Entry(employee).State = System.Data.Entity.EntityState.Modified;
            }
        }

        public void Delete(int id)
        {
            var employee = context.Employees.Find(id);
            context.Employees.Remove(employee);
        }

        public void Save()
        {
            context.SaveChanges();
        }

        public void Dispose()
        {
            context.Dispose();
        }
    }
Step 6: Install Ninject from Nuget
In the NuGet package manager search and install Ninject.MVC5
Step 7: Map Interface and Repository class in Ninject
Go to the NinjectResolver file in the App_Start folder. Add the following line for IEmployee Interface and Employee Repository class.
  public class NinjectResolver : System.Web.Mvc.IDependencyResolver
    {
        private readonly IKernel _kernel;

        public NinjectResolver()
        {
            _kernel = new StandardKernel();
            AddBindings();
        }

        public object GetService(Type serviceType)
        {
            return _kernel.TryGet(serviceType);
        }

        public IEnumerable<object> GetServices(Type serviceType)
        {
            return _kernel.GetAll(serviceType);
        }

        private void AddBindings()
        {
            this._kernel.Bind<IEmployeeRepository>().To<Demo.EmployeeRepository.EmployeeRepository>();
        }
    }
Step 8: Create Controller and Views
Click the Right button on Controller Folder->Add Controller.
Choose its name as EmployeesController.
Now choose the scaffolding template - Web API 2 Controller with actions, using Entity Framework.
After clicking Add button, Employees Controller and Corresponding actions and views will be created automatically.
Step 9: Modify the controller
Modify the controller - use repository instead of context directly.
 public class EmployeesController : Controller
    {
        private readonly IEmployeeRepository repository;

        public EmployeesController(IEmployeeRepository objIrepository)
        {
            repository = objIrepository;
        }
        //public EmployeesController()
        //{
        //    repository = new Demo.EmployeeRepository.EmployeeRepository();
        //}

        // GET: Employees
        public ActionResult Index()
        {
            return View(repository.All.ToList());
        }

        // GET: Employees/Details/5
        public ActionResult Details(int? id)
        {
            if (id == null)
            {
                return new HttpStatusCodeResult(HttpStatusCode.BadRequest);
            }
            Employee employee = repository.Find(id);
            if (employee == null)
            {
                return HttpNotFound();
            }
            return View(employee);
        }

        // GET: Employees/Create
        public ActionResult Create()
        {
            return View();
        }

        // POST: Employees/Create
        // To protect from overposting attacks, please enable the specific properties you want to bind to, for
        // more details see http://go.microsoft.com/fwlink/?LinkId=317598.
        [HttpPost]
        [ValidateAntiForgeryToken]
        public ActionResult Create([Bind(Include = "Id,Name,Designation,Dept,BloodGroup")] Employee employee)
        {
            if (ModelState.IsValid)
            {
                repository.InsertOrUpdate(employee);
                repository.Save();
                return RedirectToAction("Index");
            }

            return View(employee);
        }

        // GET: Employees/Edit/5
        public ActionResult Edit(int? id)
        {
            if (id == null)
            {
                return new HttpStatusCodeResult(HttpStatusCode.BadRequest);
            }
            Employee employee = repository.Find(id);
            if (employee == null)
            {
                return HttpNotFound();
            }
            return View(employee);
        }

        // POST: Employees/Edit/5
        // To protect from overposting attacks, please enable the specific properties you want to bind to, for
        // more details see http://go.microsoft.com/fwlink/?LinkId=317598.
        [HttpPost]
        [ValidateAntiForgeryToken]
        public ActionResult Edit([Bind(Include = "Id,Name,Designation,Dept,BloodGroup")] Employee employee)
        {
            if (ModelState.IsValid)
            {
                repository.InsertOrUpdate(employee);
                repository.Save();
                return RedirectToAction("Index");
            }
            return View(employee);
        }

        // GET: Employees/Delete/5
        public ActionResult Delete(int? id)
        {
            if (id == null)
            {
                return new HttpStatusCodeResult(HttpStatusCode.BadRequest);
            }
            Employee employee = repository.Find(id);
            if (employee == null)
            {
                return HttpNotFound();
            }
            return View(employee);
        }

        // POST: Employees/Delete/5
        [HttpPost, ActionName("Delete")]
        [ValidateAntiForgeryToken]
        public ActionResult DeleteConfirmed(int id)
        {
            repository.Delete(id);
            repository.Save();
            return RedirectToAction("Index");
        }

        protected override void Dispose(bool disposing)
        {
            if (disposing)
            {
                repository.Dispose();
            }
            base.Dispose(disposing);
        }
    }
Step 10: Run command in Package Manager Console
To find the Package Manager console go to Tool->NuGet Package Manager -> Package Manager Console
Now, run the following command one by one in Package Manager Console.
PM> Enable-Migrations -ContextTypeName DbEmployeeContext
PM> Add-Migration initialmigration
PM> Update-Database -Verbose
Step 11: Add a menu
Add a menu name employee in _Layout.cshtml page to create a menu.
            <div class="navbar-collapse collapse">
                <ul class="nav navbar-nav">
                    <li>@Html.ActionLink("Home", "Index", "Home")</li>
                    <li>@Html.ActionLink("About", "About", "Home")</li>
                    <li>@Html.ActionLink("Contact", "Contact", "Home")</li>
                    <li>@Html.ActionLink("Employee", "Index", "Employees")</li>
                </ul>
            </div>
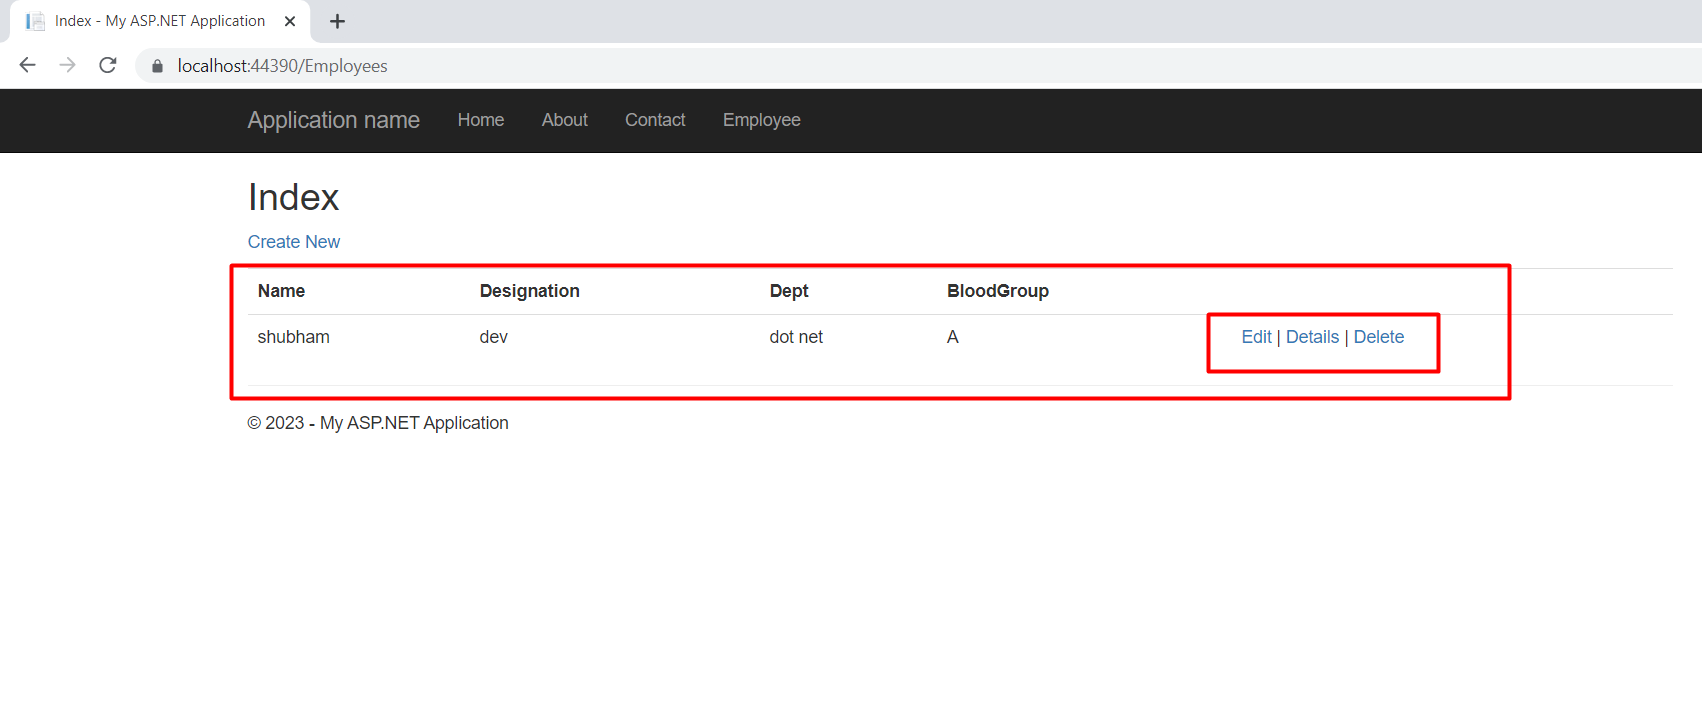
Run the application and click the “Employee” menu. Now you can create, delete, read update employee information.