
How to use Jquery Datatables in asp.net
Creating an ASP.NET MVC Application with jQuery DataTables
In this article, we'll walk through the process of creating an ASP.NET MVC application that displays a list of employees using jQuery DataTables. This powerful plugin provides advanced interaction controls to any HTML table, making it a great choice for displaying data in a user-friendly manner.So we will learn how to use jquery datatables in asp.net. You have to follow these steps
Step 1: Setting Up the Project
Create a New ASP.NET MVC Project
Open Visual Studio and create a new ASP.NET MVC project. Name your project Datatablejquery.
Add the Employee Model
In the Models folder, create a new class named Employee.cs and add the following code:
            using System;
            using System.Collections.Generic;
            using System.ComponentModel.DataAnnotations;
            using System.Linq;
            using System.Web;

            namespace Datatablejquery.Models
            {
                public class Employee
                {
                    public int Id { get; set; }

                    [Required]
                    public string Name { get; set; }

                    [Required]
                    public string Position { get; set; }

                    [Required]
                    public string Office { get; set; }

                    [Required]
                    public int Age { get; set; }

                    [Required]
                    public decimal Salary { get; set; }
                }
            }
Step 2: Creating the Controller
Add HomeController
In the Controllers folder, create a new controller named HomeController.cs and add the following code:
            using Datatablejquery.Models;
            using System;
            using System.Collections.Generic;
            using System.Linq;
            using System.Web;
            using System.Web.Mvc;

            namespace Datatablejquery.Controllers
            {
                public class HomeController : Controller
                {
                    private static List<Employee> employees = new List<Employee>
                    {
                        new Employee { Id = 1, Name = "John Doe", Position = "Manager", Office = "New York", Age = 45, Salary = 90000 },
                        new Employee { Id = 2, Name = "Jane Smith", Position = "Developer", Office = "London", Age = 30, Salary = 60000 },
                        new Employee { Id = 3, Name = "Samuel Jackson", Position = "Tester", Office = "Sydney", Age = 28, Salary = 50000 },
                        new Employee { Id = 4, Name = "Alice Johnson", Position = "HR", Office = "New York", Age = 29, Salary = 55000 },
                        new Employee { Id = 5, Name = "Robert Brown", Position = "Developer", Office = "San Francisco", Age = 34, Salary = 70000 },
                        new Employee { Id = 6, Name = "Emily Davis", Position = "Designer", Office = "Chicago", Age = 31, Salary = 60000 },
                        new Employee { Id = 7, Name = "Michael Wilson", Position = "Developer", Office = "London", Age = 40, Salary = 80000 },
                        new Employee { Id = 8, Name = "Linda Thompson", Position = "Manager", Office = "Sydney", Age = 50, Salary = 95000 },
                        new Employee { Id = 9, Name = "William Harris", Position = "Developer", Office = "New York", Age = 35, Salary = 75000 },
                        new Employee { Id = 10, Name = "Barbara Clark", Position = "Designer", Office = "London", Age = 27, Salary = 58000 },
                        new Employee { Id = 11, Name = "James Lewis", Position = "Tester", Office = "San Francisco", Age = 32, Salary = 52000 },
                        new Employee { Id = 12, Name = "Patricia Walker", Position = "HR", Office = "Chicago", Age = 37, Salary = 60000 },
                        new Employee { Id = 13, Name = "Christopher Hall", Position = "Manager", Office = "Sydney", Age = 48, Salary = 92000 },
                        new Employee { Id = 14, Name = "Susan Allen", Position = "Developer", Office = "New York", Age = 29, Salary = 68000 },
                        new Employee { Id = 15, Name = "David King", Position = "Designer", Office = "San Francisco", Age = 33, Salary = 61000 },
                        new Employee { Id = 16, Name = "Sarah Scott", Position = "Tester", Office = "Chicago", Age = 30, Salary = 50000 },
                        new Employee { Id = 17, Name = "Richard Green", Position = "Developer", Office = "London", Age = 39, Salary = 77000 },
                        new Employee { Id = 18, Name = "Karen Baker", Position = "Manager", Office = "Sydney", Age = 45, Salary = 93000 },
                        new Employee { Id = 19, Name = "Joseph Gonzalez", Position = "HR", Office = "New York", Age = 41, Salary = 62000 },
                        new Employee { Id = 20, Name = "Nancy Perez", Position = "Developer", Office = "San Francisco", Age = 28, Salary = 64000 },
                    };

                    public ActionResult Index()
                    {
                        return View(employees);
                    }

                    // Optionally, create a method to return JSON data
                    public JsonResult GetEmployees()
                    {
                        return Json(employees, JsonRequestBehavior.AllowGet);
                    }

                    public ActionResult About()
                    {
                        ViewBag.Message = "Your application description page.";
                        return View();
                    }

                    public ActionResult Contact()
                    {
                        ViewBag.Message = "Your contact page.";
                        return View();
                    }
                }
            }
Step 3: Creating the View
Update the Index View
In the Views/Home folder, open the Index.cshtml file and update it with the following code:
            @model IEnumerable<Datatablejquery.Models.Employee>

            @{
                ViewBag.Title = "Employee List";
                Layout = "~/Views/Shared/_Layout.cshtml";
            }

            <h2>Employee List</h2>

            <table id="employeeTable" class="display">
                <thead>
                    <tr>
                        <th>ID</th>
                        <th>Name</th>
                        <th>Position</th>
                        <th>Office</th>
                        <th>Age</th>
                        <th>Salary</th>
                    </tr>
                </thead>
                <tbody>
                    @foreach (var employee in Model)
                    {
                        <tr>
                            <td>@employee.Id</td>
                            <td>@employee.Name</td>
                            <td>@employee.Position</td>
                            <td>@employee.Office</td>
                            <td>@employee.Age</td>
                            <td>@employee.Salary</td>
                        </tr>
                    }
                </tbody>
            </table>

            @section Scripts {
                <script src="https://code.jquery.com/jquery-3.6.0.min.js"></script>
                <script src="https://cdn.datatables.net/1.10.24/js/jquery.dataTables.min.js"></script>
                <link rel="stylesheet" href="https://cdn.datatables.net/1.10.24/css/jquery.dataTables.min.css" />

                <script>
                    $(document).ready(function () {
                        $('#employeeTable').DataTable();
                    });
                </script>
            }
Step 4: Adding DataTables Scripts and Styles
Include DataTables CSS and JS files within the Scripts section of the Index.cshtml file to enable DataTables functionality.
Step 5: Running the Application
Run Your Application
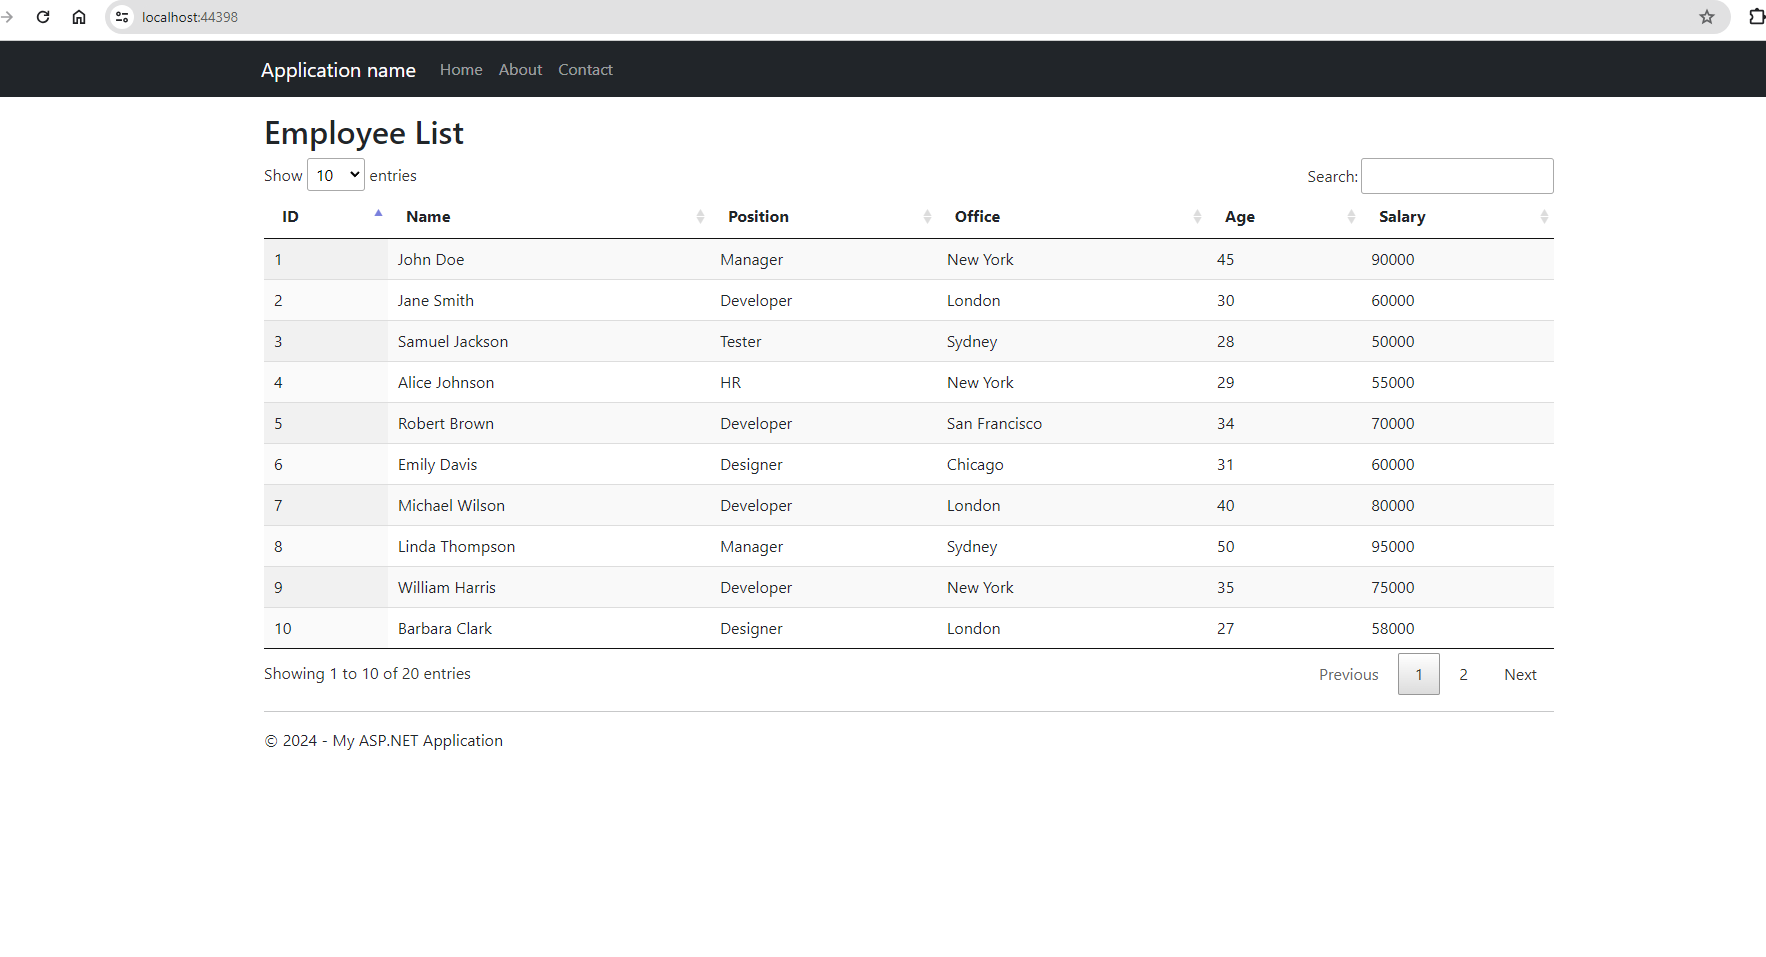
Press F5 or click the run button in Visual Studio to start the application. Navigate to the Index page where you should see the employee list displayed in a DataTable.
Conclusion
In this tutorial, we covered how to:
- Set up an ASP.NET MVC project.
- Create a model for employees.
- Set up a controller to handle requests.
- Use jQuery DataTables to display data in a user-friendly table.
DataTables provide an excellent way to enhance the interactivity and usability of data tables in web applications. With features like pagination, sorting, and search, they are a powerful tool for any developer working with large datasets in ASP.NET MVC.
Feel free to expand this setup with additional features like server-side processing, custom styling, and advanced interactions to suit your application needs.So this is how you can use jquery datatable in asp.net.
